CNC Embroidery Key Guide #
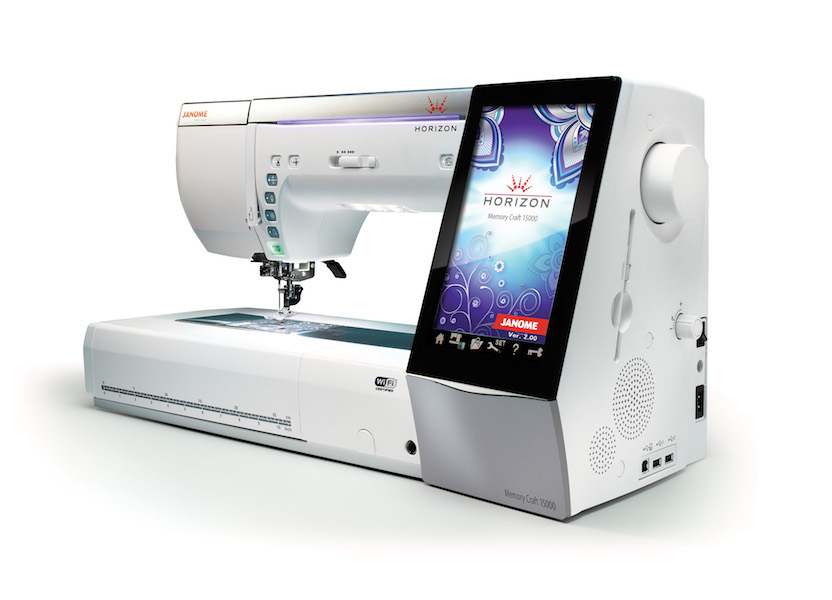
This guide will provide an introduction to CNC Embroidery using the Janome 15000 machine and Artistic Digitizer Embroidery software. We will make a small patch and cover:
- Introduction
- Important things to know
- Resources:
- Machine Interface elements
- Workstation Elements
- Key Guide
- This is by far the most complex machine in the lab with 100+ separate parts to accommodate various embroidery scenarios.
- At the same time it’s the only one that’s been designed as a consumer device rather than industrial machine. Janome has assumed that users of the machine already have sewing machine experience, and this experience is very helpful when working with the Janome 15000.
Important things to know #
No maintenance on the machine. If you think something is wrong, or not sewing correctly, ask a technician for help.
Material: we provide good quality embroidery thread which works best for this machine. You are welcome to provide your own threads and encourage to bring your own material. As with any sewing machine, different materials require different stabilisers and will work more/ less successfully than others.
Needles: it matters which needle you use. If the needle is incorrect, it could break or break the thread or make it difficult to sew with the correct tension. You might need a different needle depending on your material but generally, you need to use a different needle for embroidery and sewing:
Embroidery Needle: Embroidery 75/11
Sewing Needle: Universal 80/12
How to change the needle + which needle to use with different fabrics (page 18 in the manual)
To change between sewing mode and embroidery mode, you will need to change the foot and sewing plate.
In sewing mode, the machine will limit your stitch patterns by automatically detecting which needle plate you’re using.
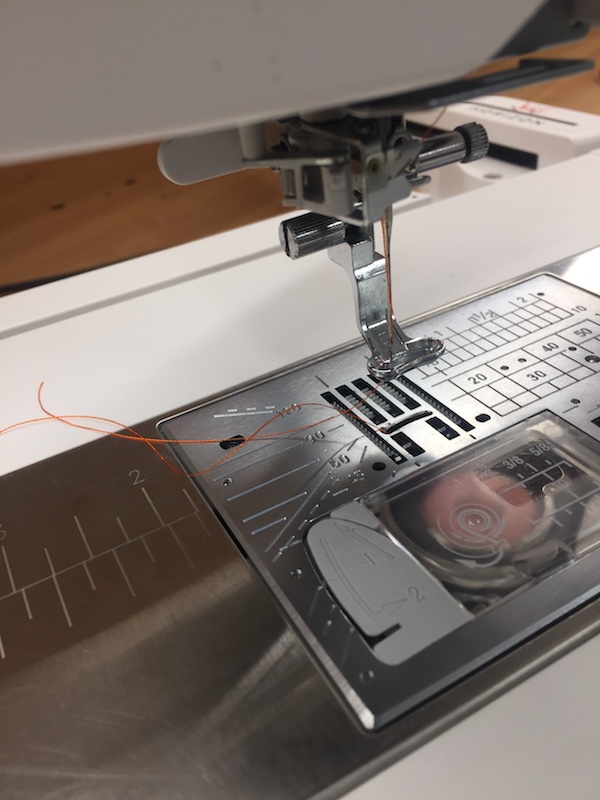
For embroidery, use the straight stitch plate:
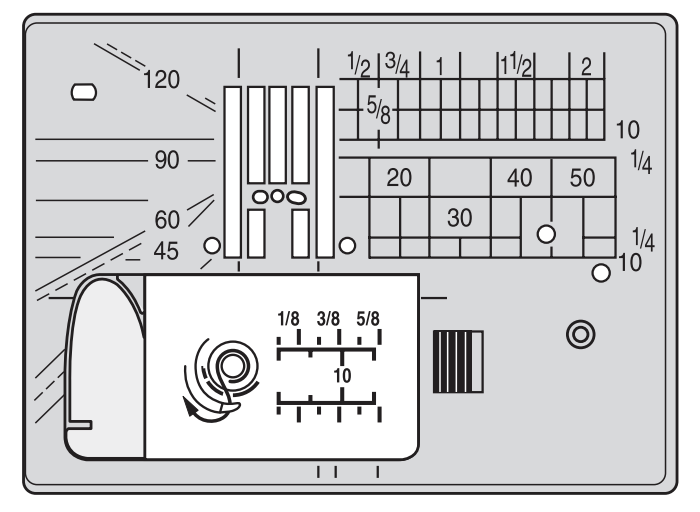 The straight stitch plate helps provide a more stable base. The smaller opening is great for working on fine fabrics that are prone to getting pulled into the feed dogs.
Resources #
Janome Instructional Video: MUST watch through this while working with the machine for the first few times.
On the screen interface there is a button with ‘?’. This has short videos showing you how to wind the bobbin, thread the needle etc.
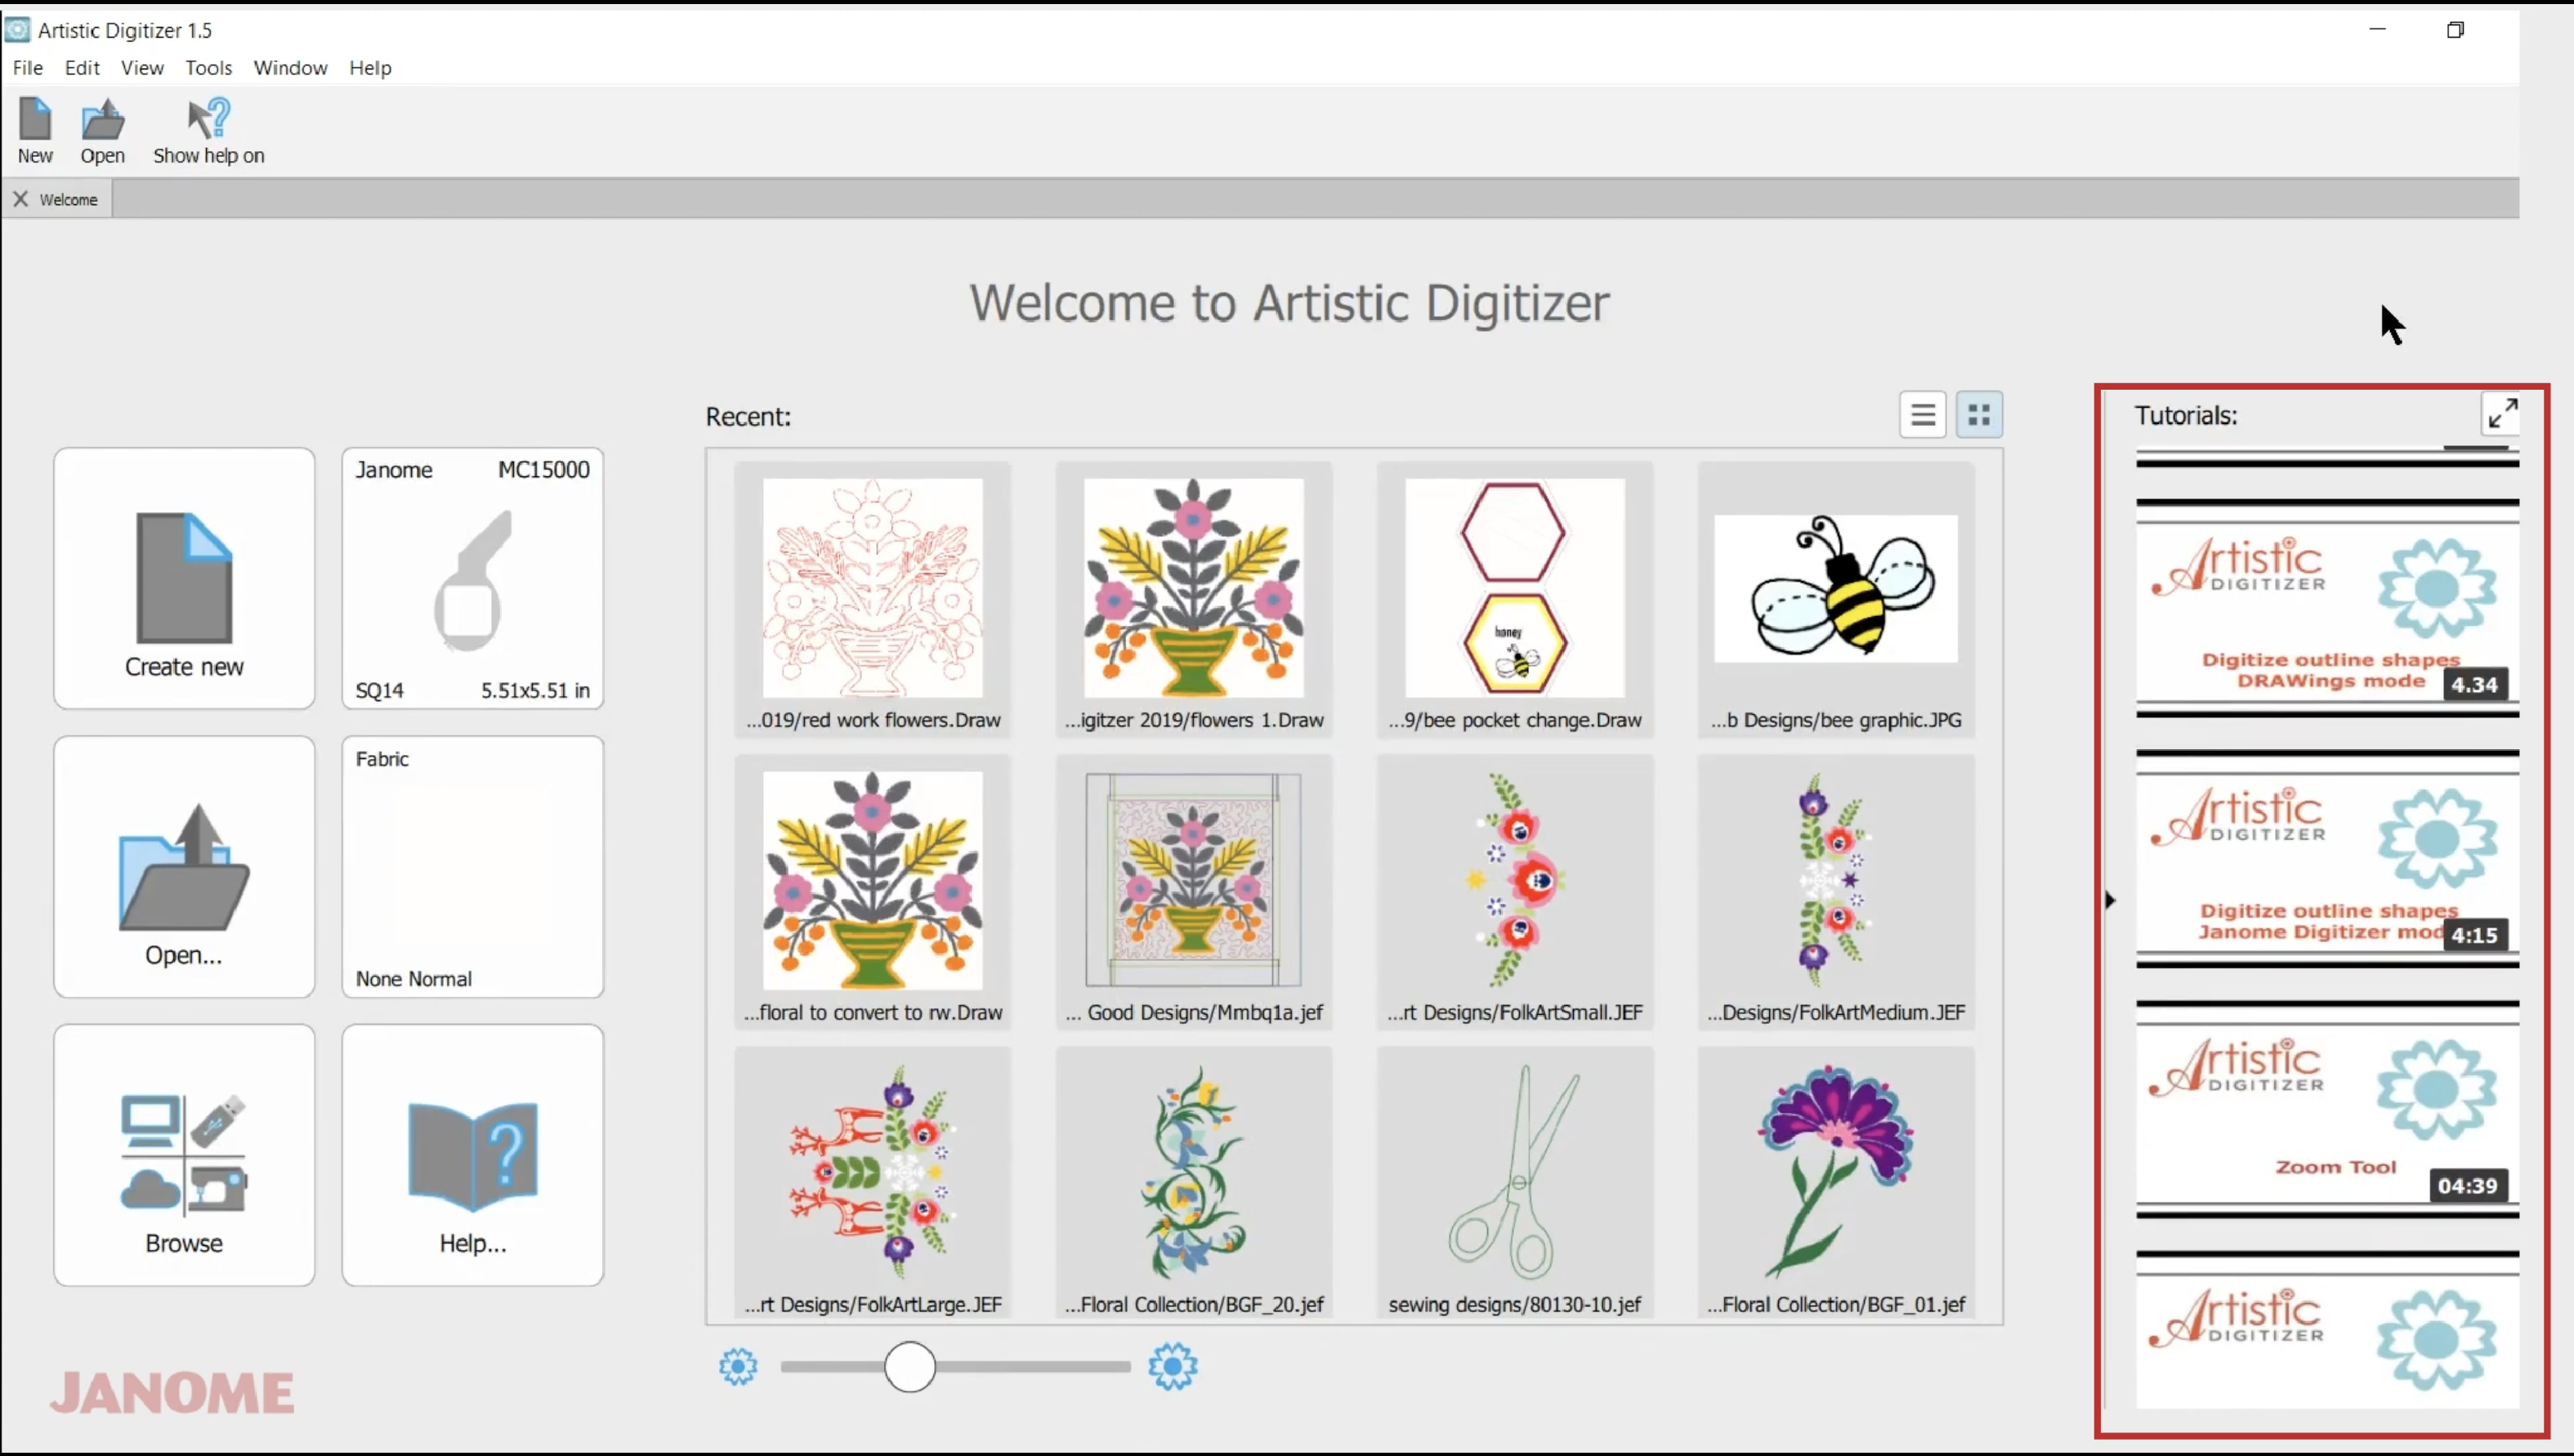
Artistic Digitizer Embroidery tutorials:
You can also watch tutorials within the software if you are connected to the internet:
Quicklinks Common Tools Page #
Workstation Elements #
- Embroidery machine
- dedicated iMac
- iron + ironing board
- rotary cutter + mat
- magnetic pin holder
- pedal
- hoops:
- FA10
- SQ14
- SQ23
- ASQ22
- G2
- loan kit with extra accessories
- stabalizer (Brothread Cut Away Machine Embroidery Stabilizer - Polyester Medium Weight 2.5 ounce/70 grams - for Machine Embroidery and Hand Sewing)
Interesting projects #
Troubleshooting #
- Trouble shooting common errors (page 160 in the manual)
- Tension:
- If you see the bobbin thread pulling through the top of the fabric
- it means the bobbin thread is either too lose or,
- the top is too tight and pulling it up
- If you see the top thread is pulling downward:
- the top thread is too loose
- the bobbin thread is too tight
- If you see the bobbin thread pulling through the top of the fabric
- Don’t use blunt needles or old brittle thread
Key Guide #
IMPORTANT: Have the Janome MC15000 Manual open while working with the machine. Refer to this before asking for help from a technician.
Materials/ tools required:
- Embroidery thread
- Empty bobbin
- FA10 Hoop
- Felt
- Tear away stabiliser
- Vector file with a design to embroider. Must fit within a 100mm x 40mm canvas.
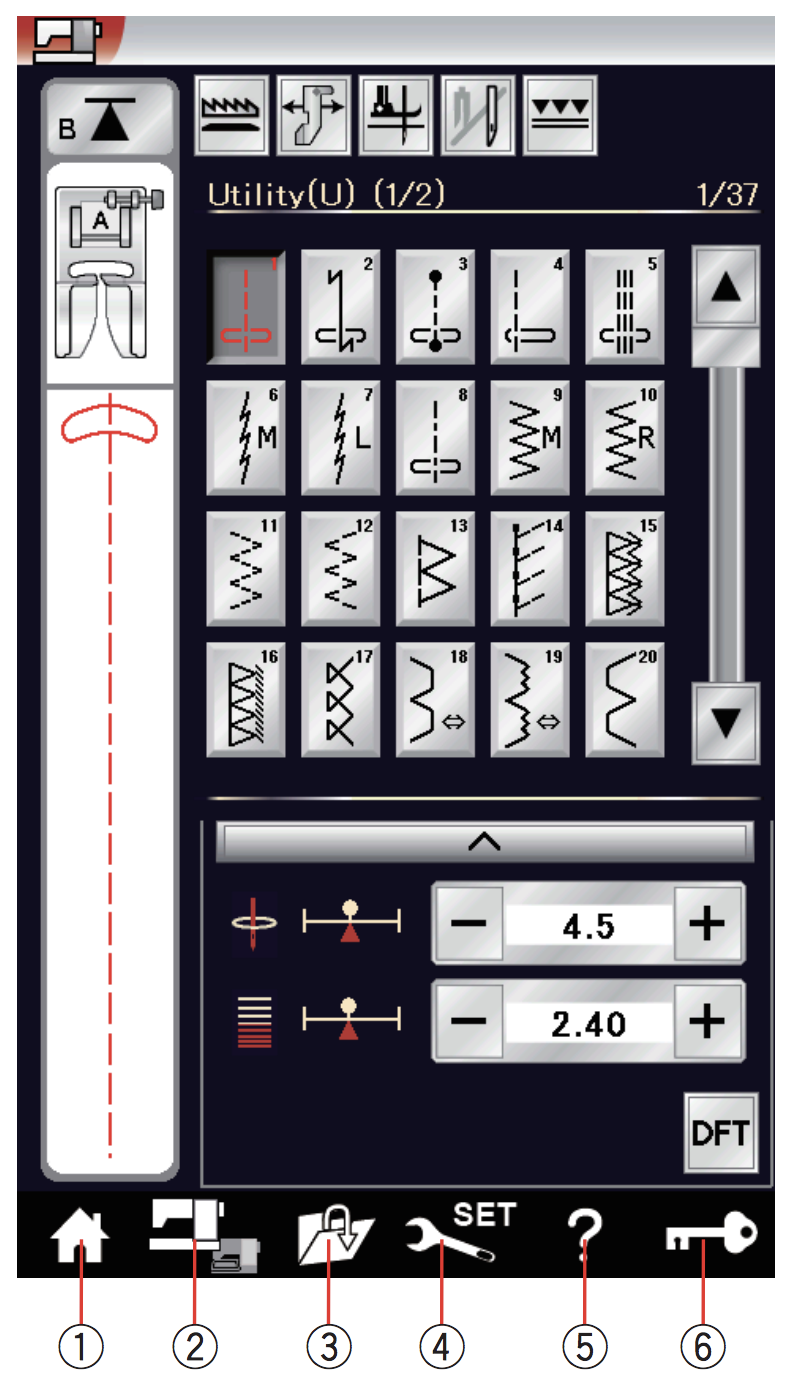
figure 1 Interface panel.
The Digital Embroidery Machine #
Turn on the machine (right hand side)
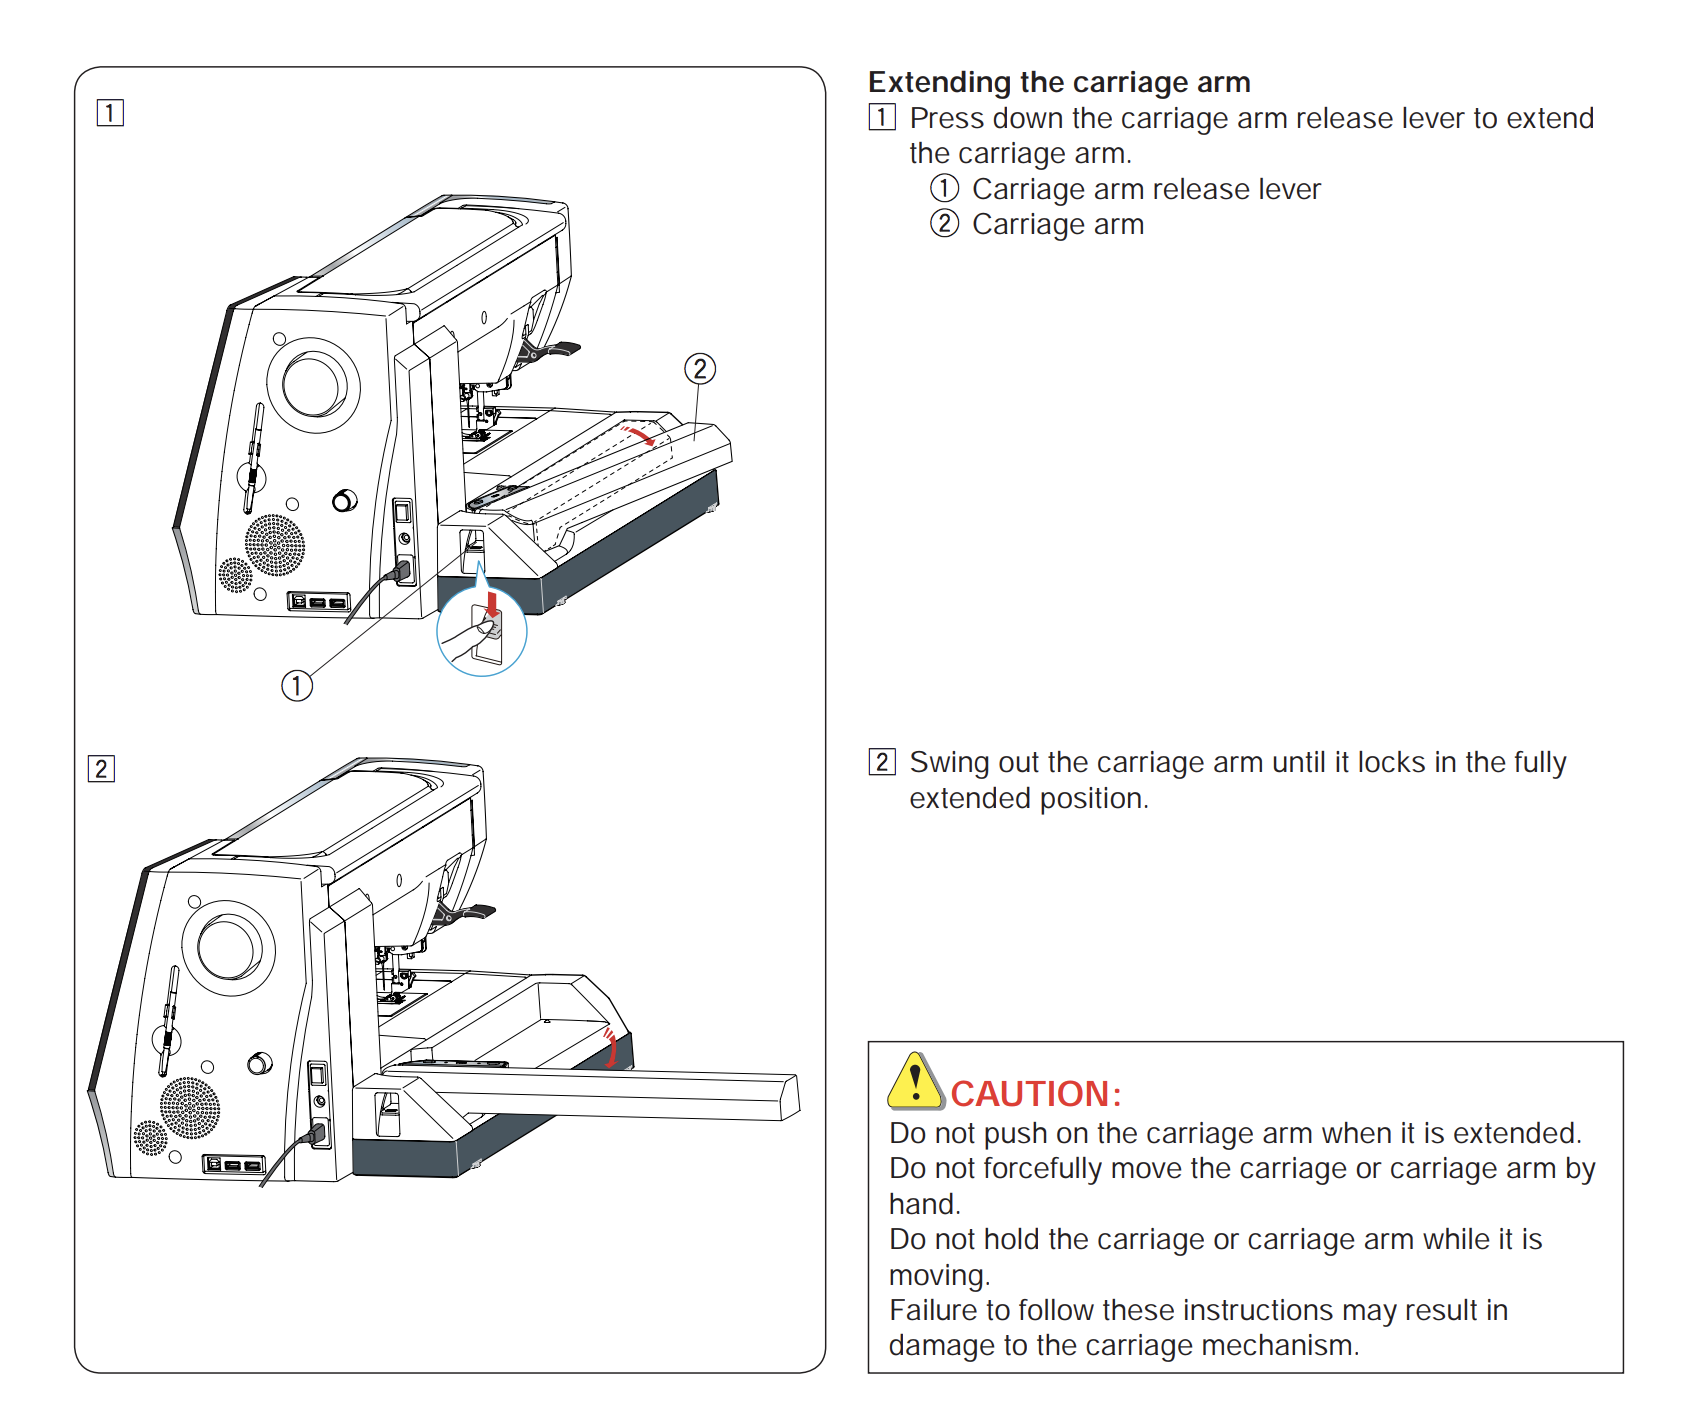
Open the carriage arm:
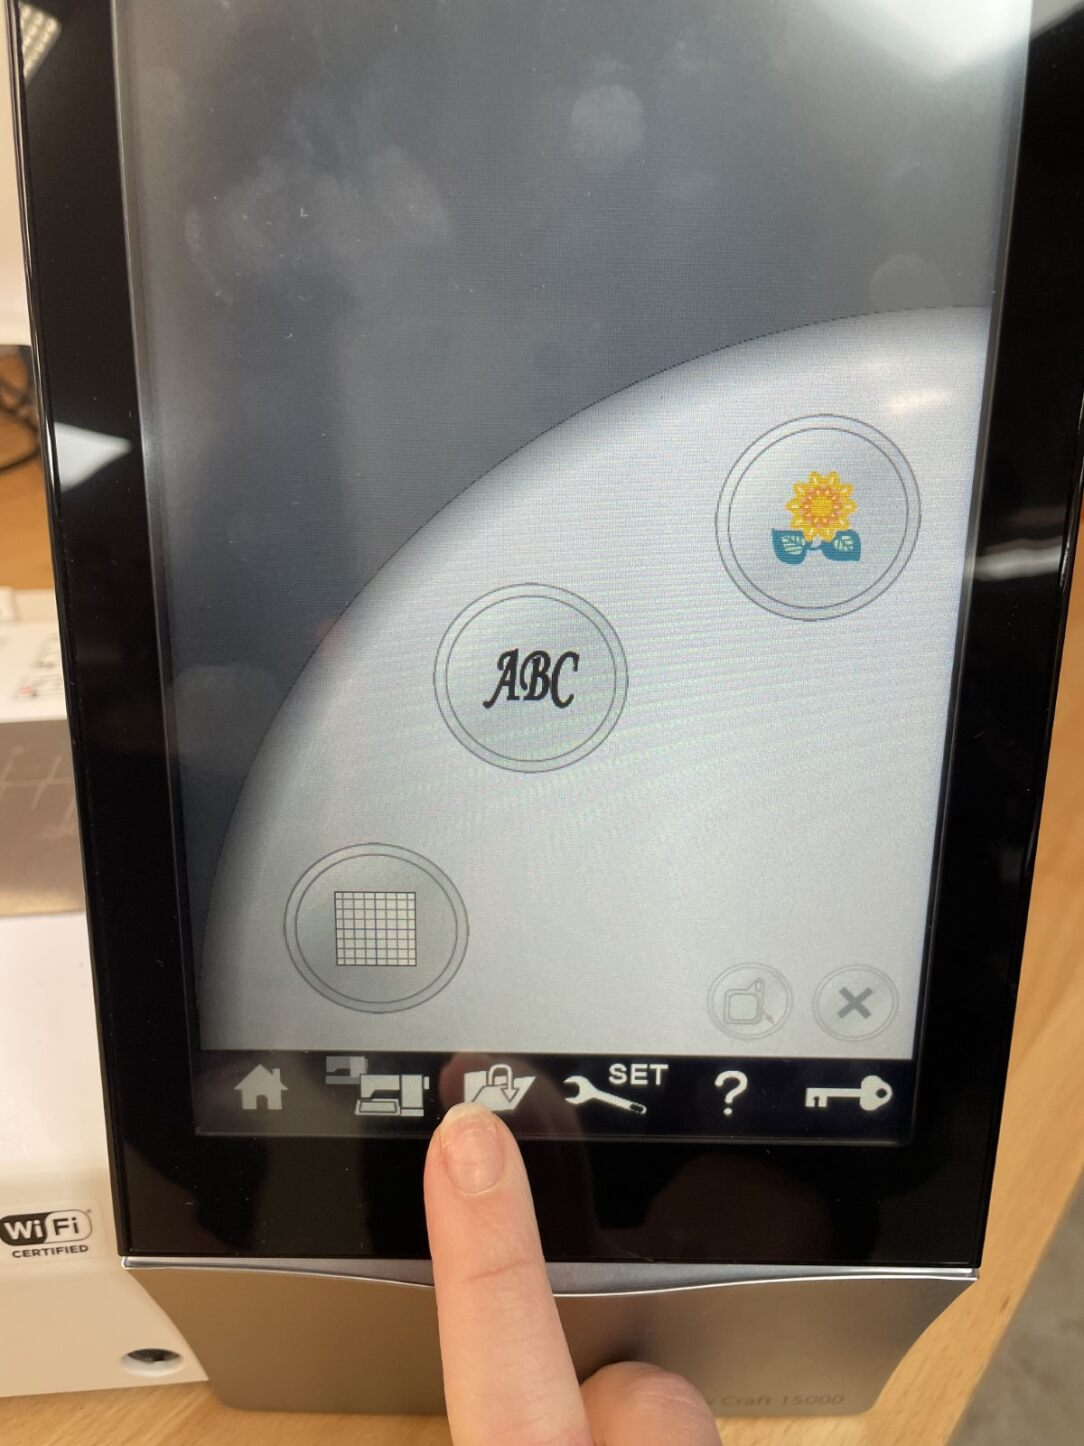
Switch mode to digital embroidery mode on the interface. Use button #2, referenced in figure 1.
Wind the bobbin. Use button #5 on the interface, referenced in figure 1, to access the short tutorials. Watch “1. Winding the Bobbin”. Winding the bobbin & threading the machine is also covered in pages 14-16 in the manual.
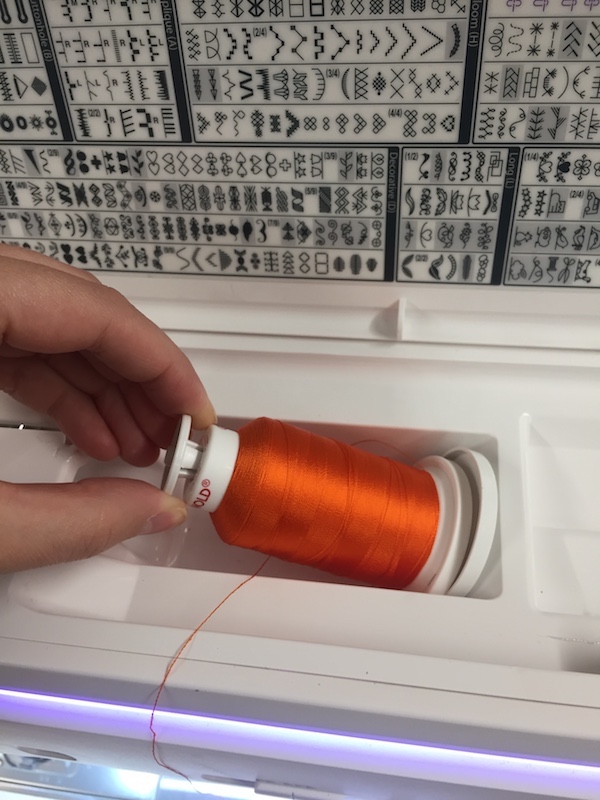
Thread the needle. Use button #5 on the interface, referenced in figure 1, to access the short tutorials. Watch “2. Threading the Machine”. Ensure you attach the spool holder at the end of the spool of thread. The automatic threader does not always work - if it is not working manually thread the thread through the needle eye.
Thread the bobbin. Video tutorial starts at 8:27
Turn the hand wheel a couple of times to expose the bobbin thread. If the bobbin thread is not catching check you have threaded the bobbin properly. Refer to the previous videos and this wikihow article for more help. g
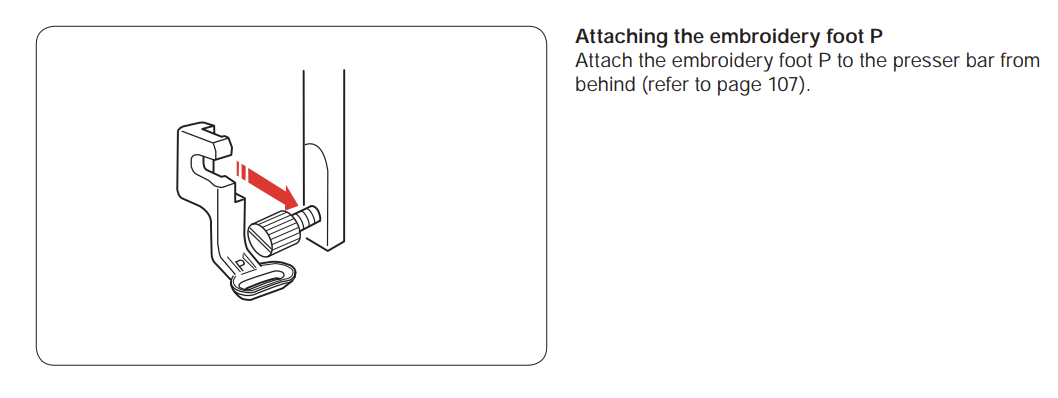
Install the correct presser foot, tighten the screw to ensure the foot is not loose. Page 21 and 107 in the manual.
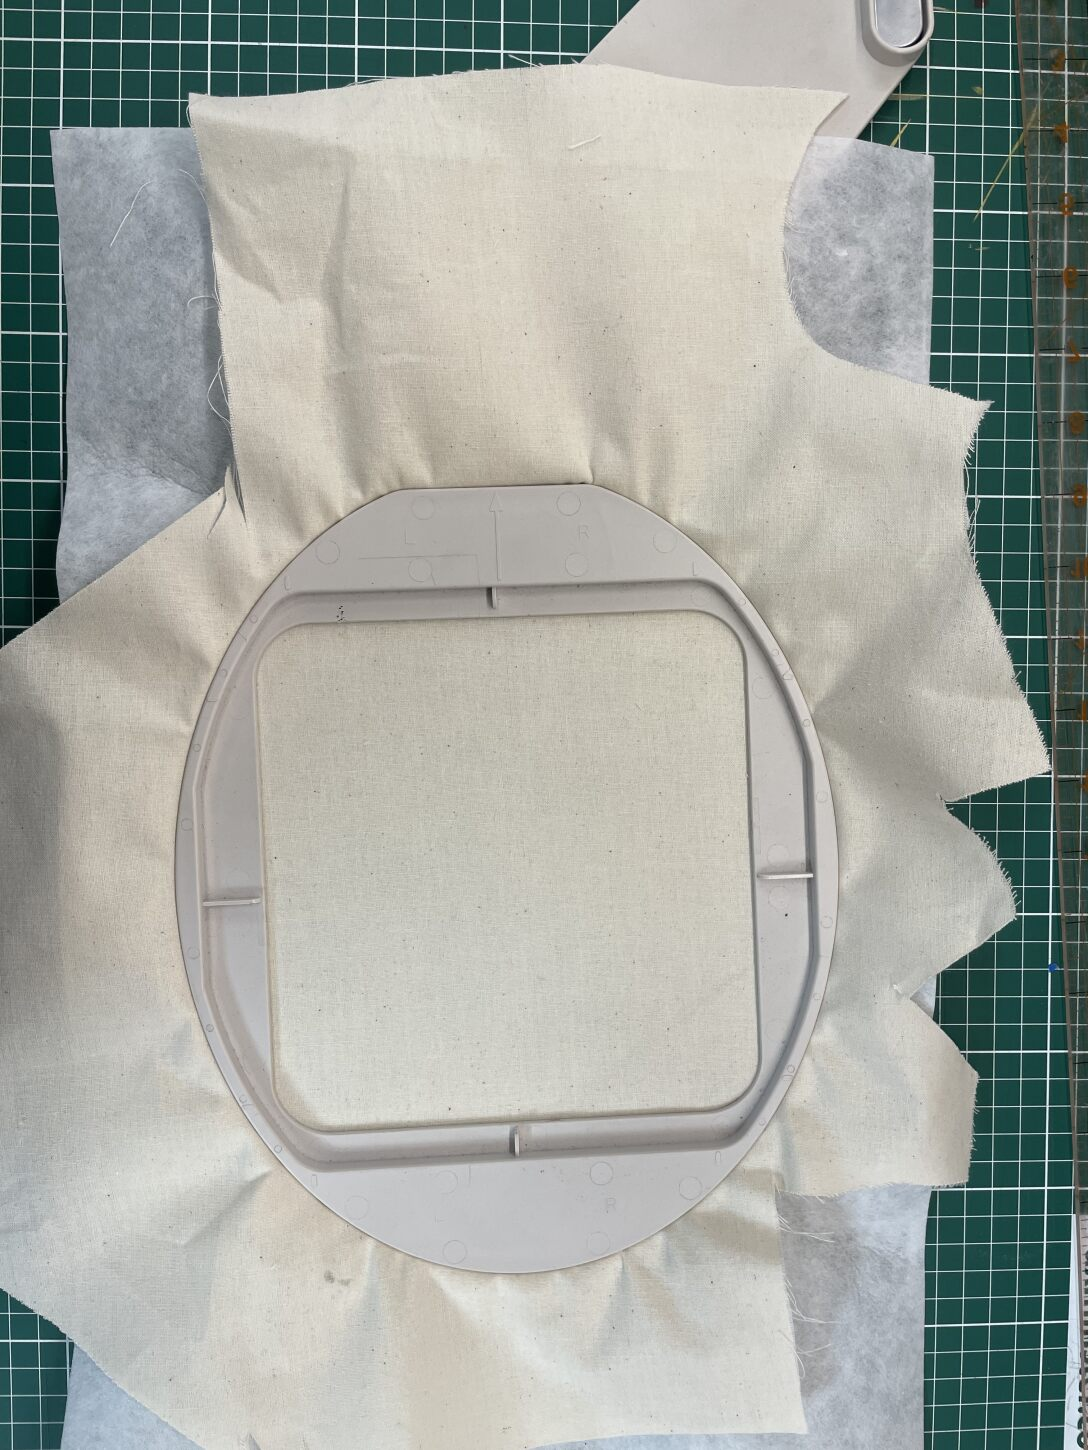
Fasten the stabiliser in the embroidery hoop. Page 112 in the manual.
You can float your material on top of the stabaliser and pin it to the stabaliser or fasten it in the embroidery hoop with the stabaliser.
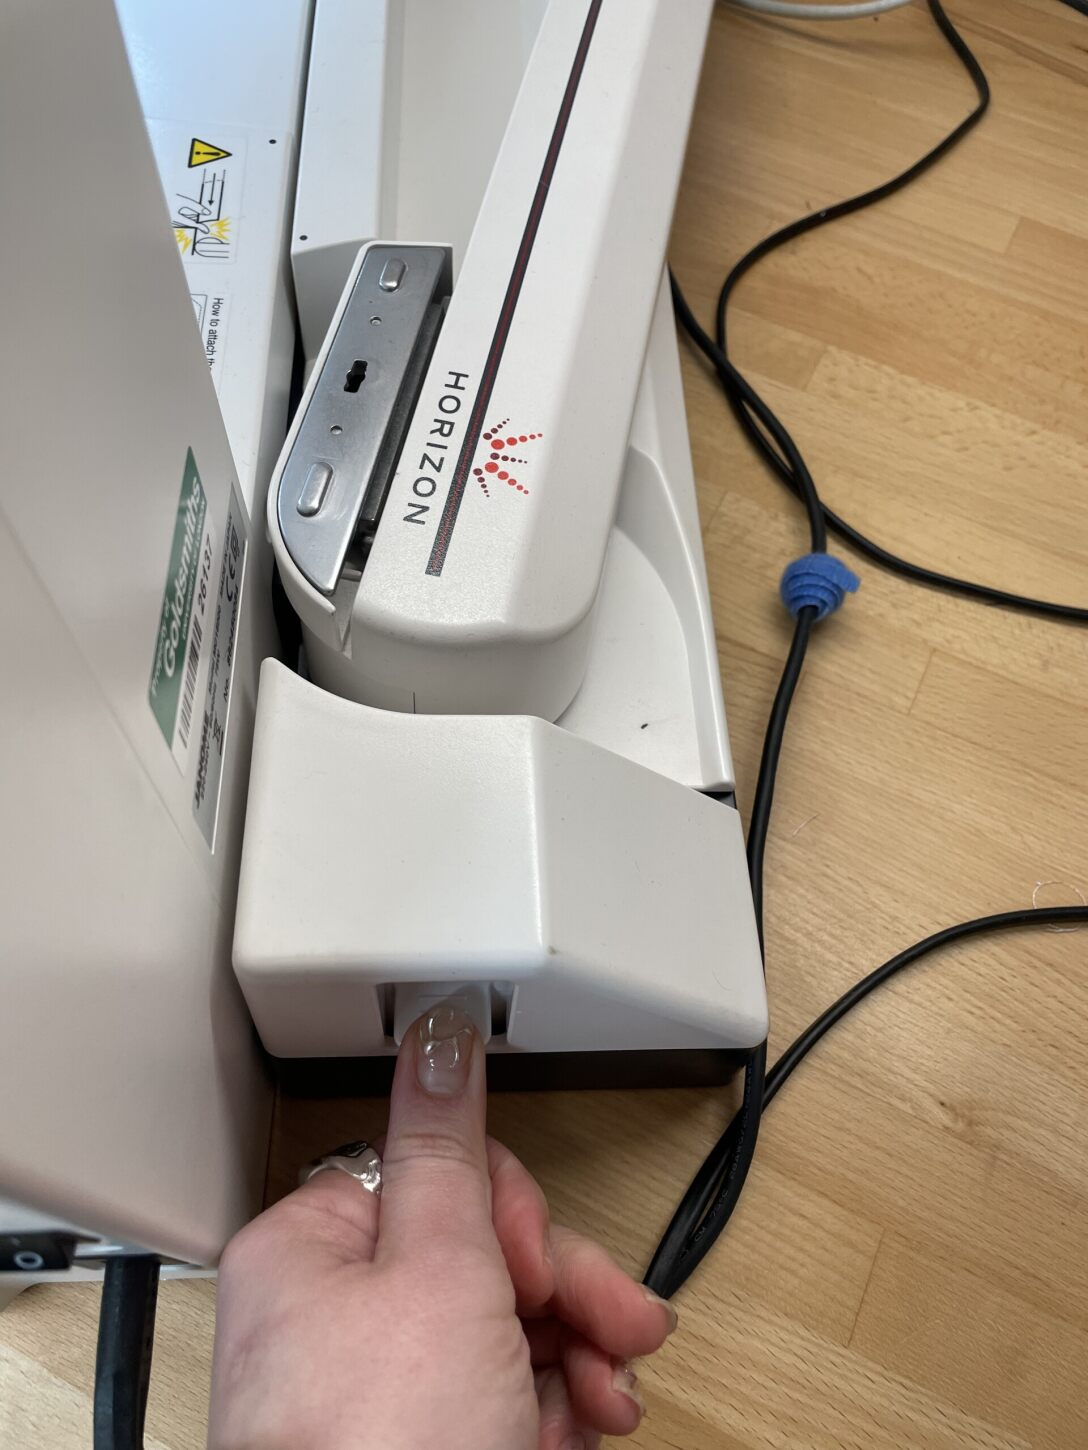
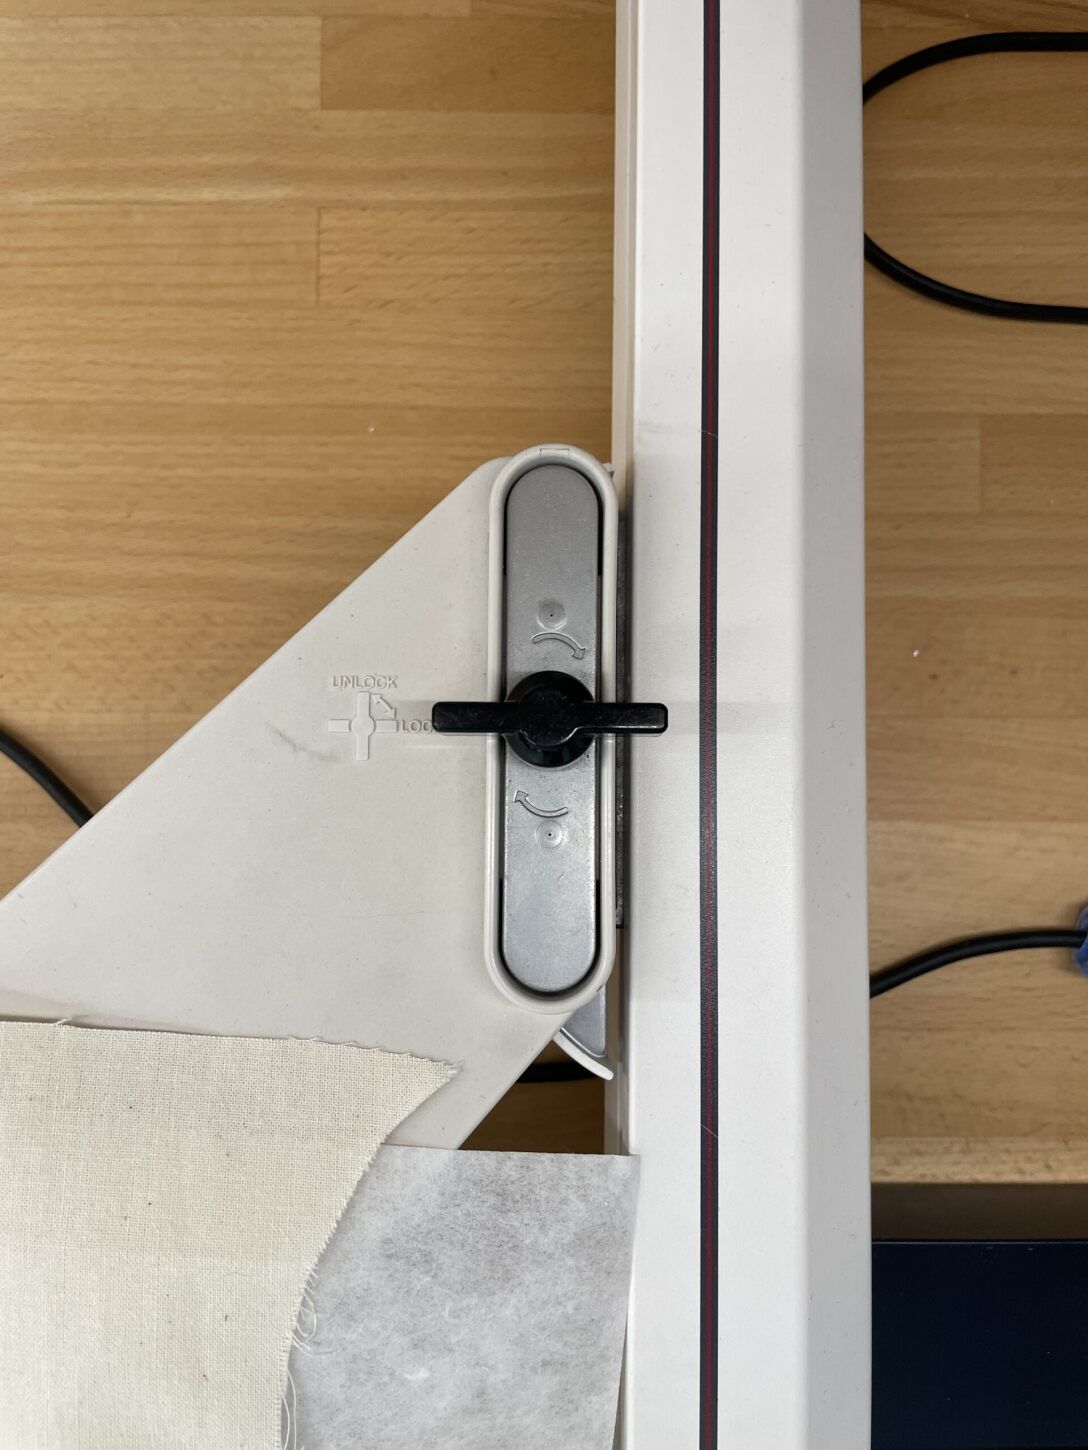
Open the arm at the back of the machine by pushing down on the tab and attach the hoop to the embroidery machine. Page 113 in the manual.
Janome Artistic Digitzer #
There are many different ways to design with Artistic Digitizer including designing within the software. For this tutorial we are going to use an illustrator file that you will need to design beforehand and digitise it. You need to save the file as a legacy file using the Illustrator 3 version.
Open Artistic Digitzer
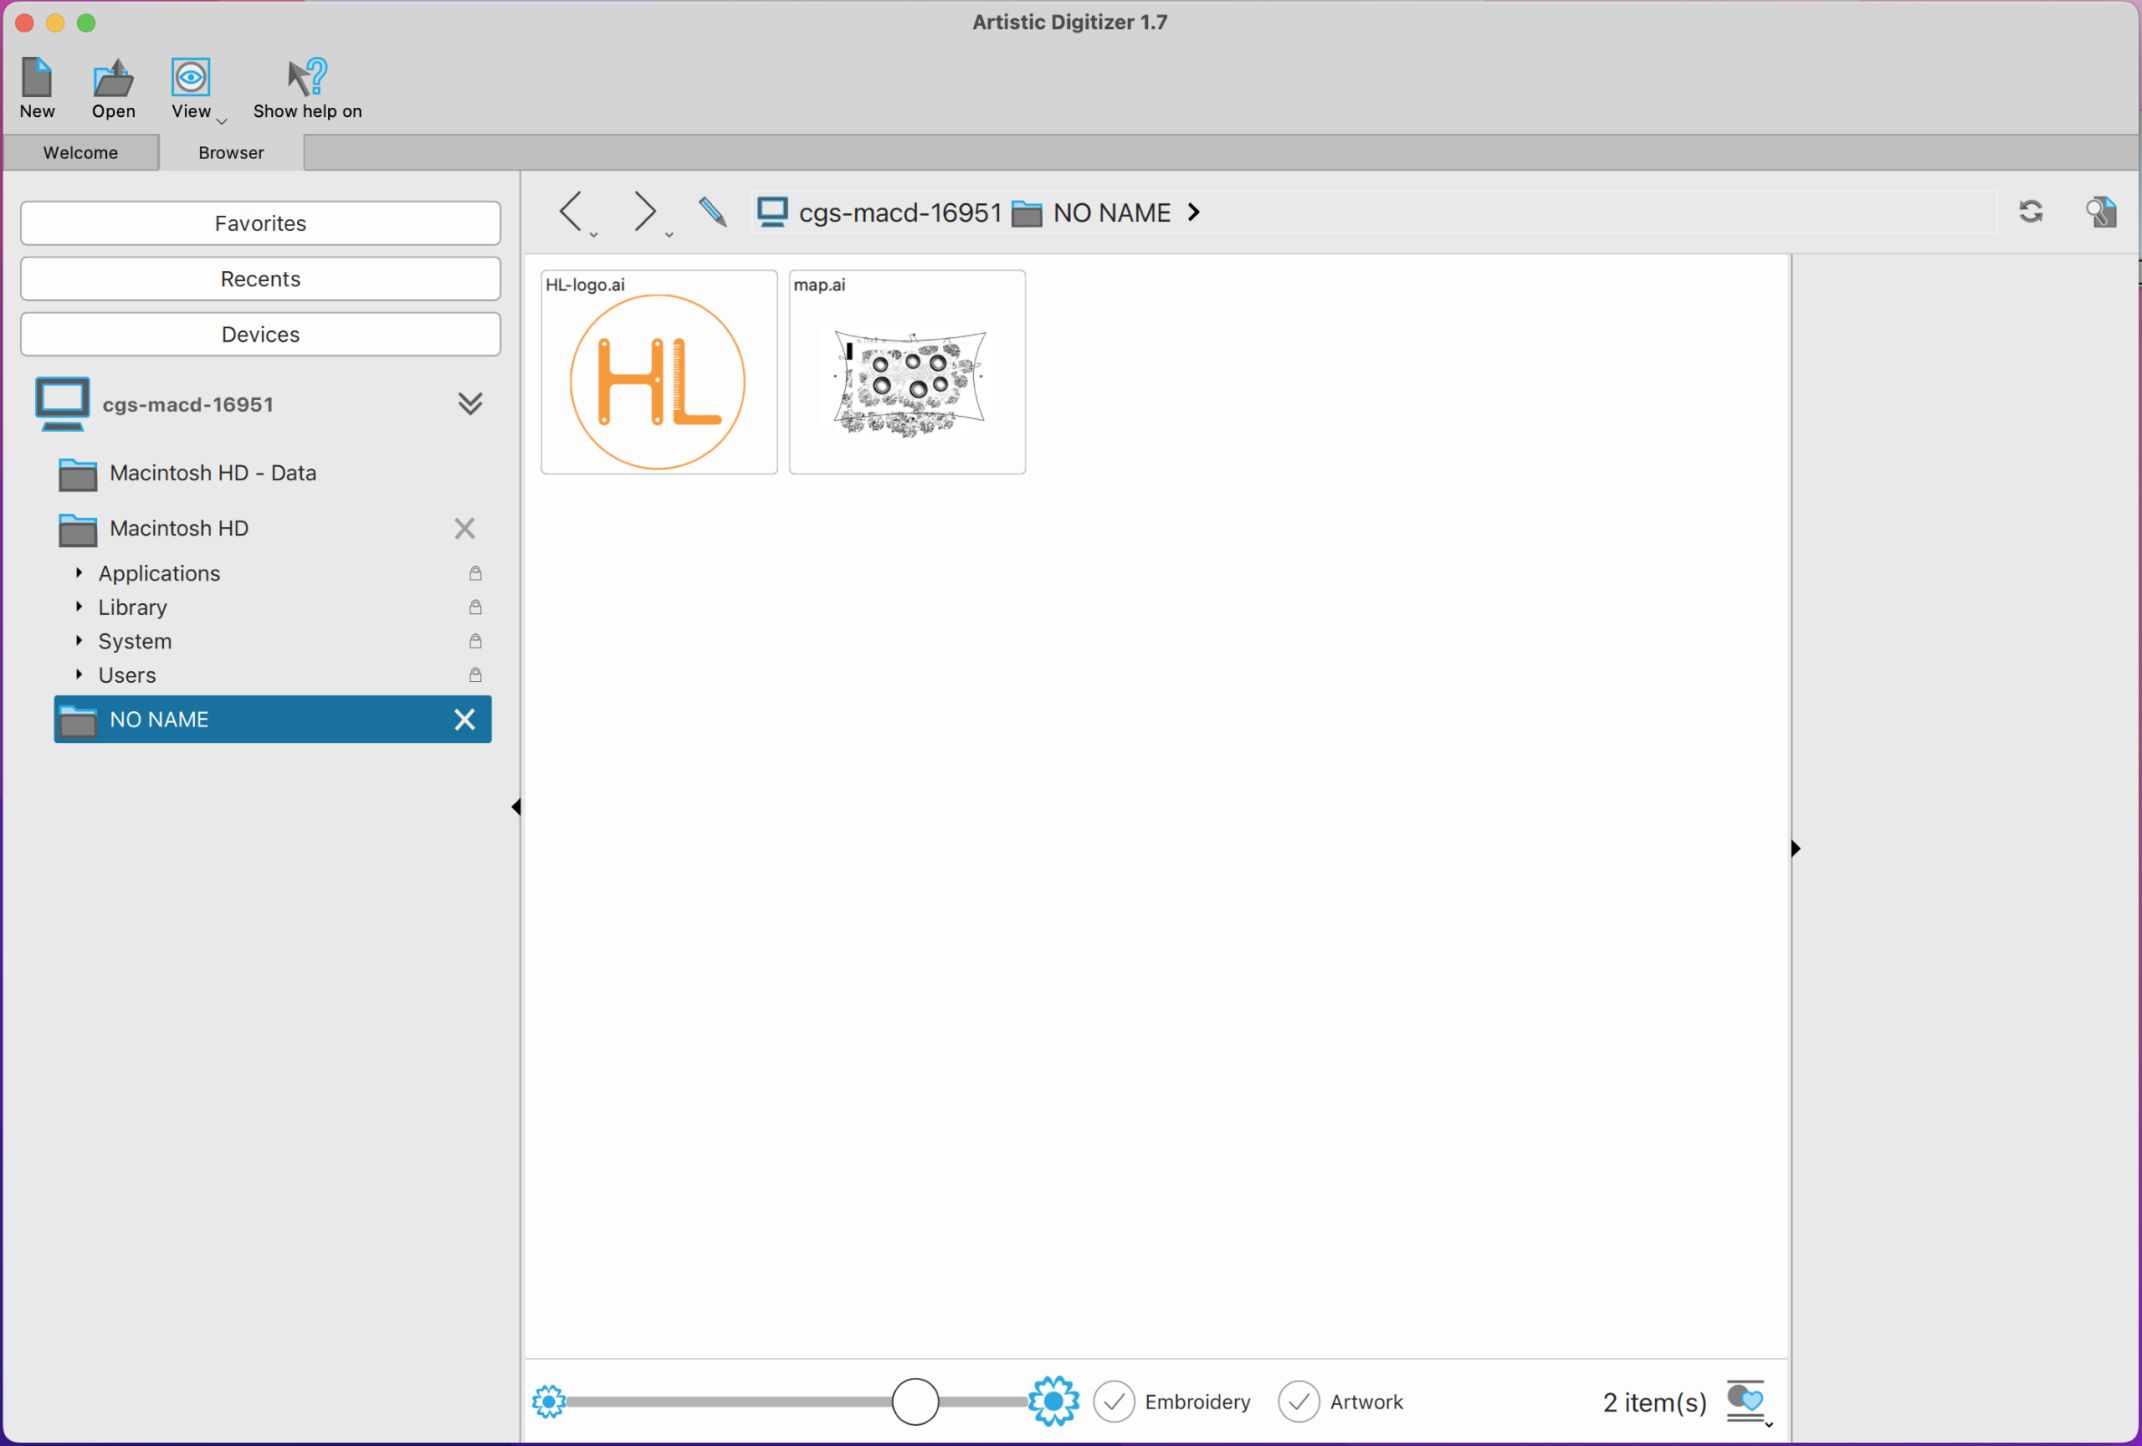
From the welcome page choose “Browser” to find and open your .ai file
Choose your fabric

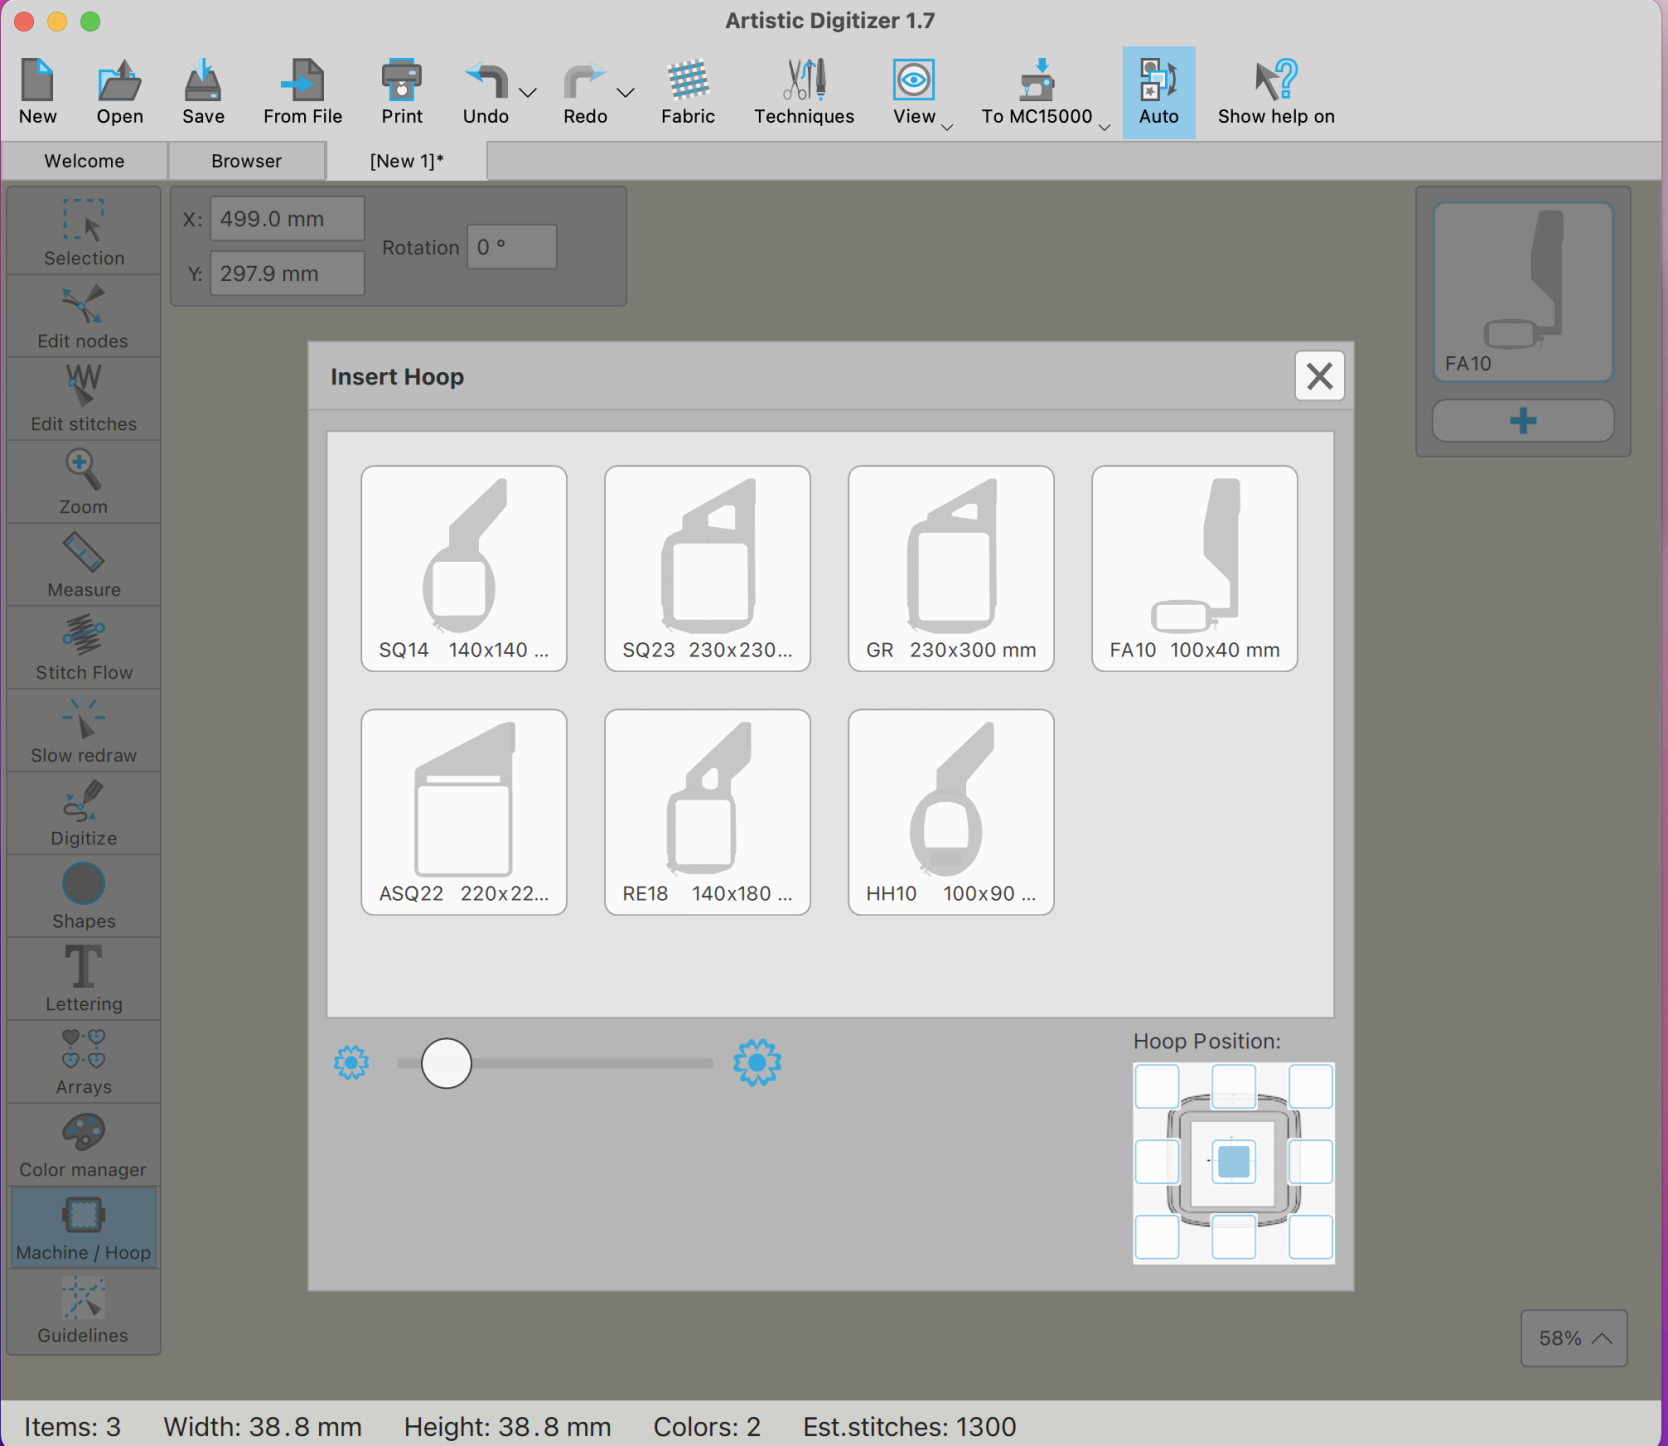
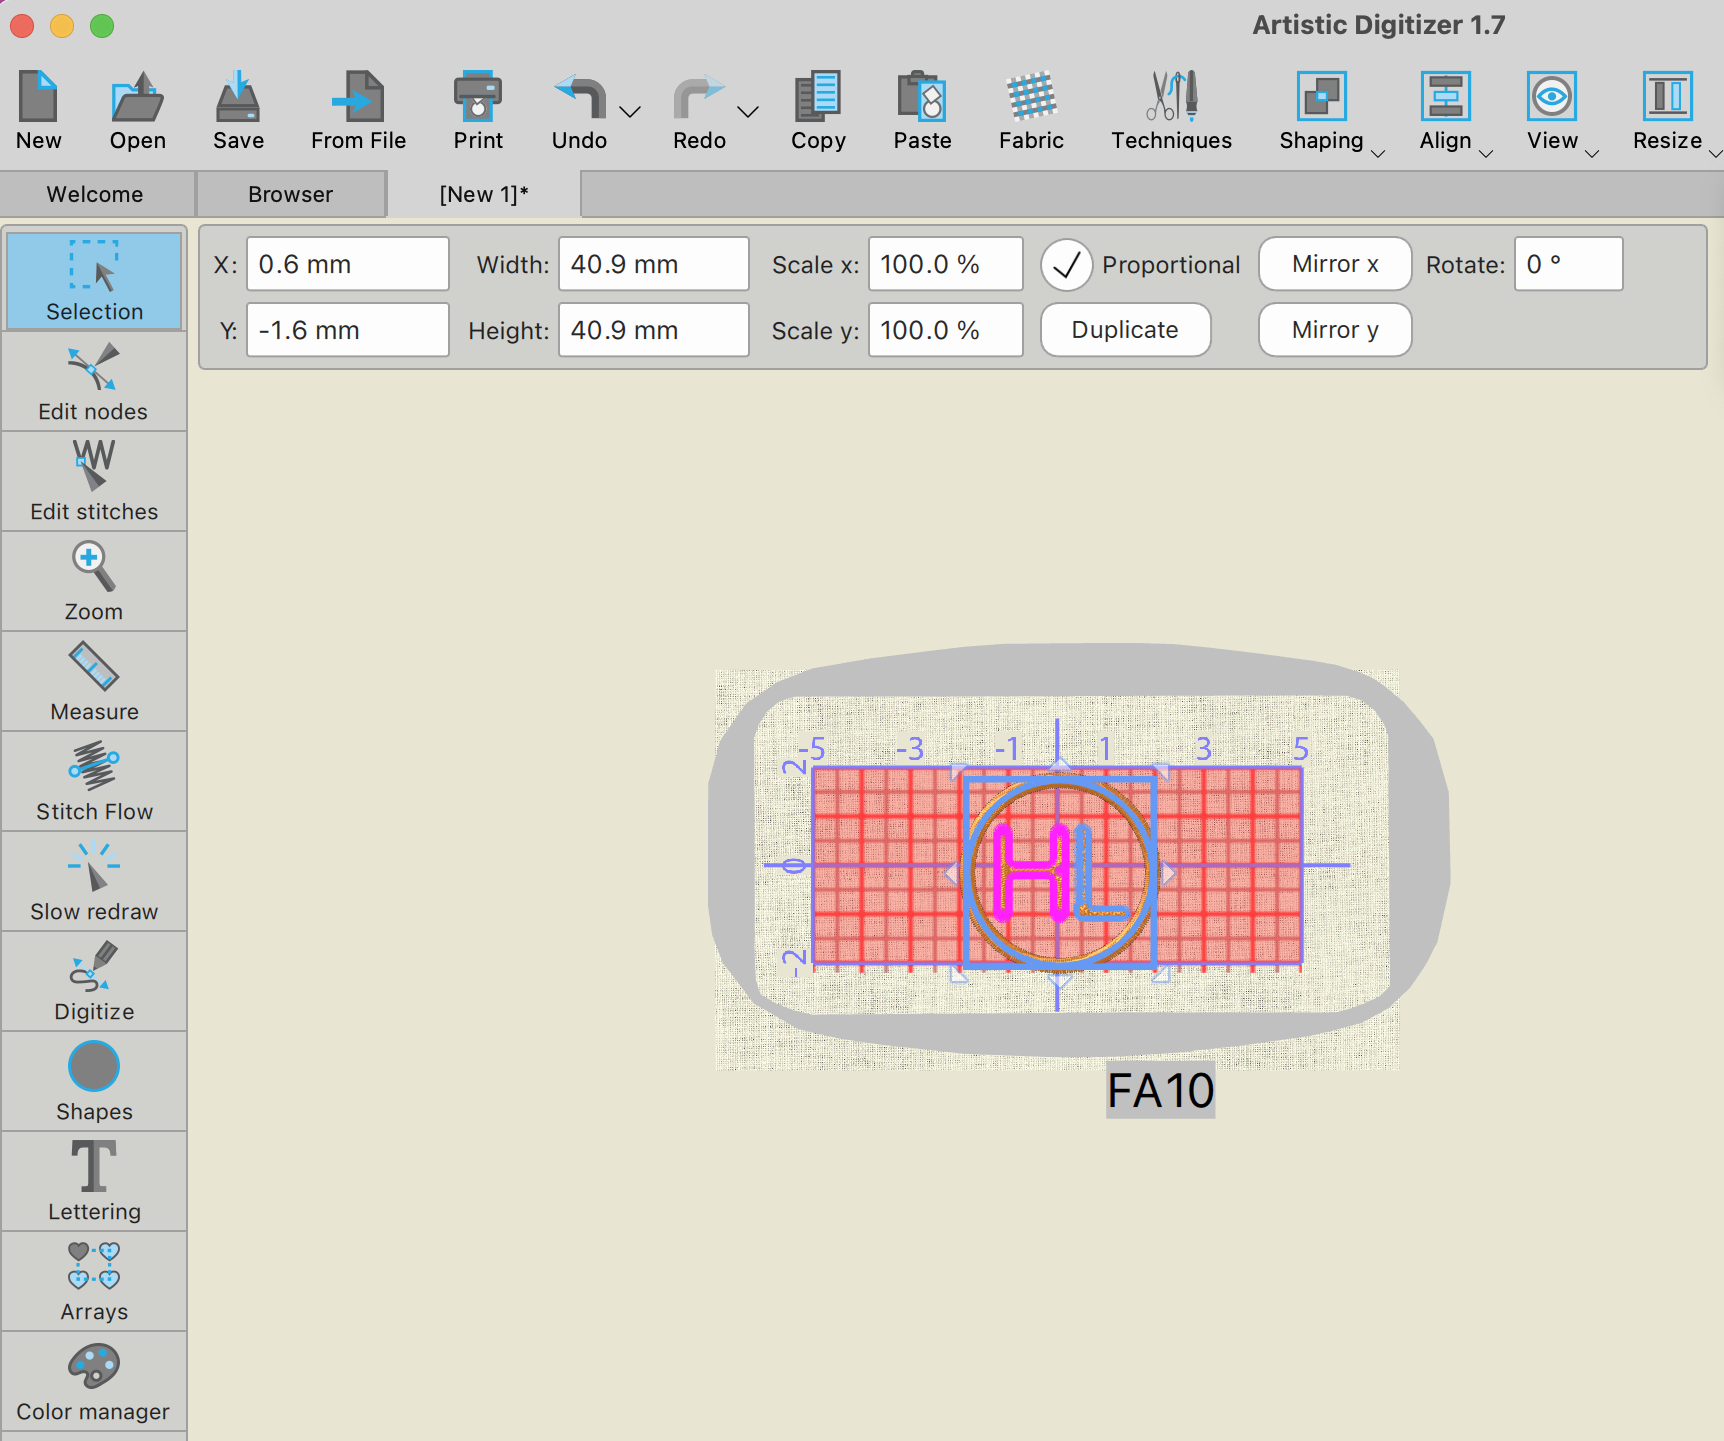
Choose your hoop
Centre your design to the middle of the hoop.
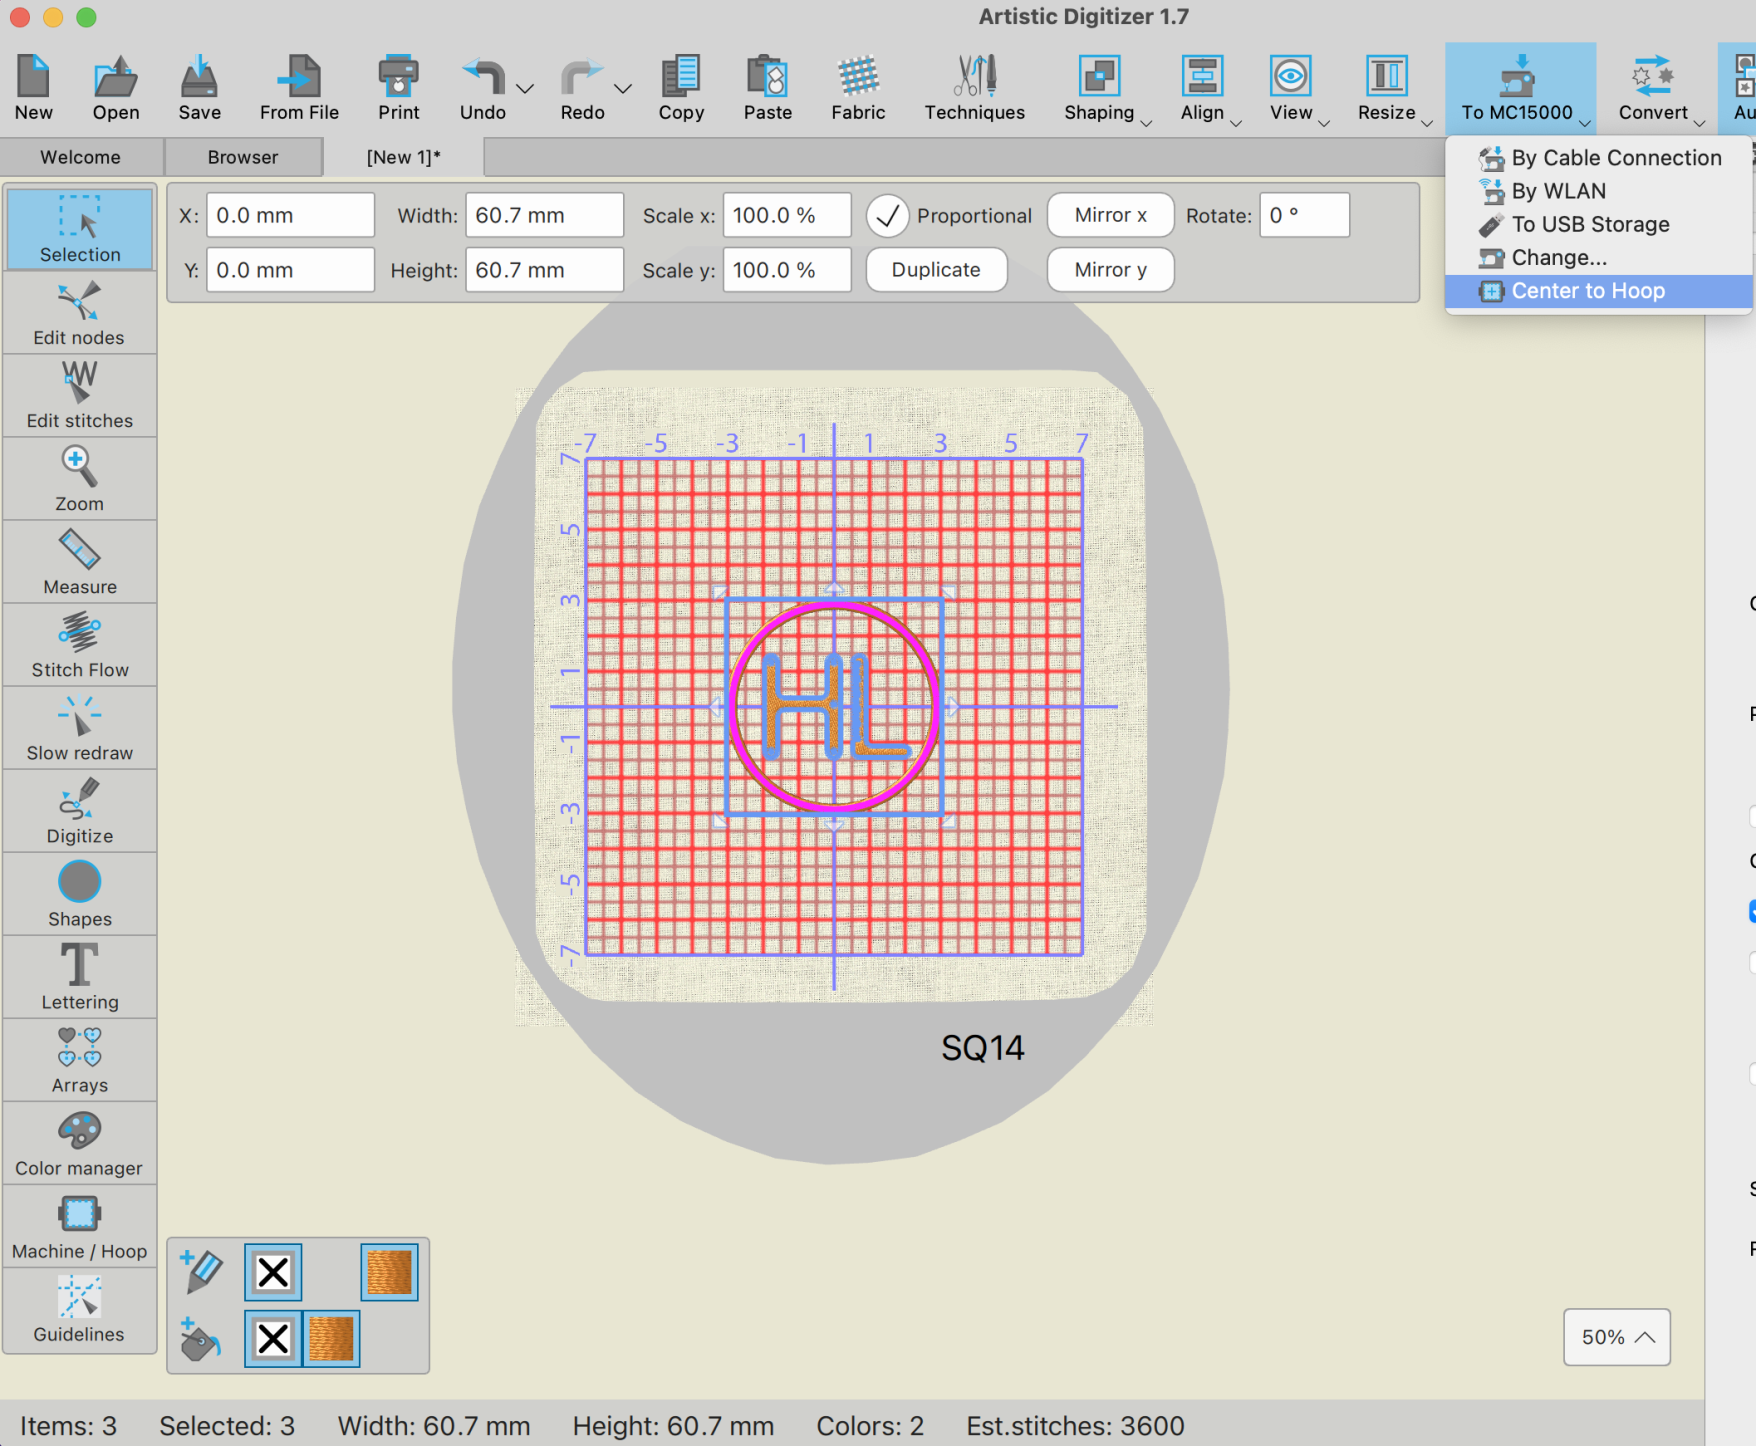
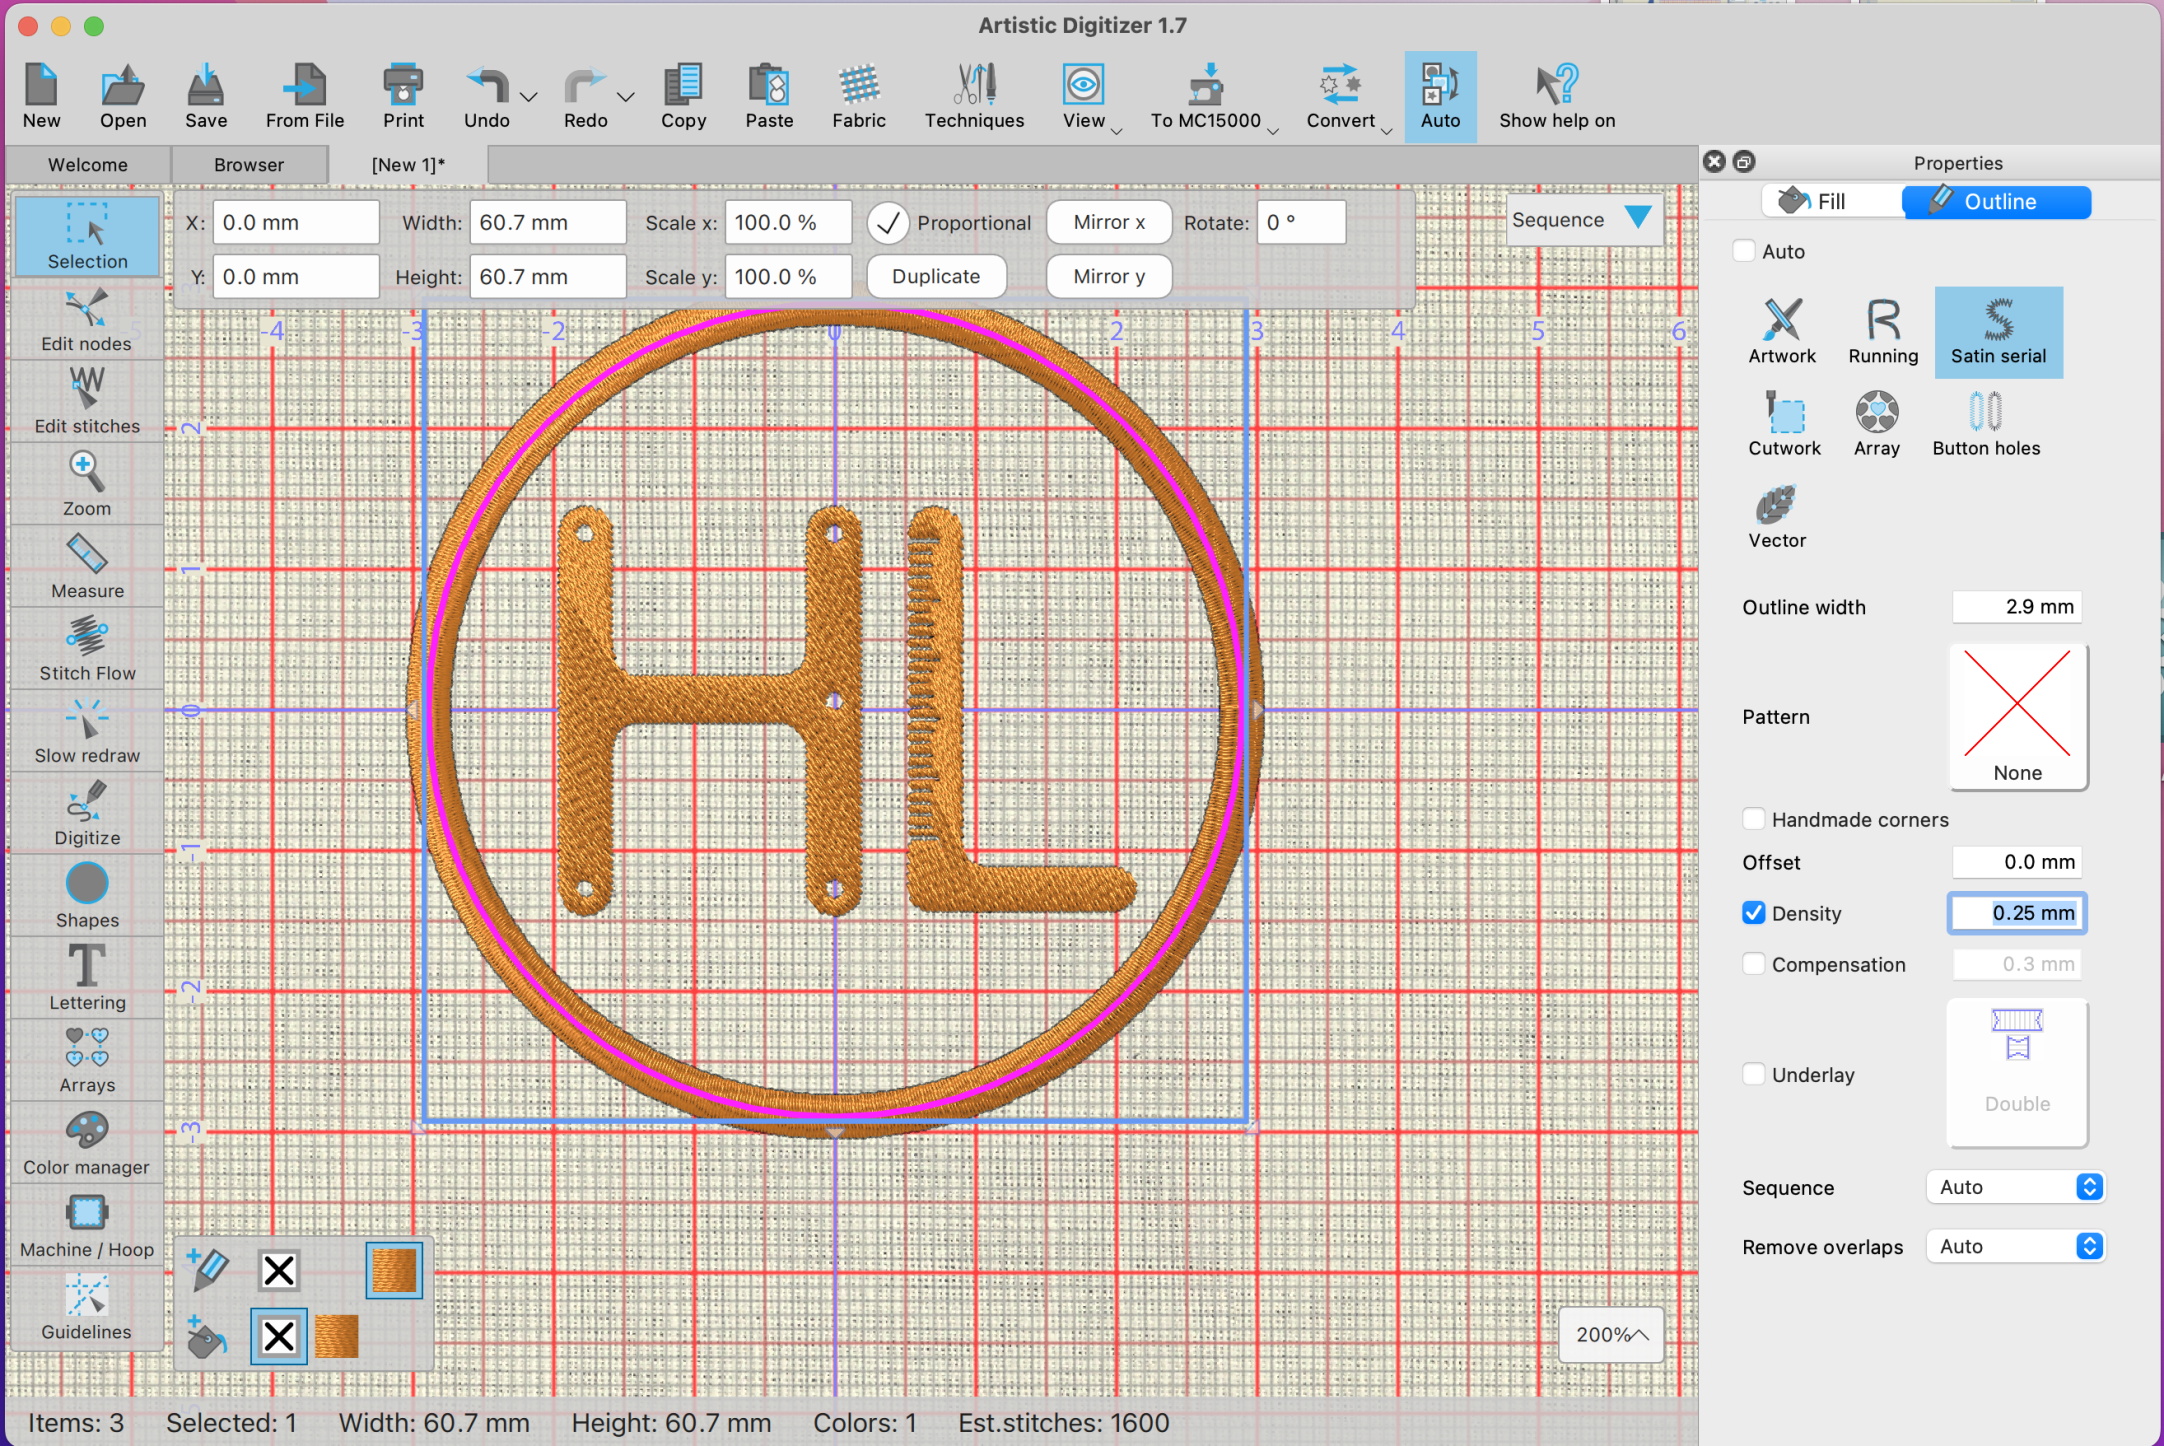
You can select your image with the selection tool and resize it. TIP: If the background is red it’s because your design is outside the sewable area.
You can change the “density” (fill) from the default 0.45 for your desired effect.
- The lower the density the more stitches are made to fill out your design.
- You cannot go lower than 0.2.
- Have a higher density (less fill) for more intricate detailed images or if it will be too heavy for your material
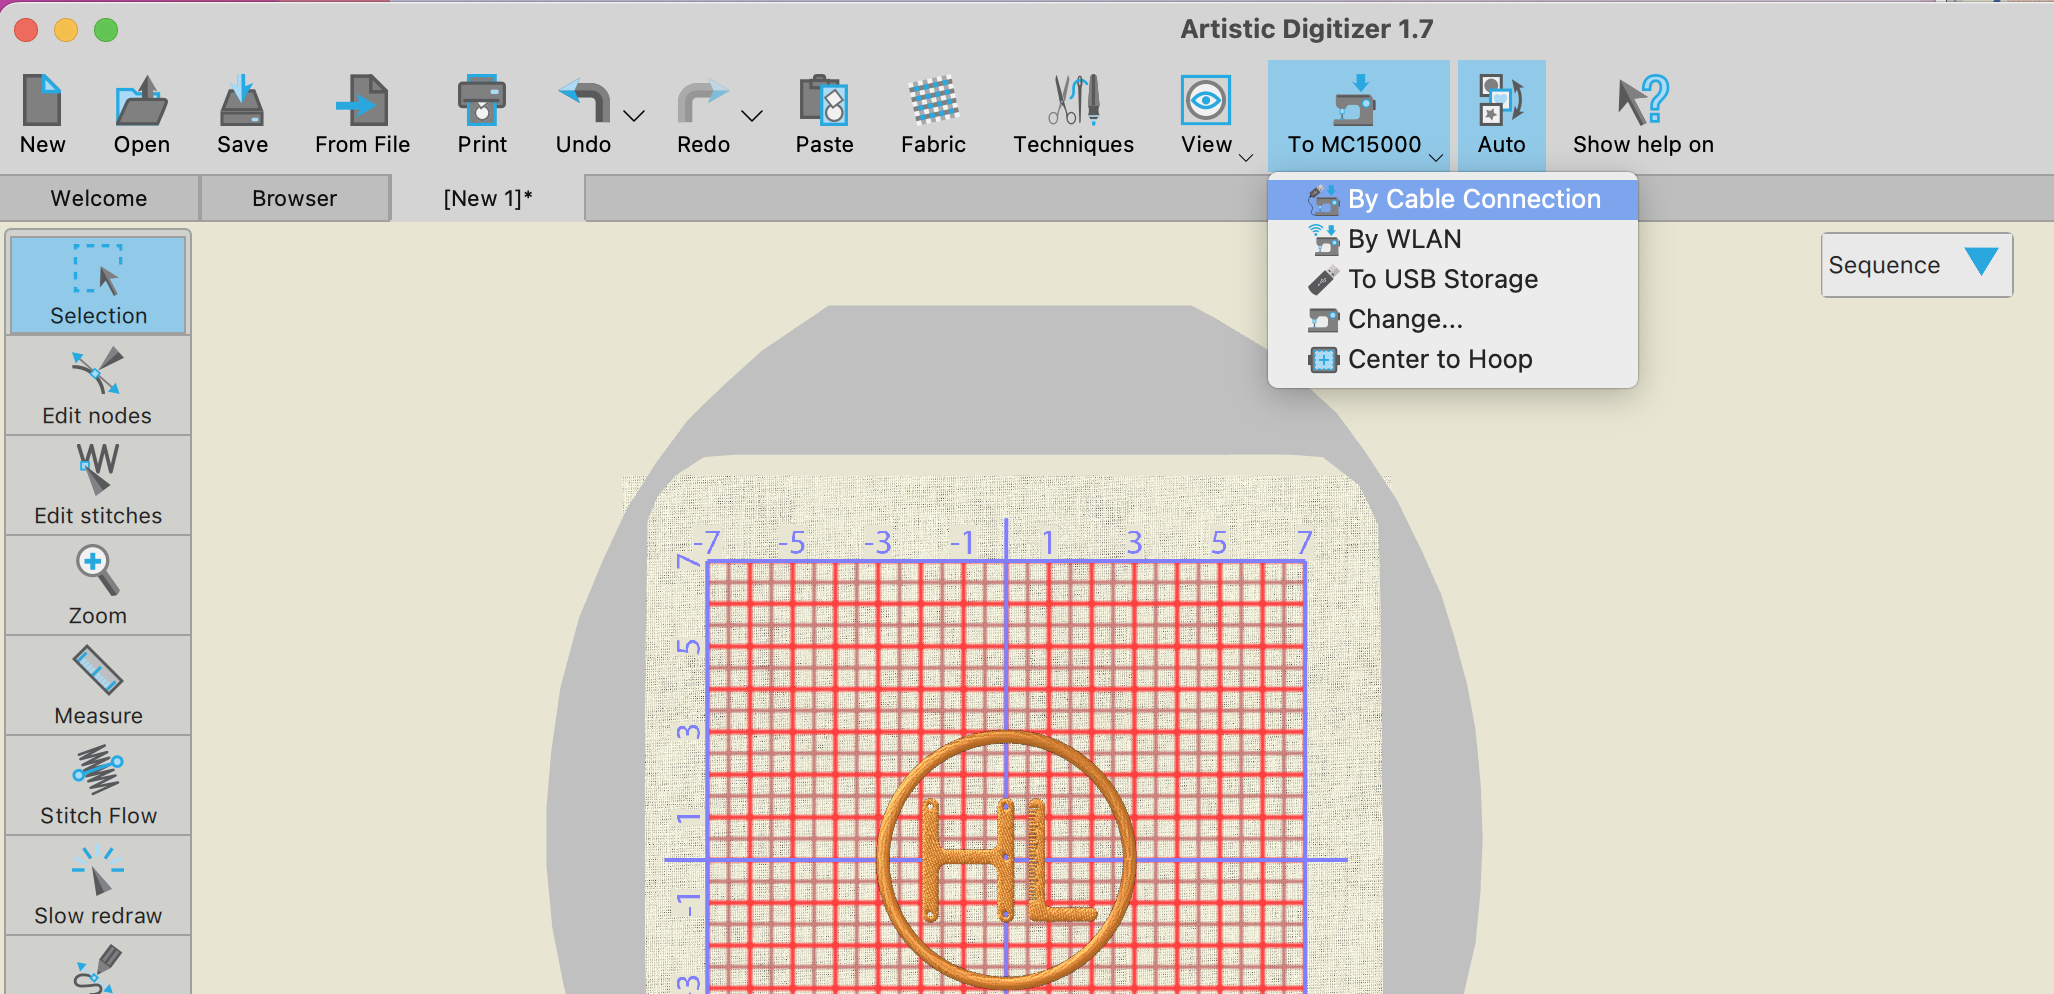
Click “To MC15000” –> “By Cable Connection”. Rename your design before sending it.
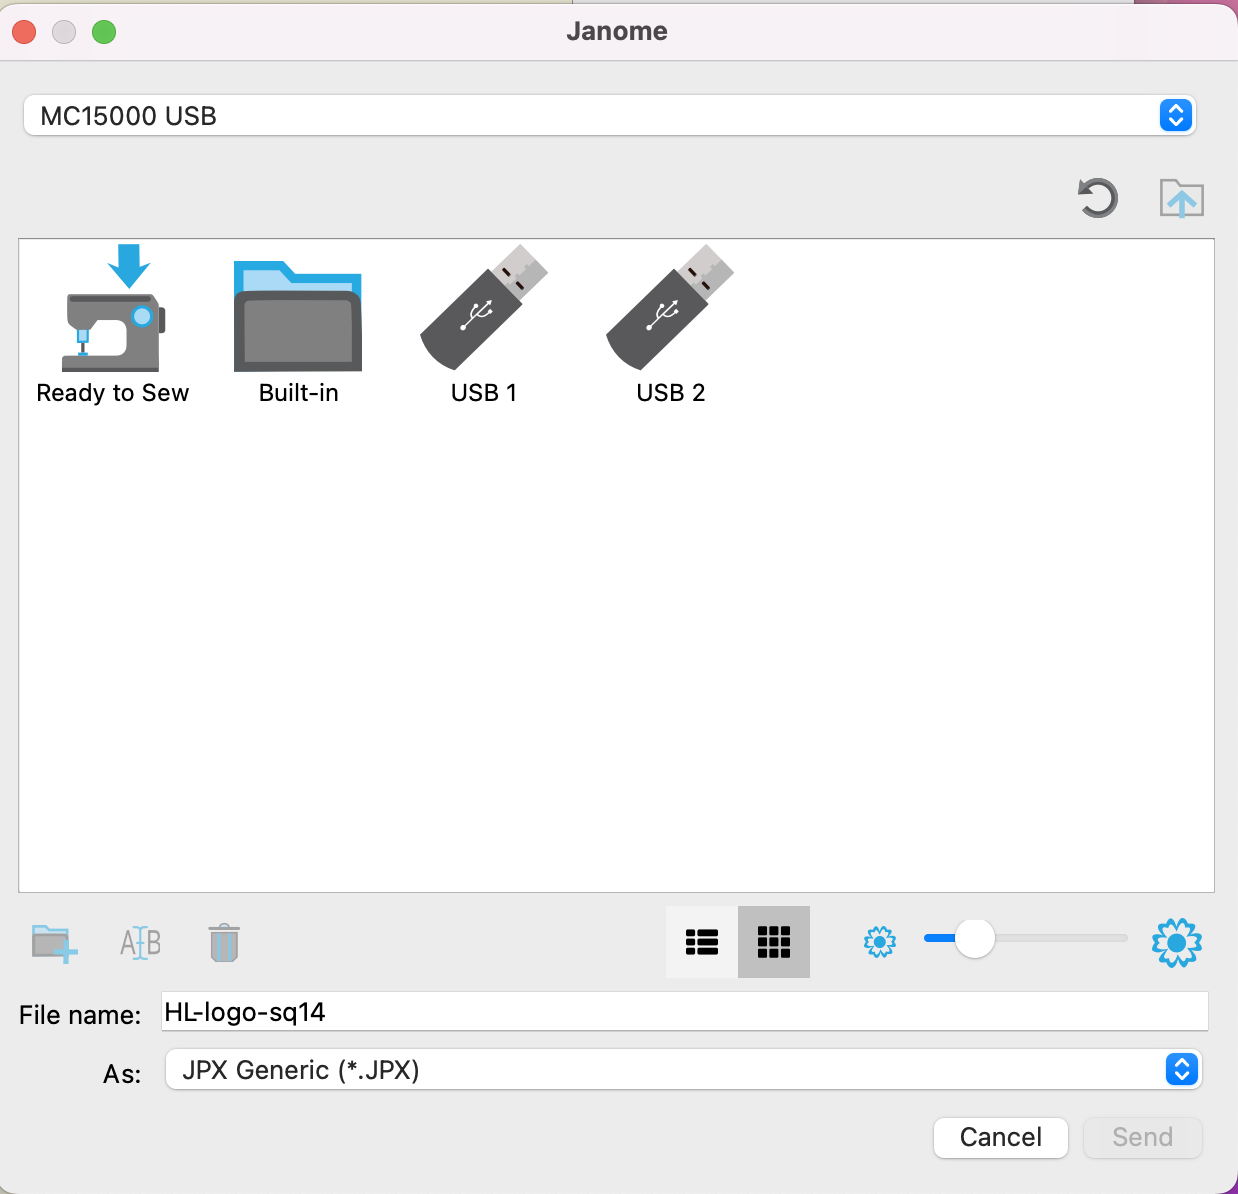
Open the ‘Built-in’ folder to send the file to the machine. Select the red arrow button to upload the file.
Embroidering the design #
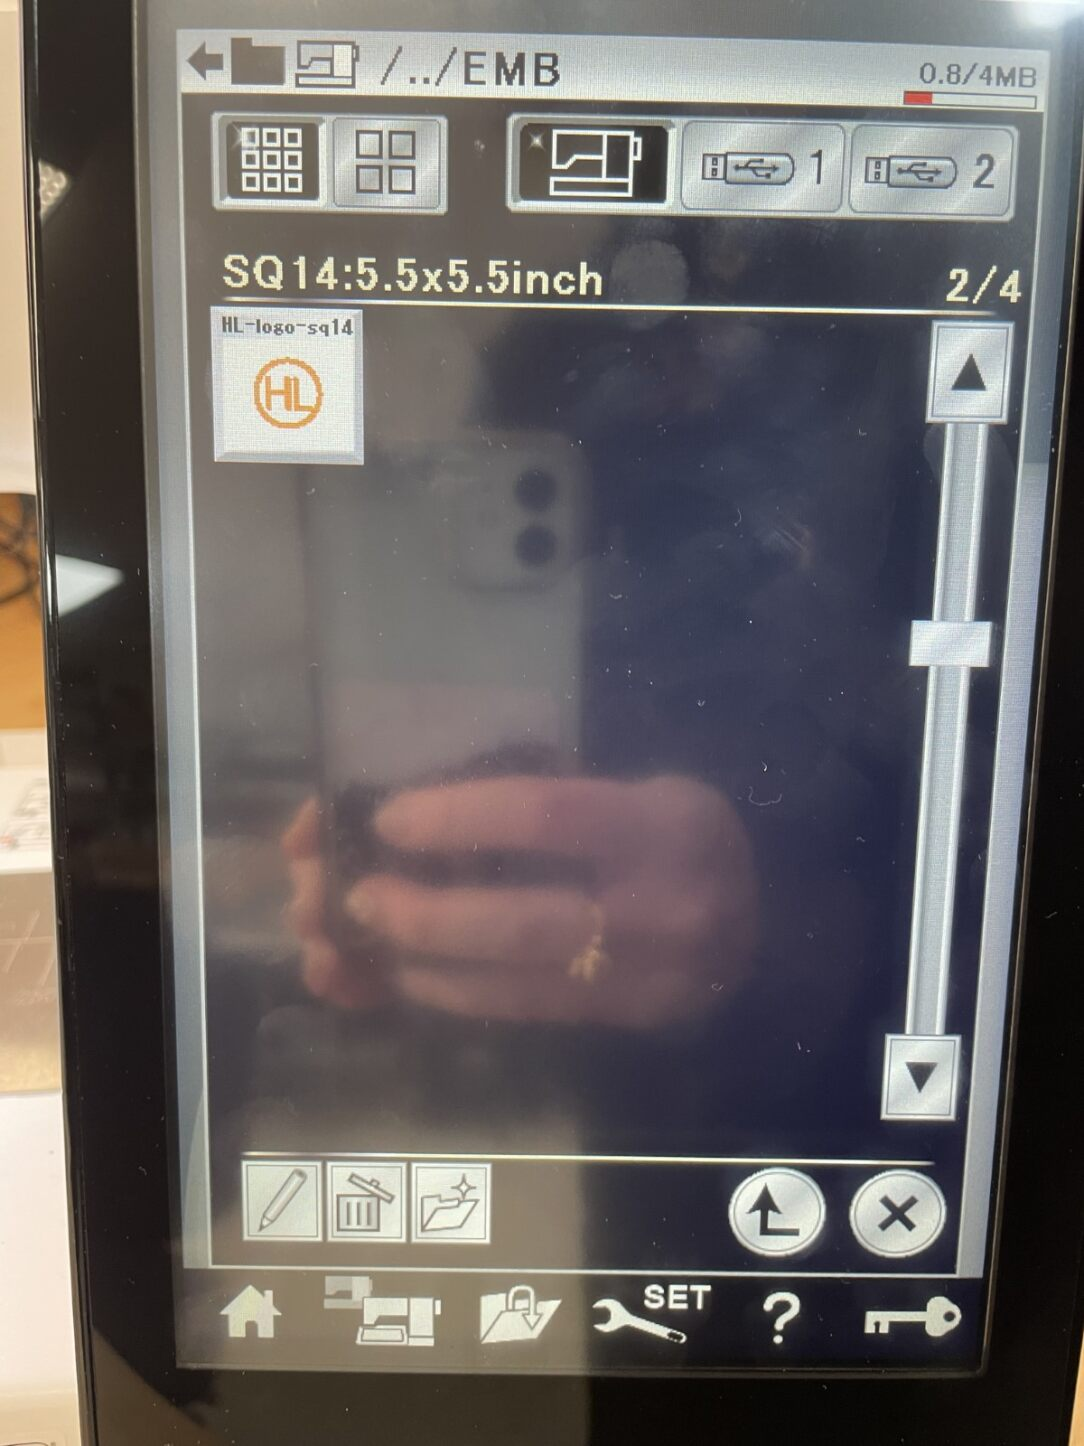
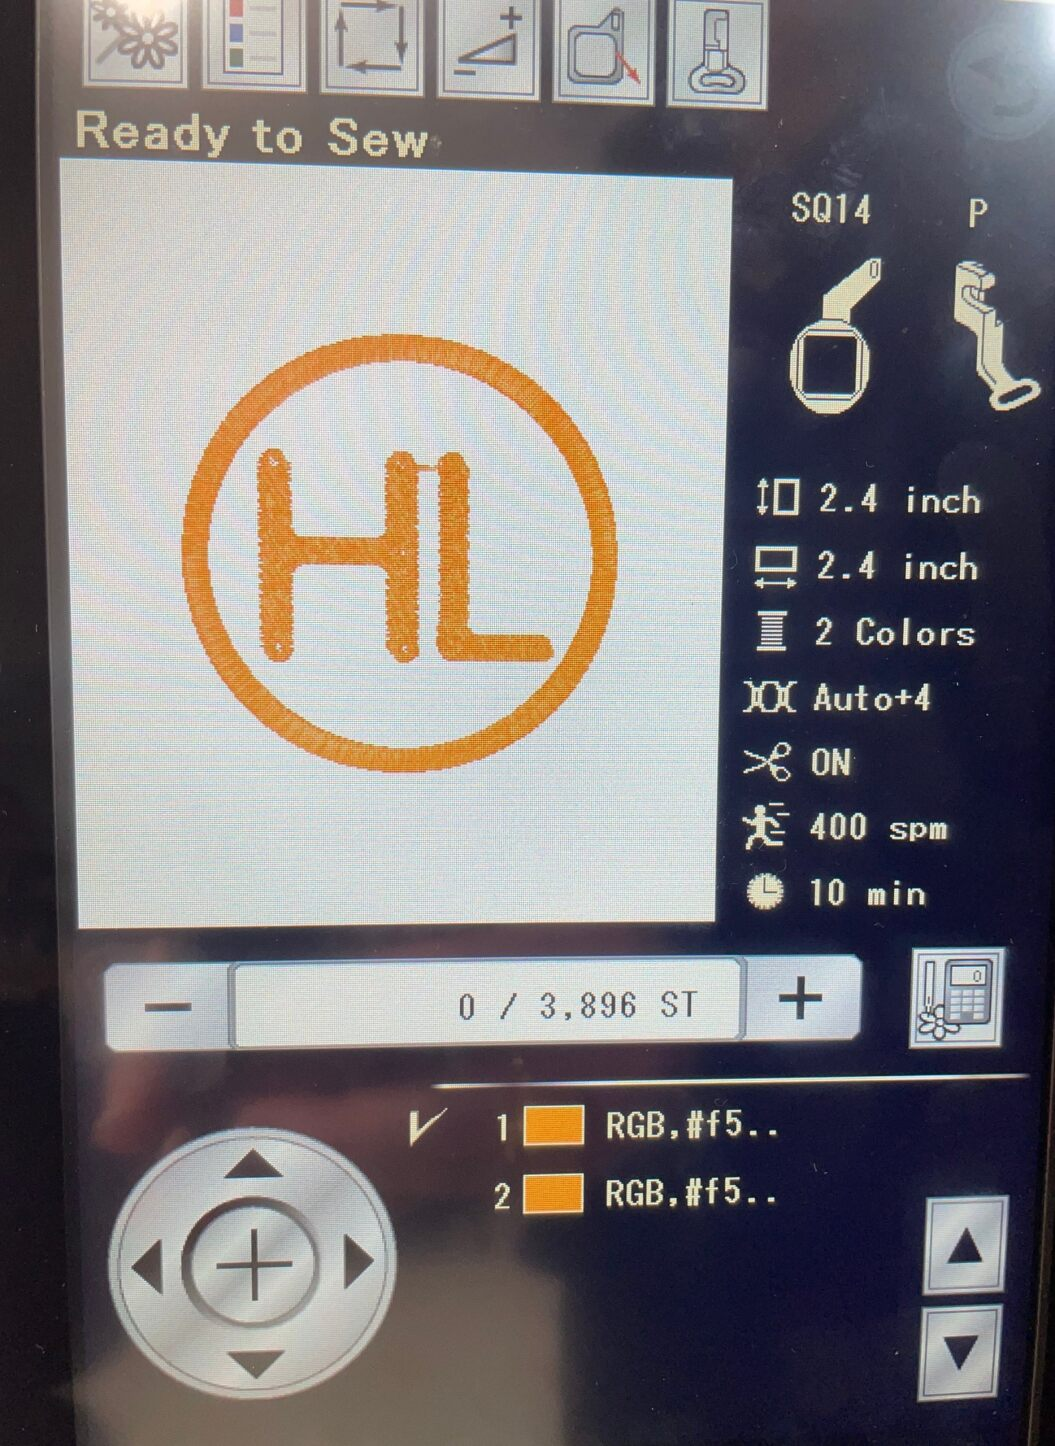
Click button #3 on the interface panel to open the file. TIP: Scroll until you find the file you have sent, the files are listed by hoop size. The panel will display information about your file including how long it will take and how many stitches are in your design.
Set the speed to slow using the speed control slider. Page 10 in the manual.
Double check that everything is secured - hoop, foot, needle, stabiliser
Press the “Start/Stop” button lit in green. Page 10 in the manual.

If your design has more than a single colour, the machine will stop after it completes one colour so you can then re-thread the machine with the next colour then press start so it can continue.
If the thread breaks (re-thread your needle) or the machine jams the embroidery machine will stop and display an error. Reasons why you may experience errors - Page 160 in the manual. You can pause the machine using the “Start/Stop” button.
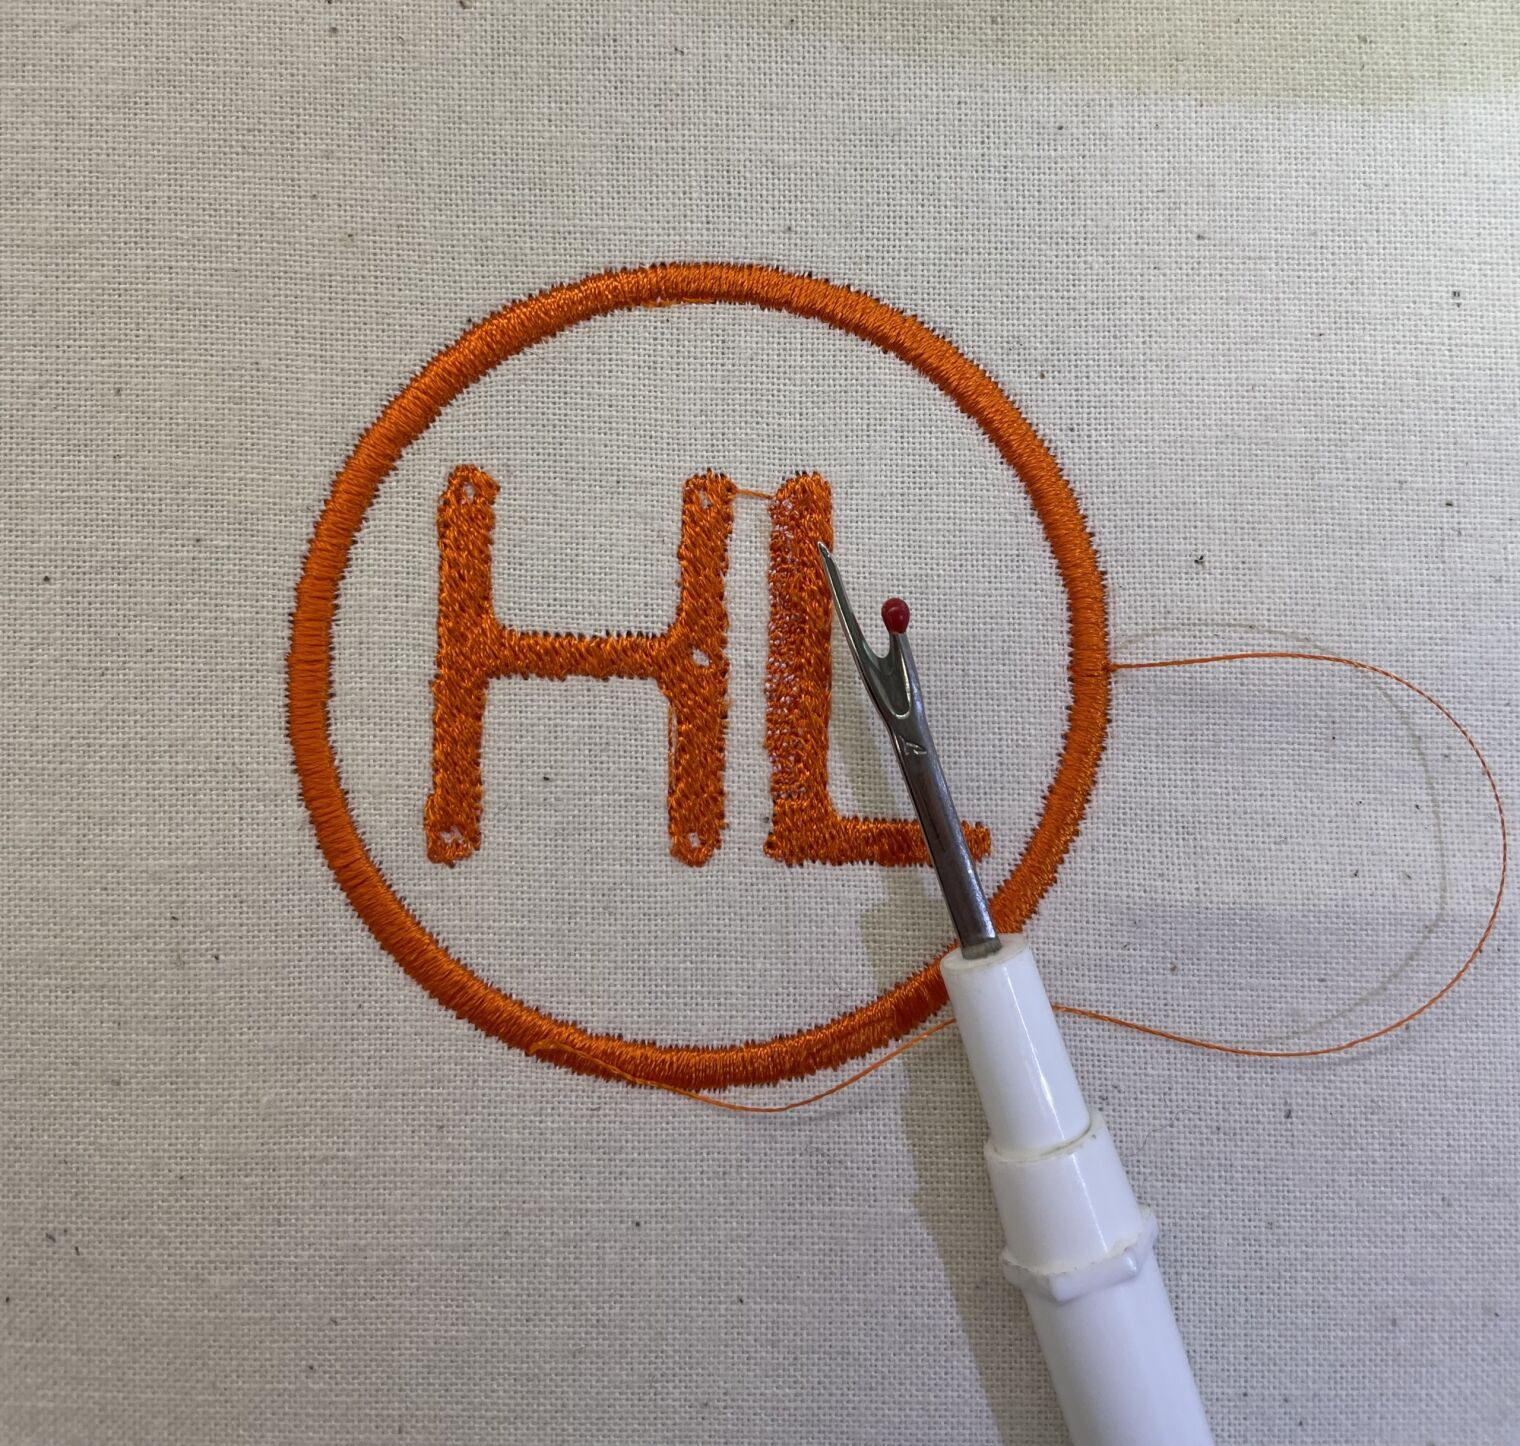
Remove the excess stabiliser by trimming it with scissors and remove any excess thread tails with the seam ripper.