Audio Equipment #
Microphones
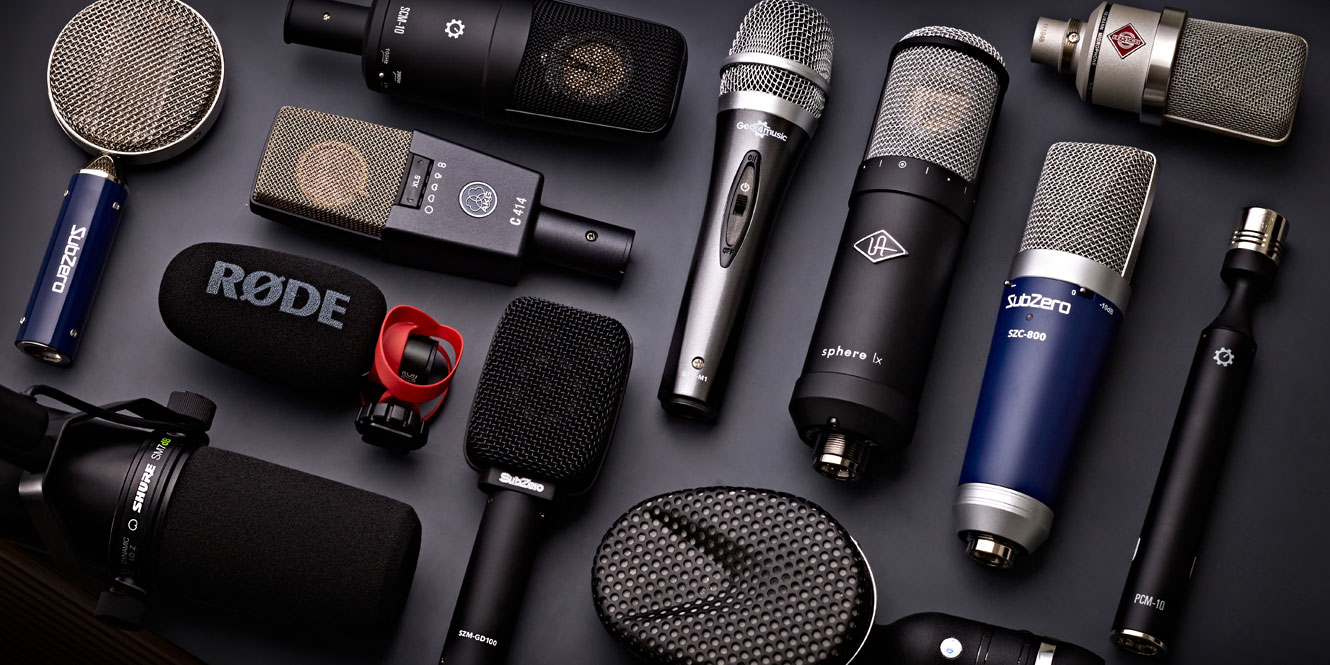
Use microphones to capture sound for recordings, installations, live performances and lectures.
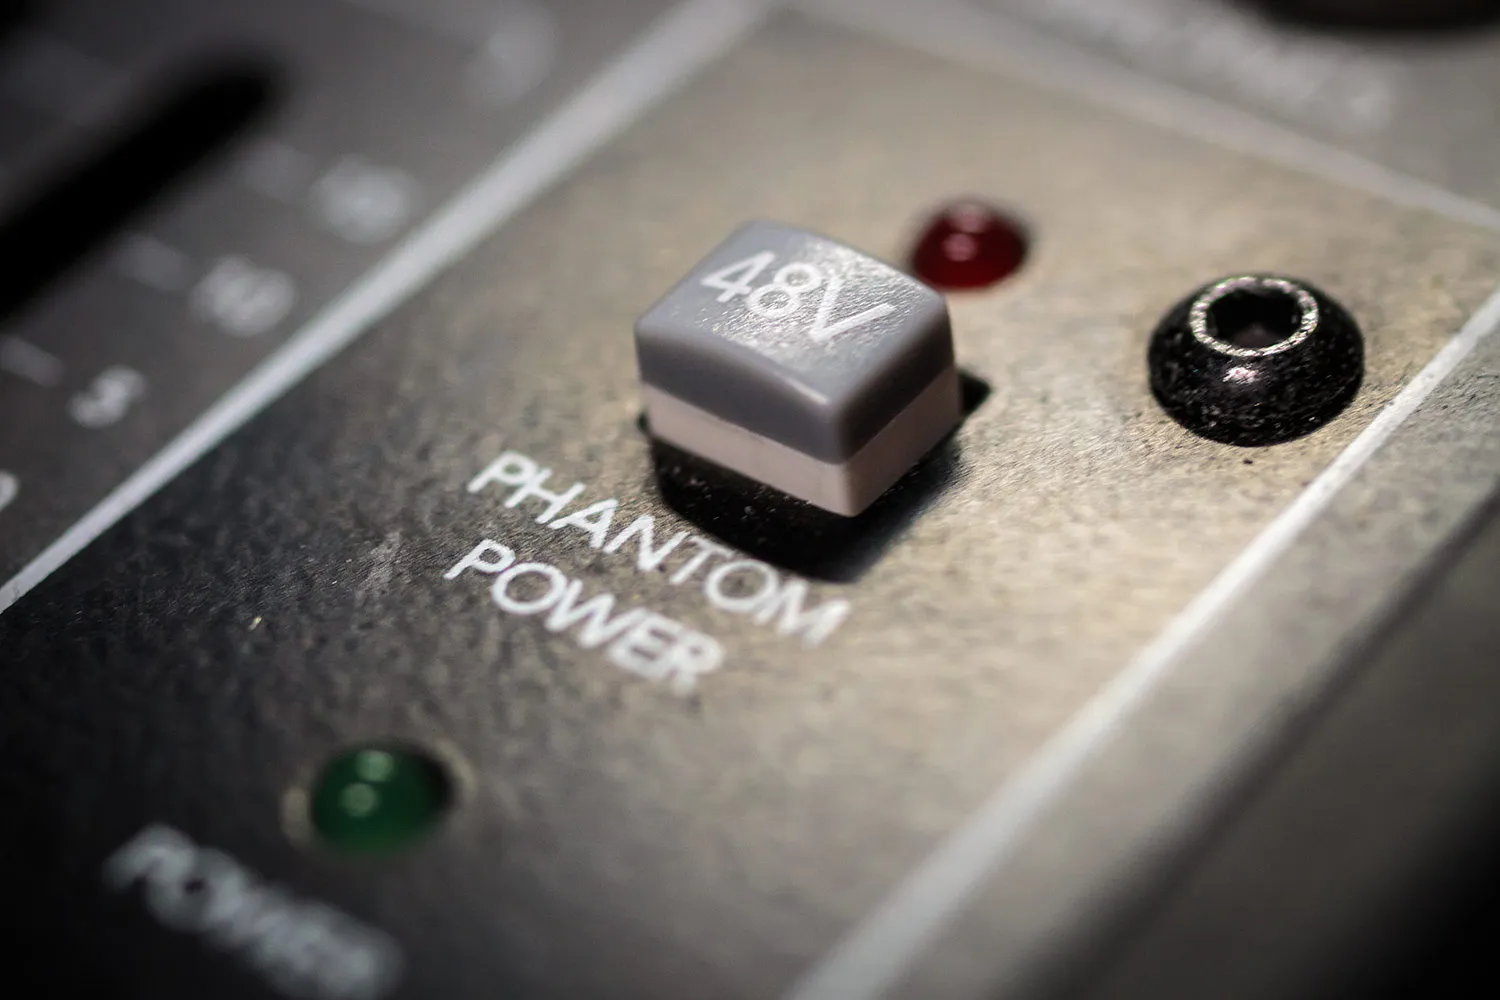
🔌🔌 +48V Phantom Power
Most condenser microphones (like our AKG C414, AKG C1000 or t.bone EM 700) require phantom power to operate. Think of phantom power as a switch that provides the necessary current for the microphone to function.
You provide phantom power from an audio mixer or interface, or a dedicated phantom power supply.
‼️ Always TURN OFF phantom power before plugging/unplugging cables ‼️
Setup / How to / Info
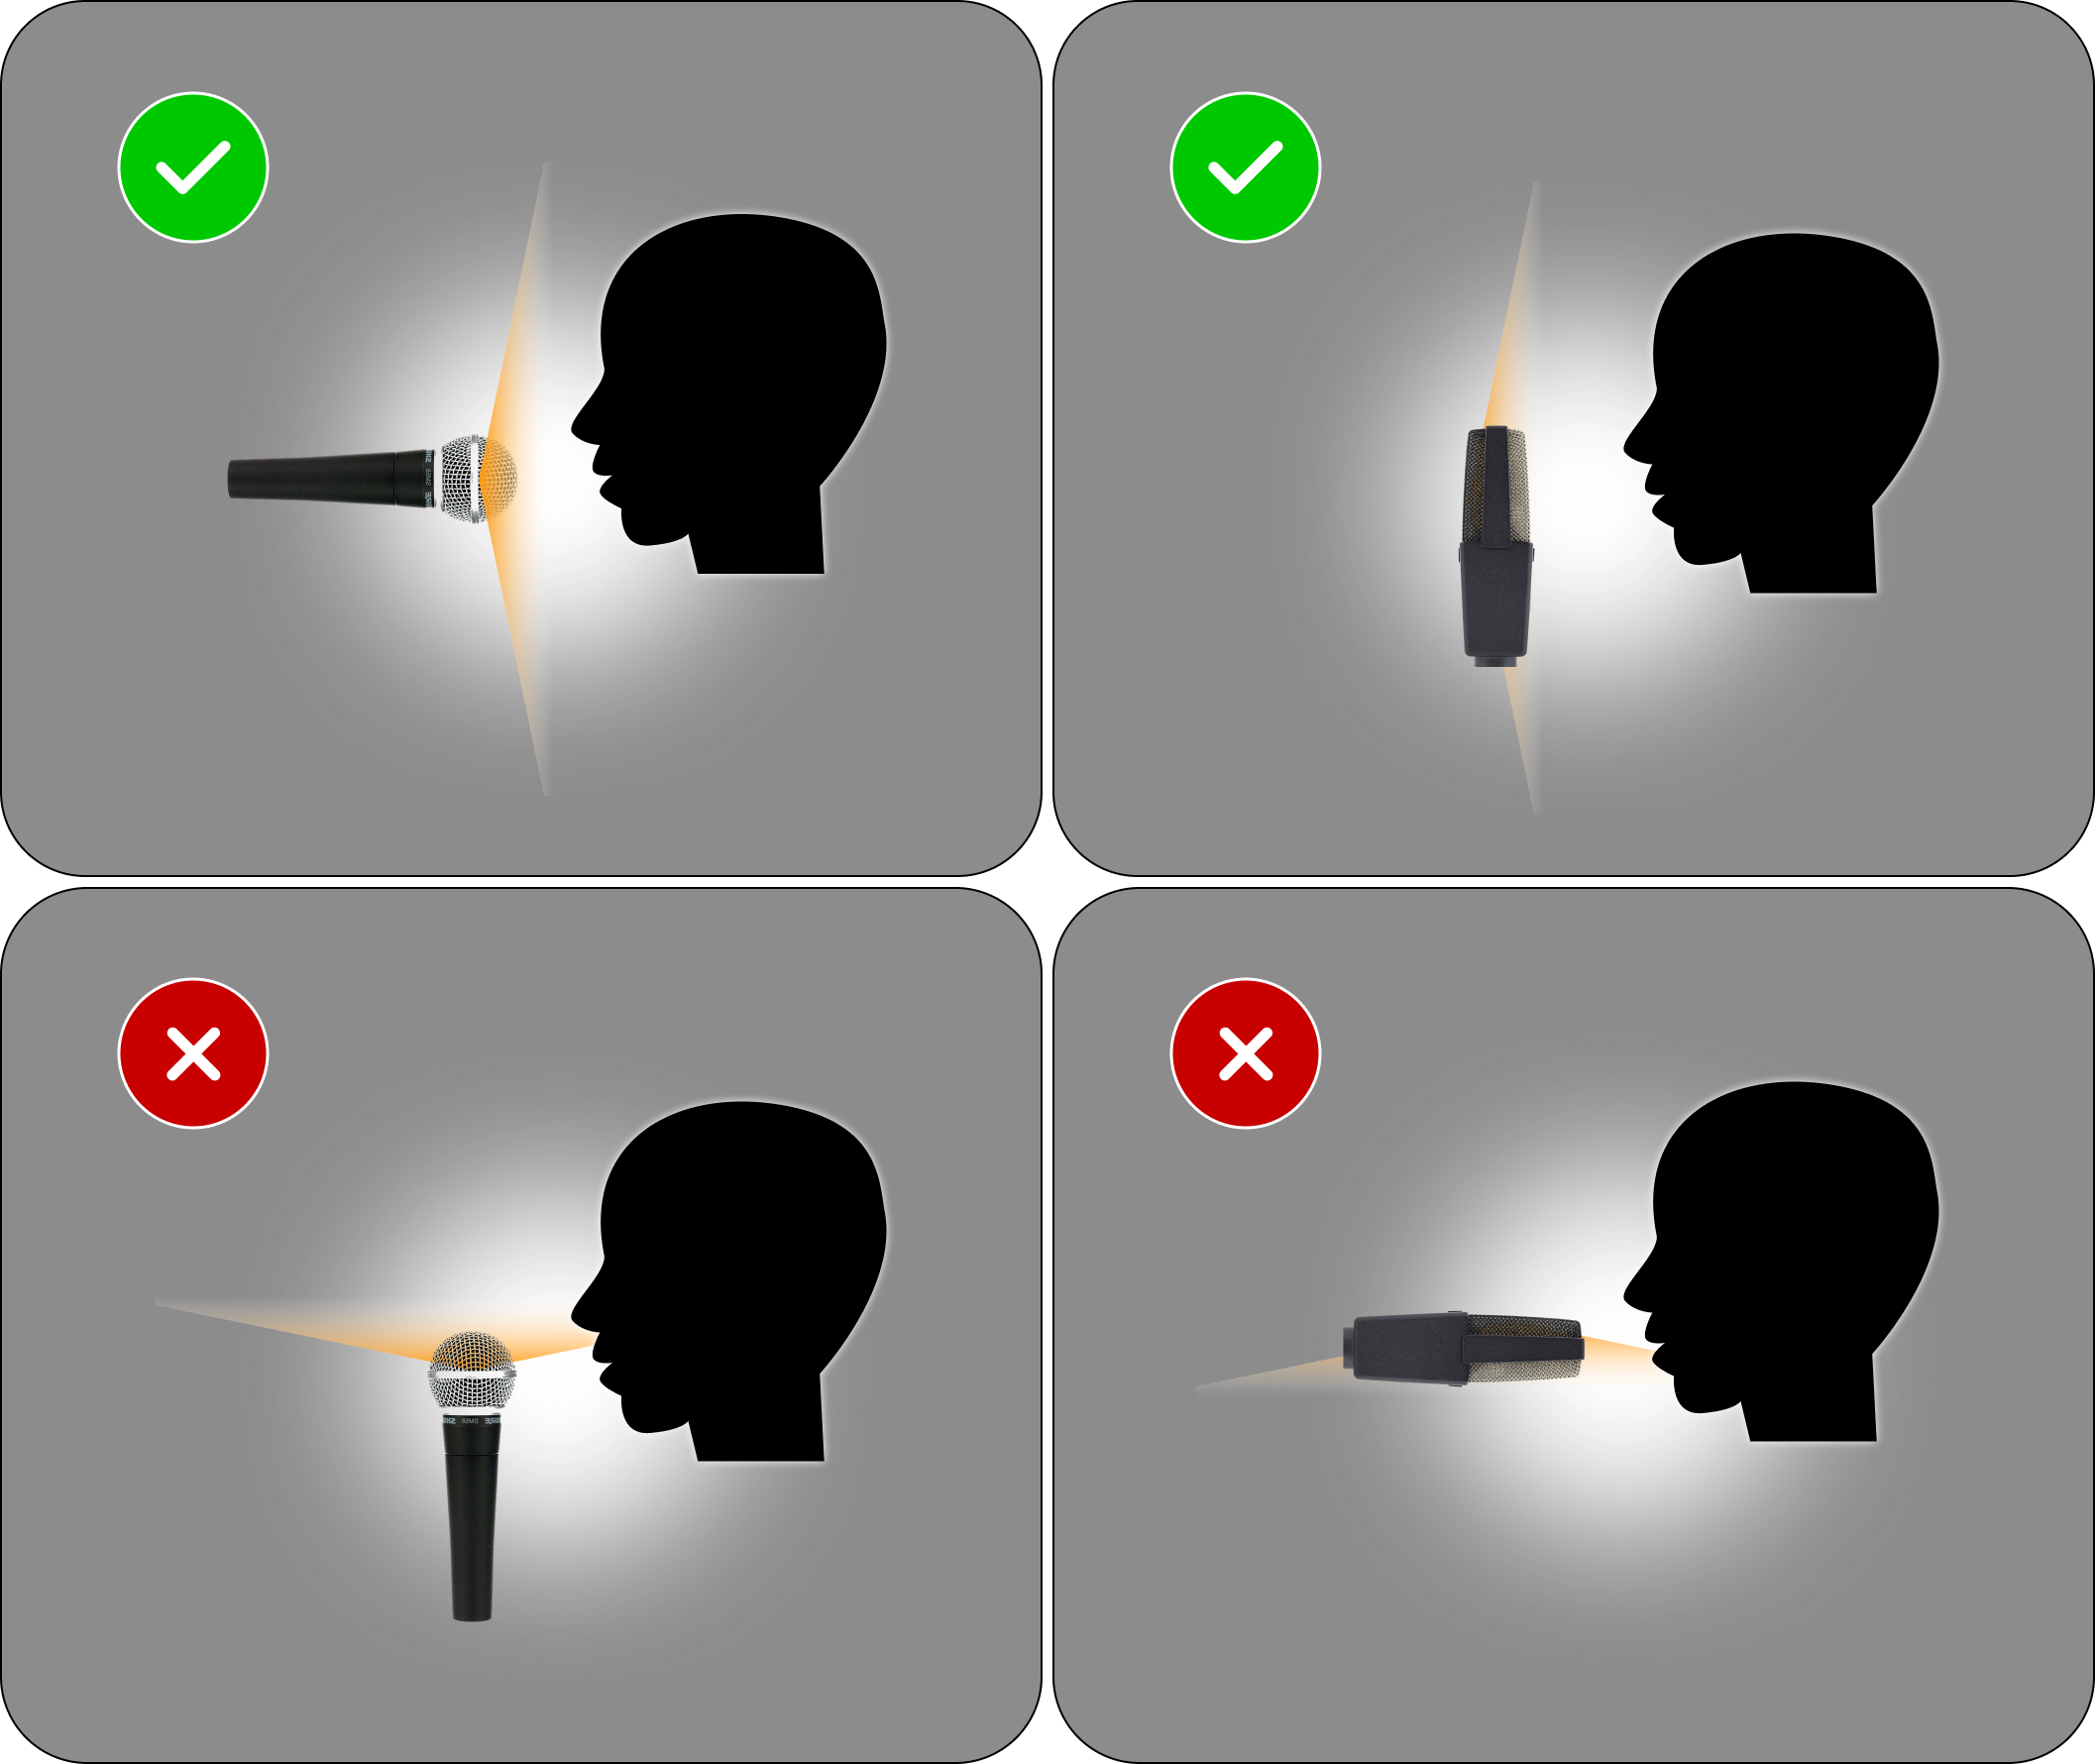
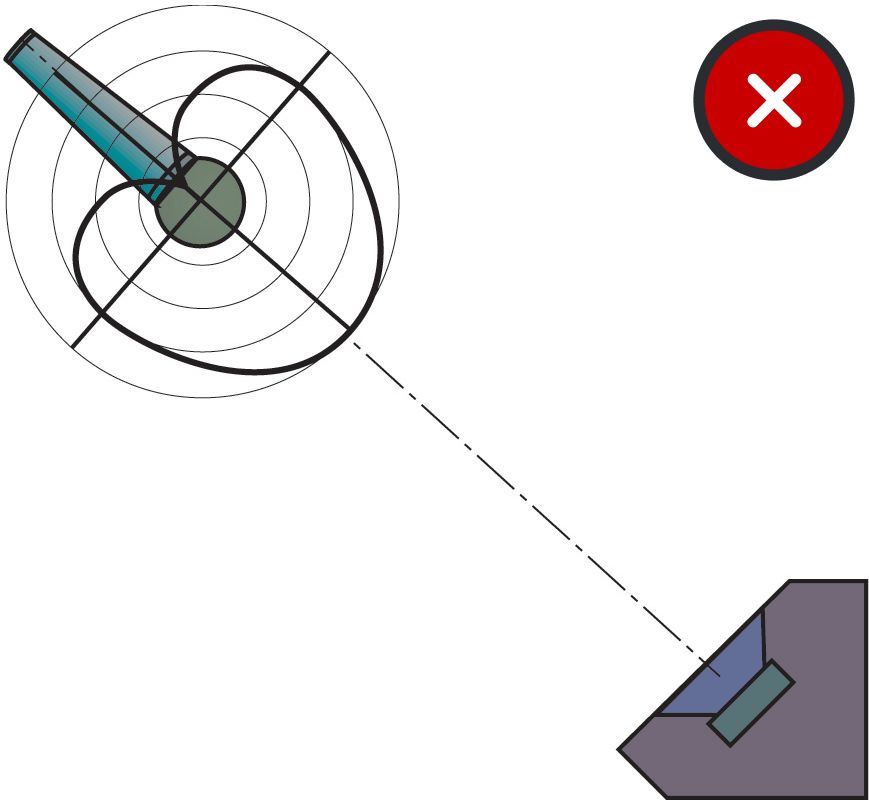
Remember that microphones are directional. Point them correctly to the source you want to capture.
💡💡 If you are not sure, tap or rub the grill, most microphones will have one side that sounds louder or brighter – that is the side you want to aim at the source. Their logo is also on the front side usually, which is another hint to set them up correctly. 💡💡
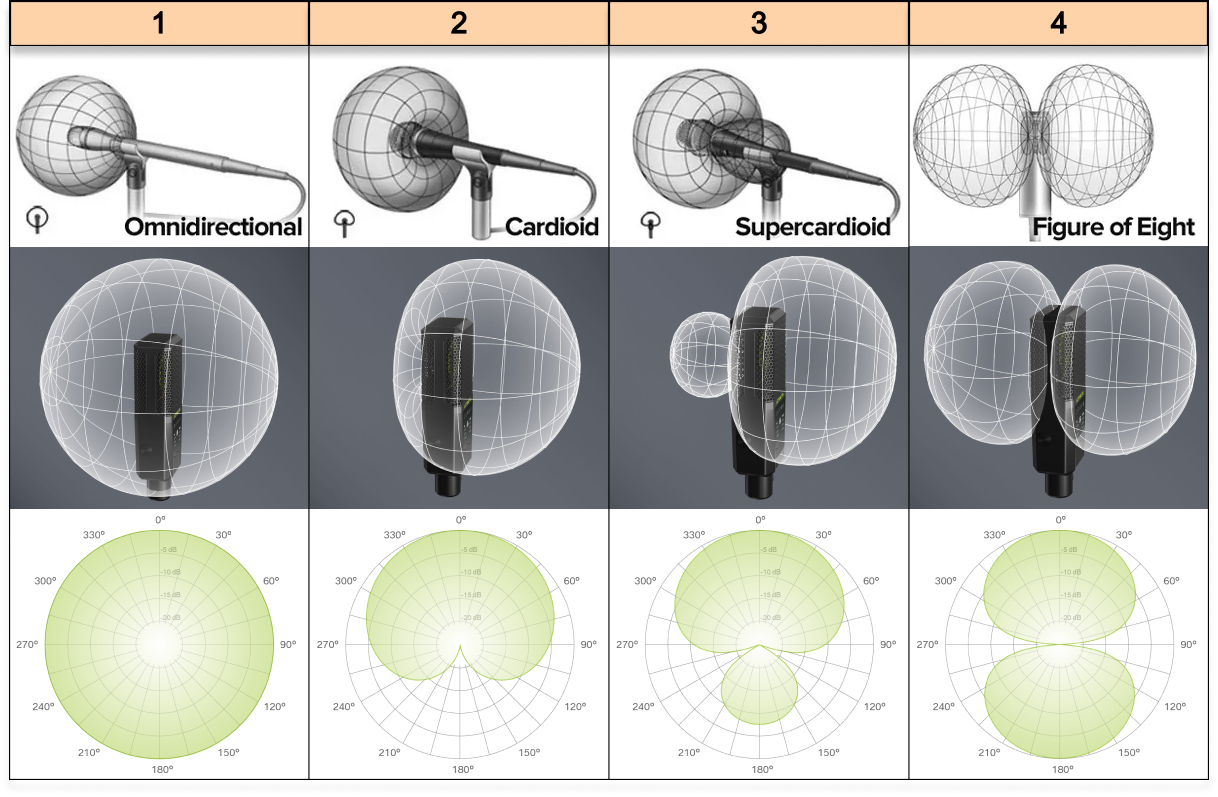
This changes the sensitivity of the microphone in different directions. ←↑↓→
A microphone with an omnidirectional polar pattern (1) will record equally from all directions. The more common type is the cardioid polar pattern (2), which records mainly from the front and gradually attenuates sounds from the sides and the rear.
This is important when recording, but even more important during live performances:
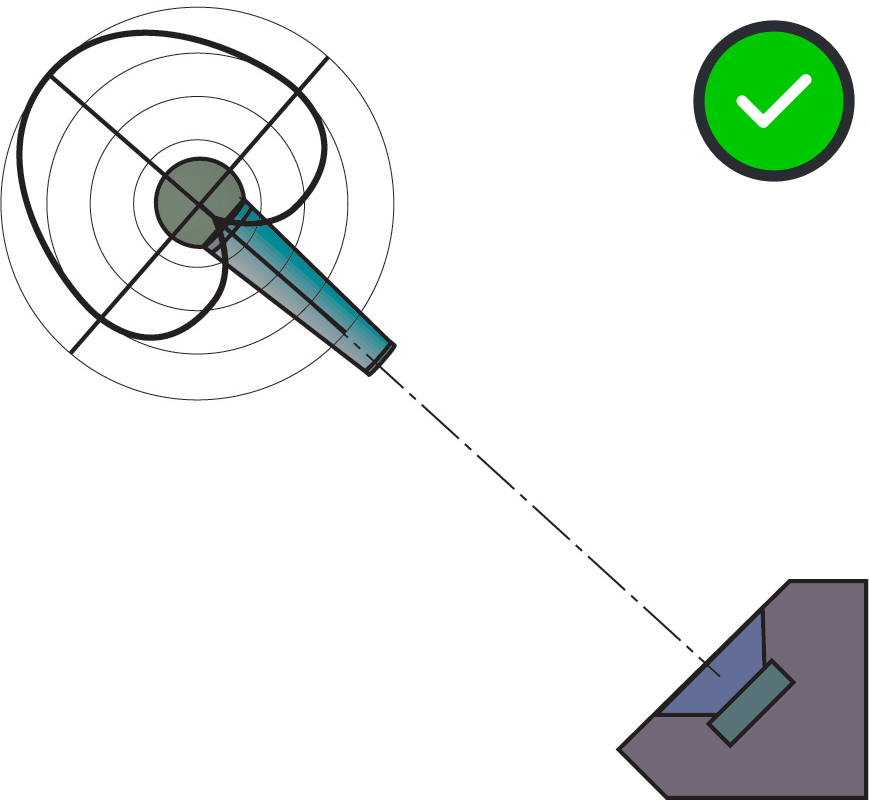
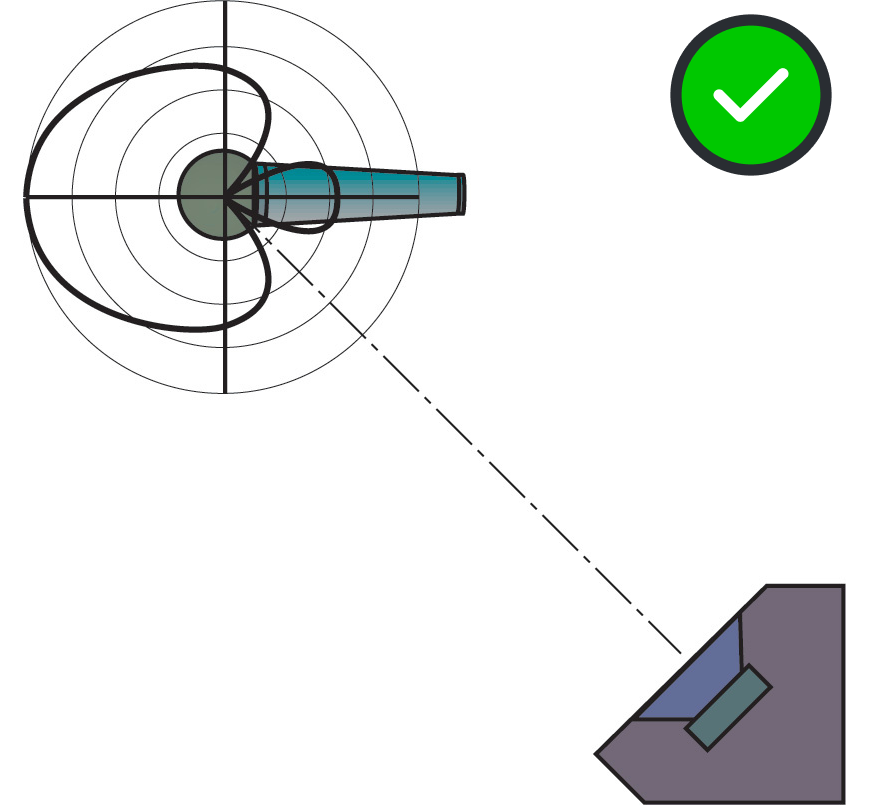
‼️ When close to speakers, do your best to point the NULL SIDE of the microphone to the speakers, to avoid FEEDBACK! ‼️
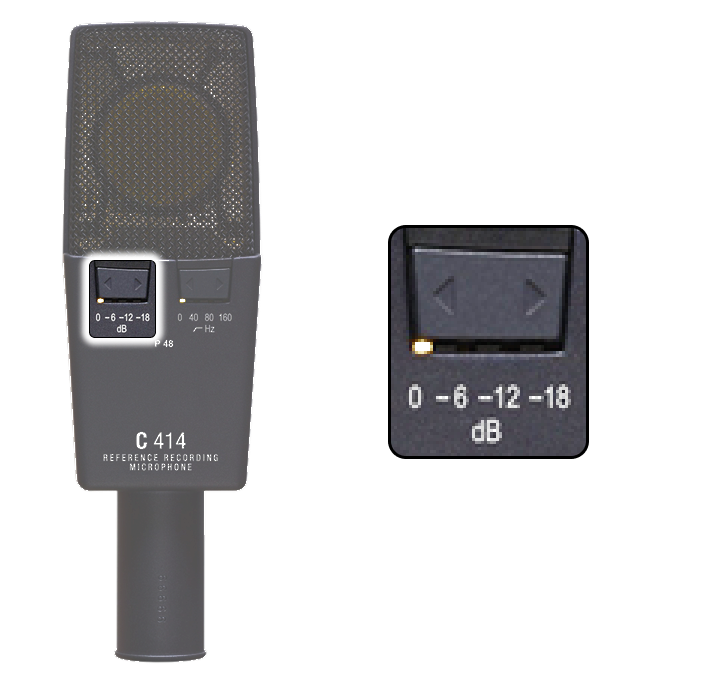
This is useful to dim the input volume.
First, adjust the input volume using the gain knob on your audio interface/mixer
If the source is too loud and it is distorting the microphone, use a pad
💡💡 If you can set a healthy signal from the recording device then avoid using a pad, as this could make your recording noisier 💡💡
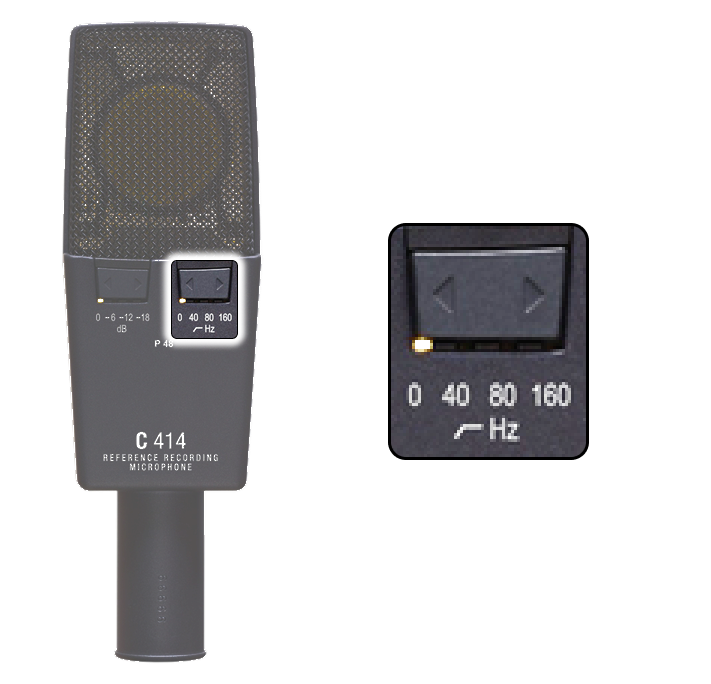
You will most likely find a high-pass filter (HPF), a filter which cuts low frequencies. It is useful to get rid of low rumble noises and frequencies you don’t need.
Low frequencies carry a lot of energy. If you don’t need them (for example when capturing someone speaking), cutting them at the microphone stage frees up headroom.
💡💡 This means you have more room to turn up the gain on the microphone and record your source loud and clear 💡💡

Portable Recorders
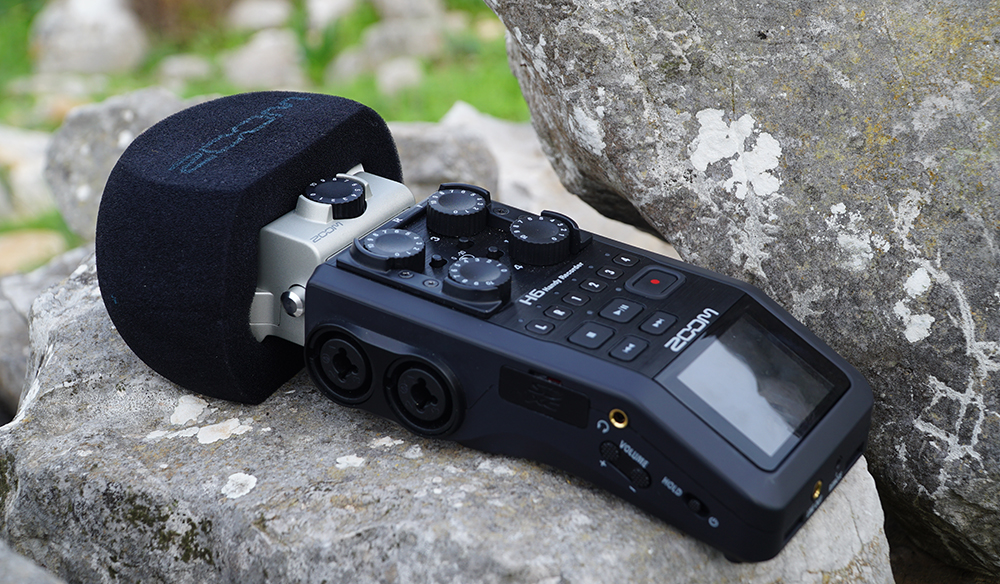
Record sound on the go for field recordings or capture audio samples for your projects.
Remember to carry spare batteries and SD cards for long recording sessions!
Setup / How to / Info
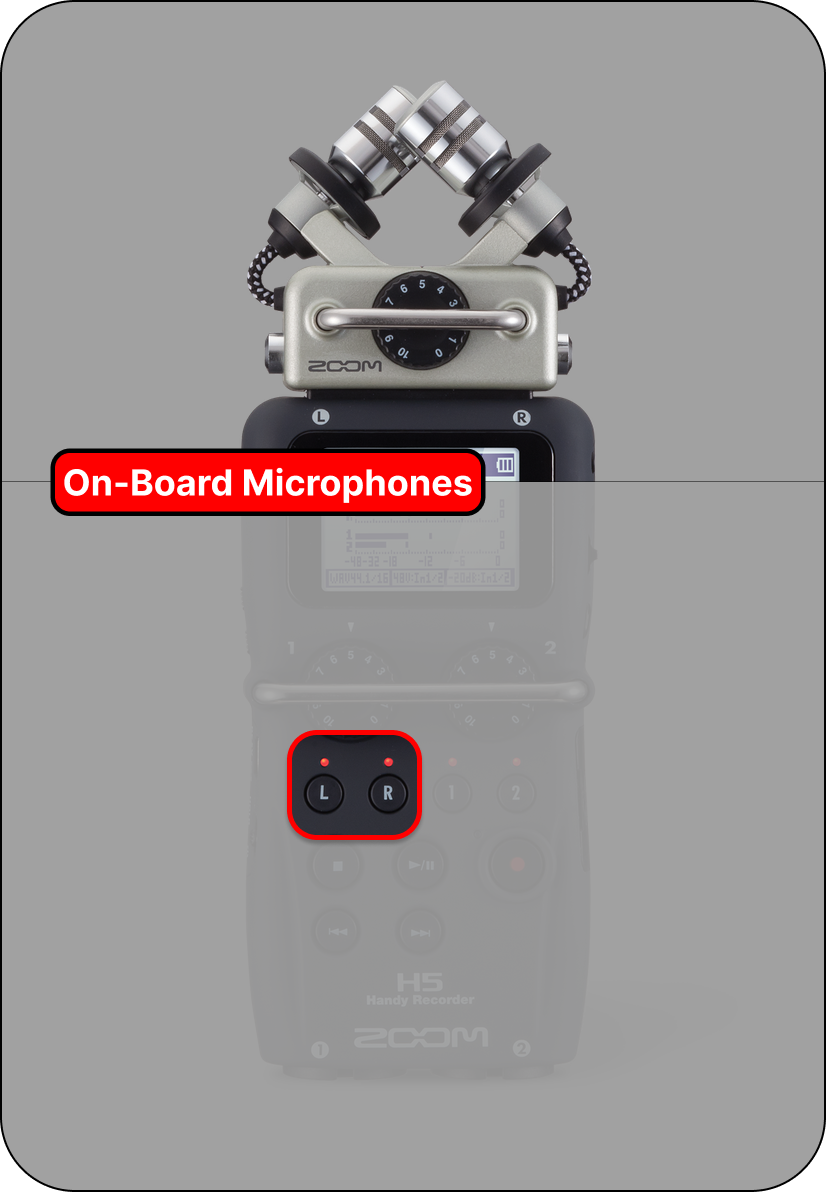
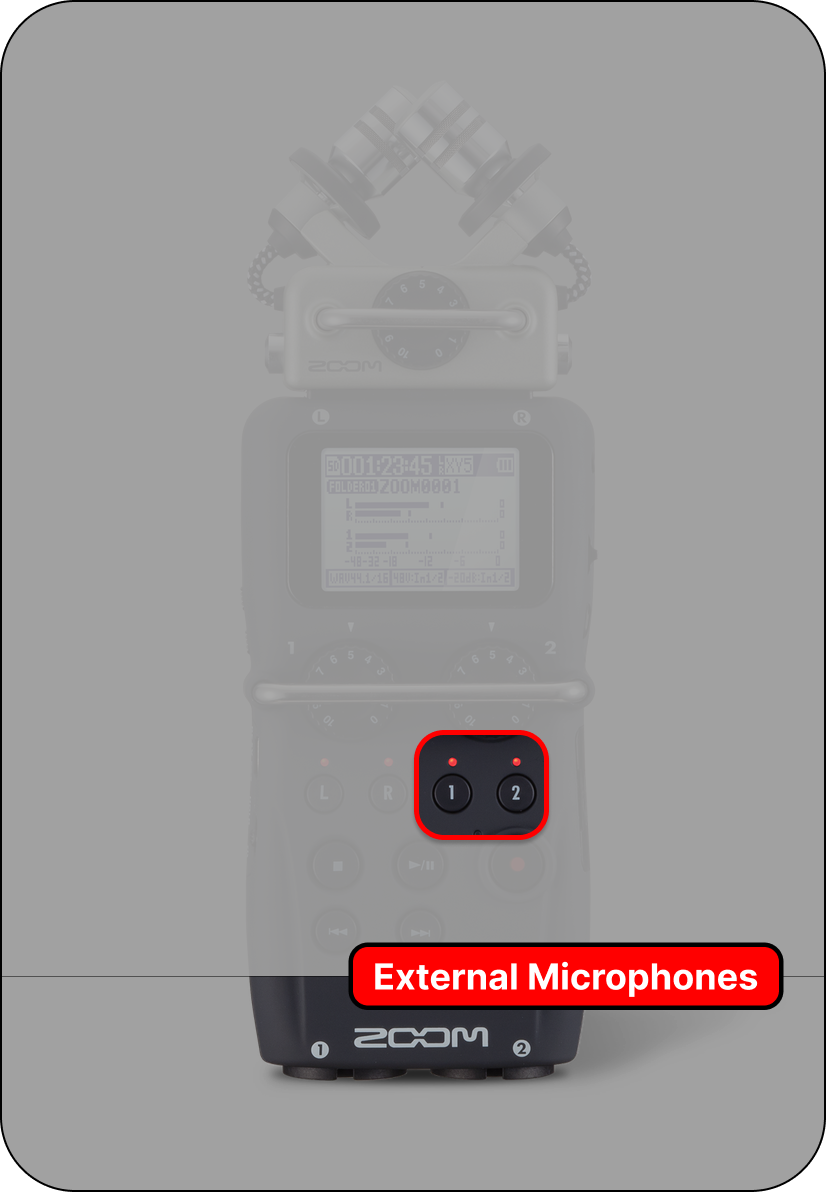
Make sure the on-board microphones are selected for recording. Many portable recorders have extra inputs, allowing you to plug in external microphones as well.
Choosing the right format is important as this influences quality and size of the audio files you record.
- 44.1kHz – standard for music applications 🎤🎤
- 48kHz – standard for audio for video 📹📹
- 16/24bit - choose 24bit for better quality, choose 16bit when you have to sacrifice recording quality for longer and lighter audio files
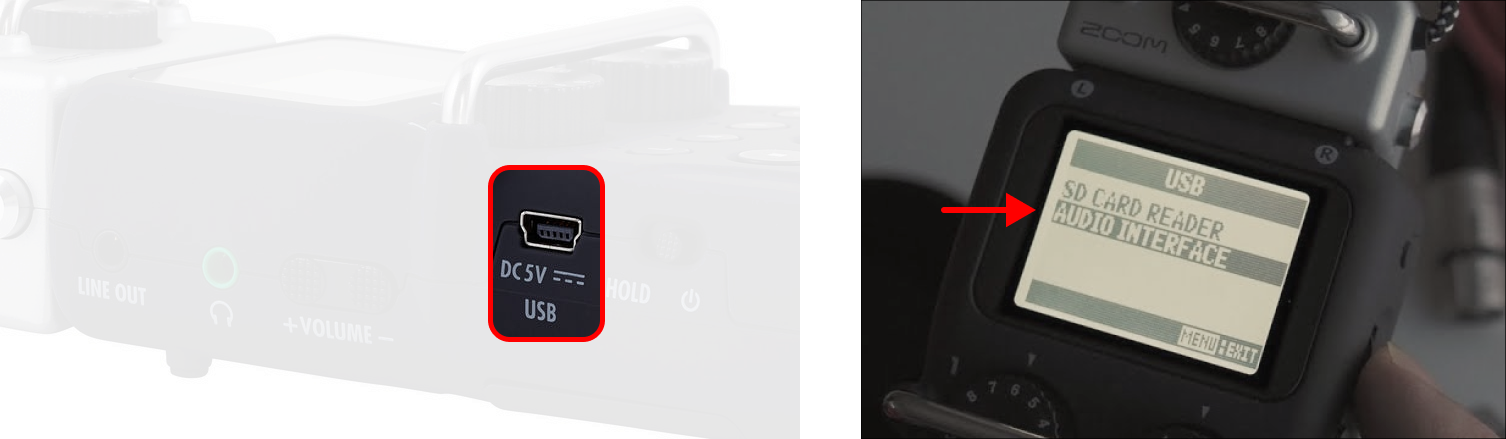
Portable recorders can be used as audio interfaces too! You can usually select this mode by navigating to the menu and looking for USB settings.
DI Boxes
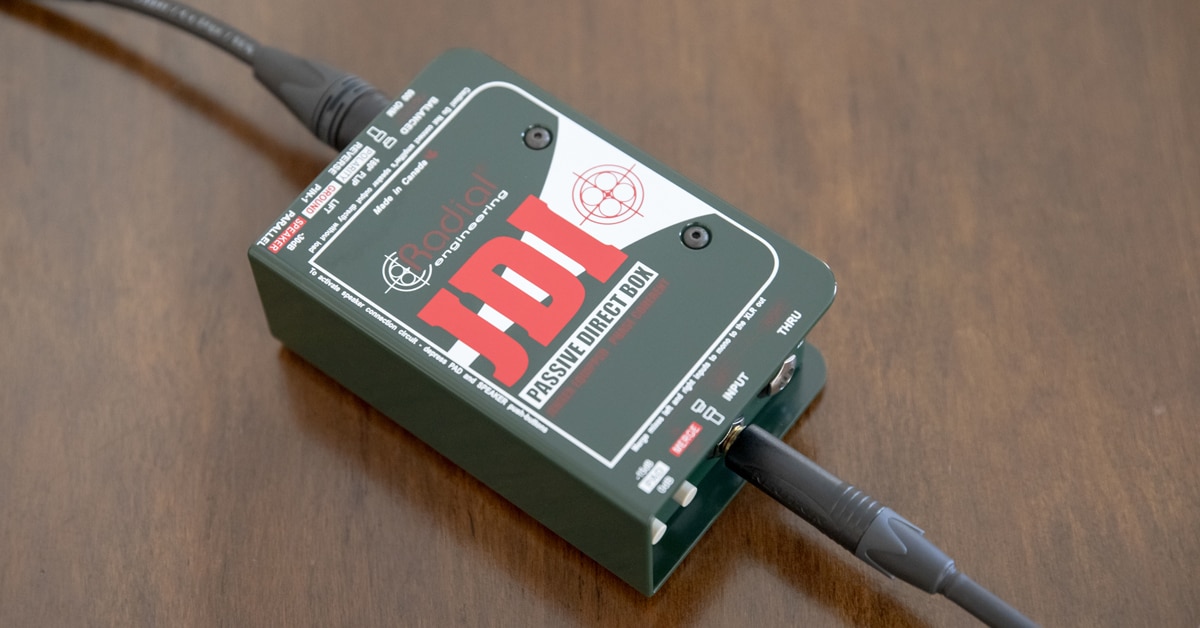
Connect instruments with high impedance outputs (like electric guitars or keyboards) to your audio interface or mixer without signal loss.
❓❓ Why would I need a DI box ❓❓
Get the cleanest sound!
- Use DI boxes to convert unbalanced signals to balanced ones, which is really important for compatibility between devices
- Get rid of noises and interferences
🔌🔌 Active or Passive?
DI boxes can be active or passive – active DI boxes require +48V phantom power just like microphones.
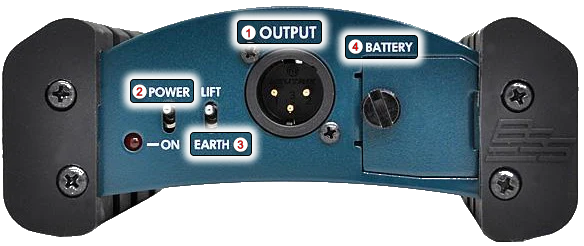
Setup / How to / Info
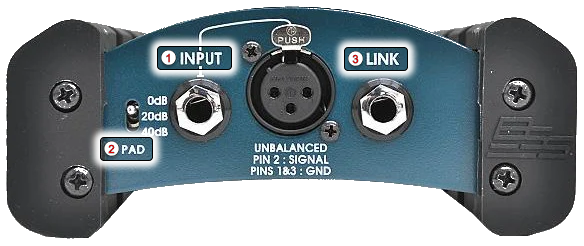
- Input
- from Instrument 🎸🎸
- from Device 💻💻
- Pad
- Adjust volume on audio interface/mixer first. If the signal is too strong, you can dim it using this switch
- Link
- A copy of the signal that goes in - take the signal from here if you also need to connect to a device like a guitar amplifier
- Output
- to Interface
- to Mixer
- Power On/Off
- Earth Lift
- If you hear a low frequency noise - like a hum - set this to LIFT and it should fix your problems
- Battery
- Usually a 9V battery
Audio Interfaces
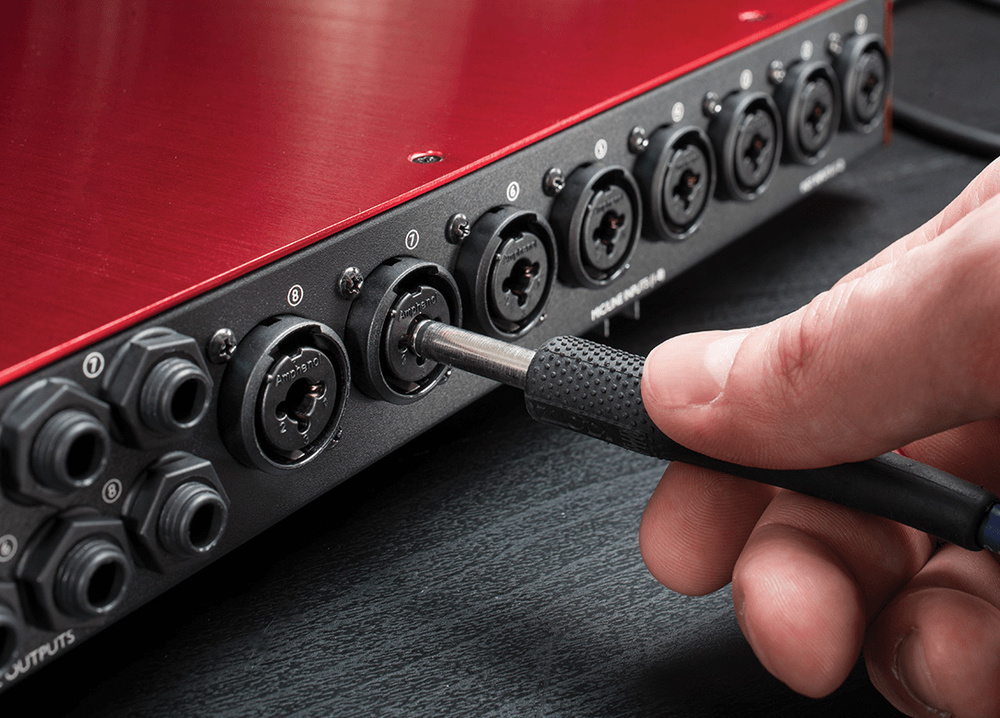
Audio interfaces are primarily useful to give you more input and output options.
- Capture sounds from different sources at the same time
- Process and balance them in your preferred software/DAW
- Route them to multiple speakers and/or headphones
❓❓ Do I Need an Audio Interface for my Project ❓❓
🎤🎤 You need an audio interface if you are using one or more microphones that connect via XLR.
🔊🔊 You probably need an audio interface if you want to connect more than two speakers. You might not need one in some cases.
Please speak to a technician if you are not sure about your setup.
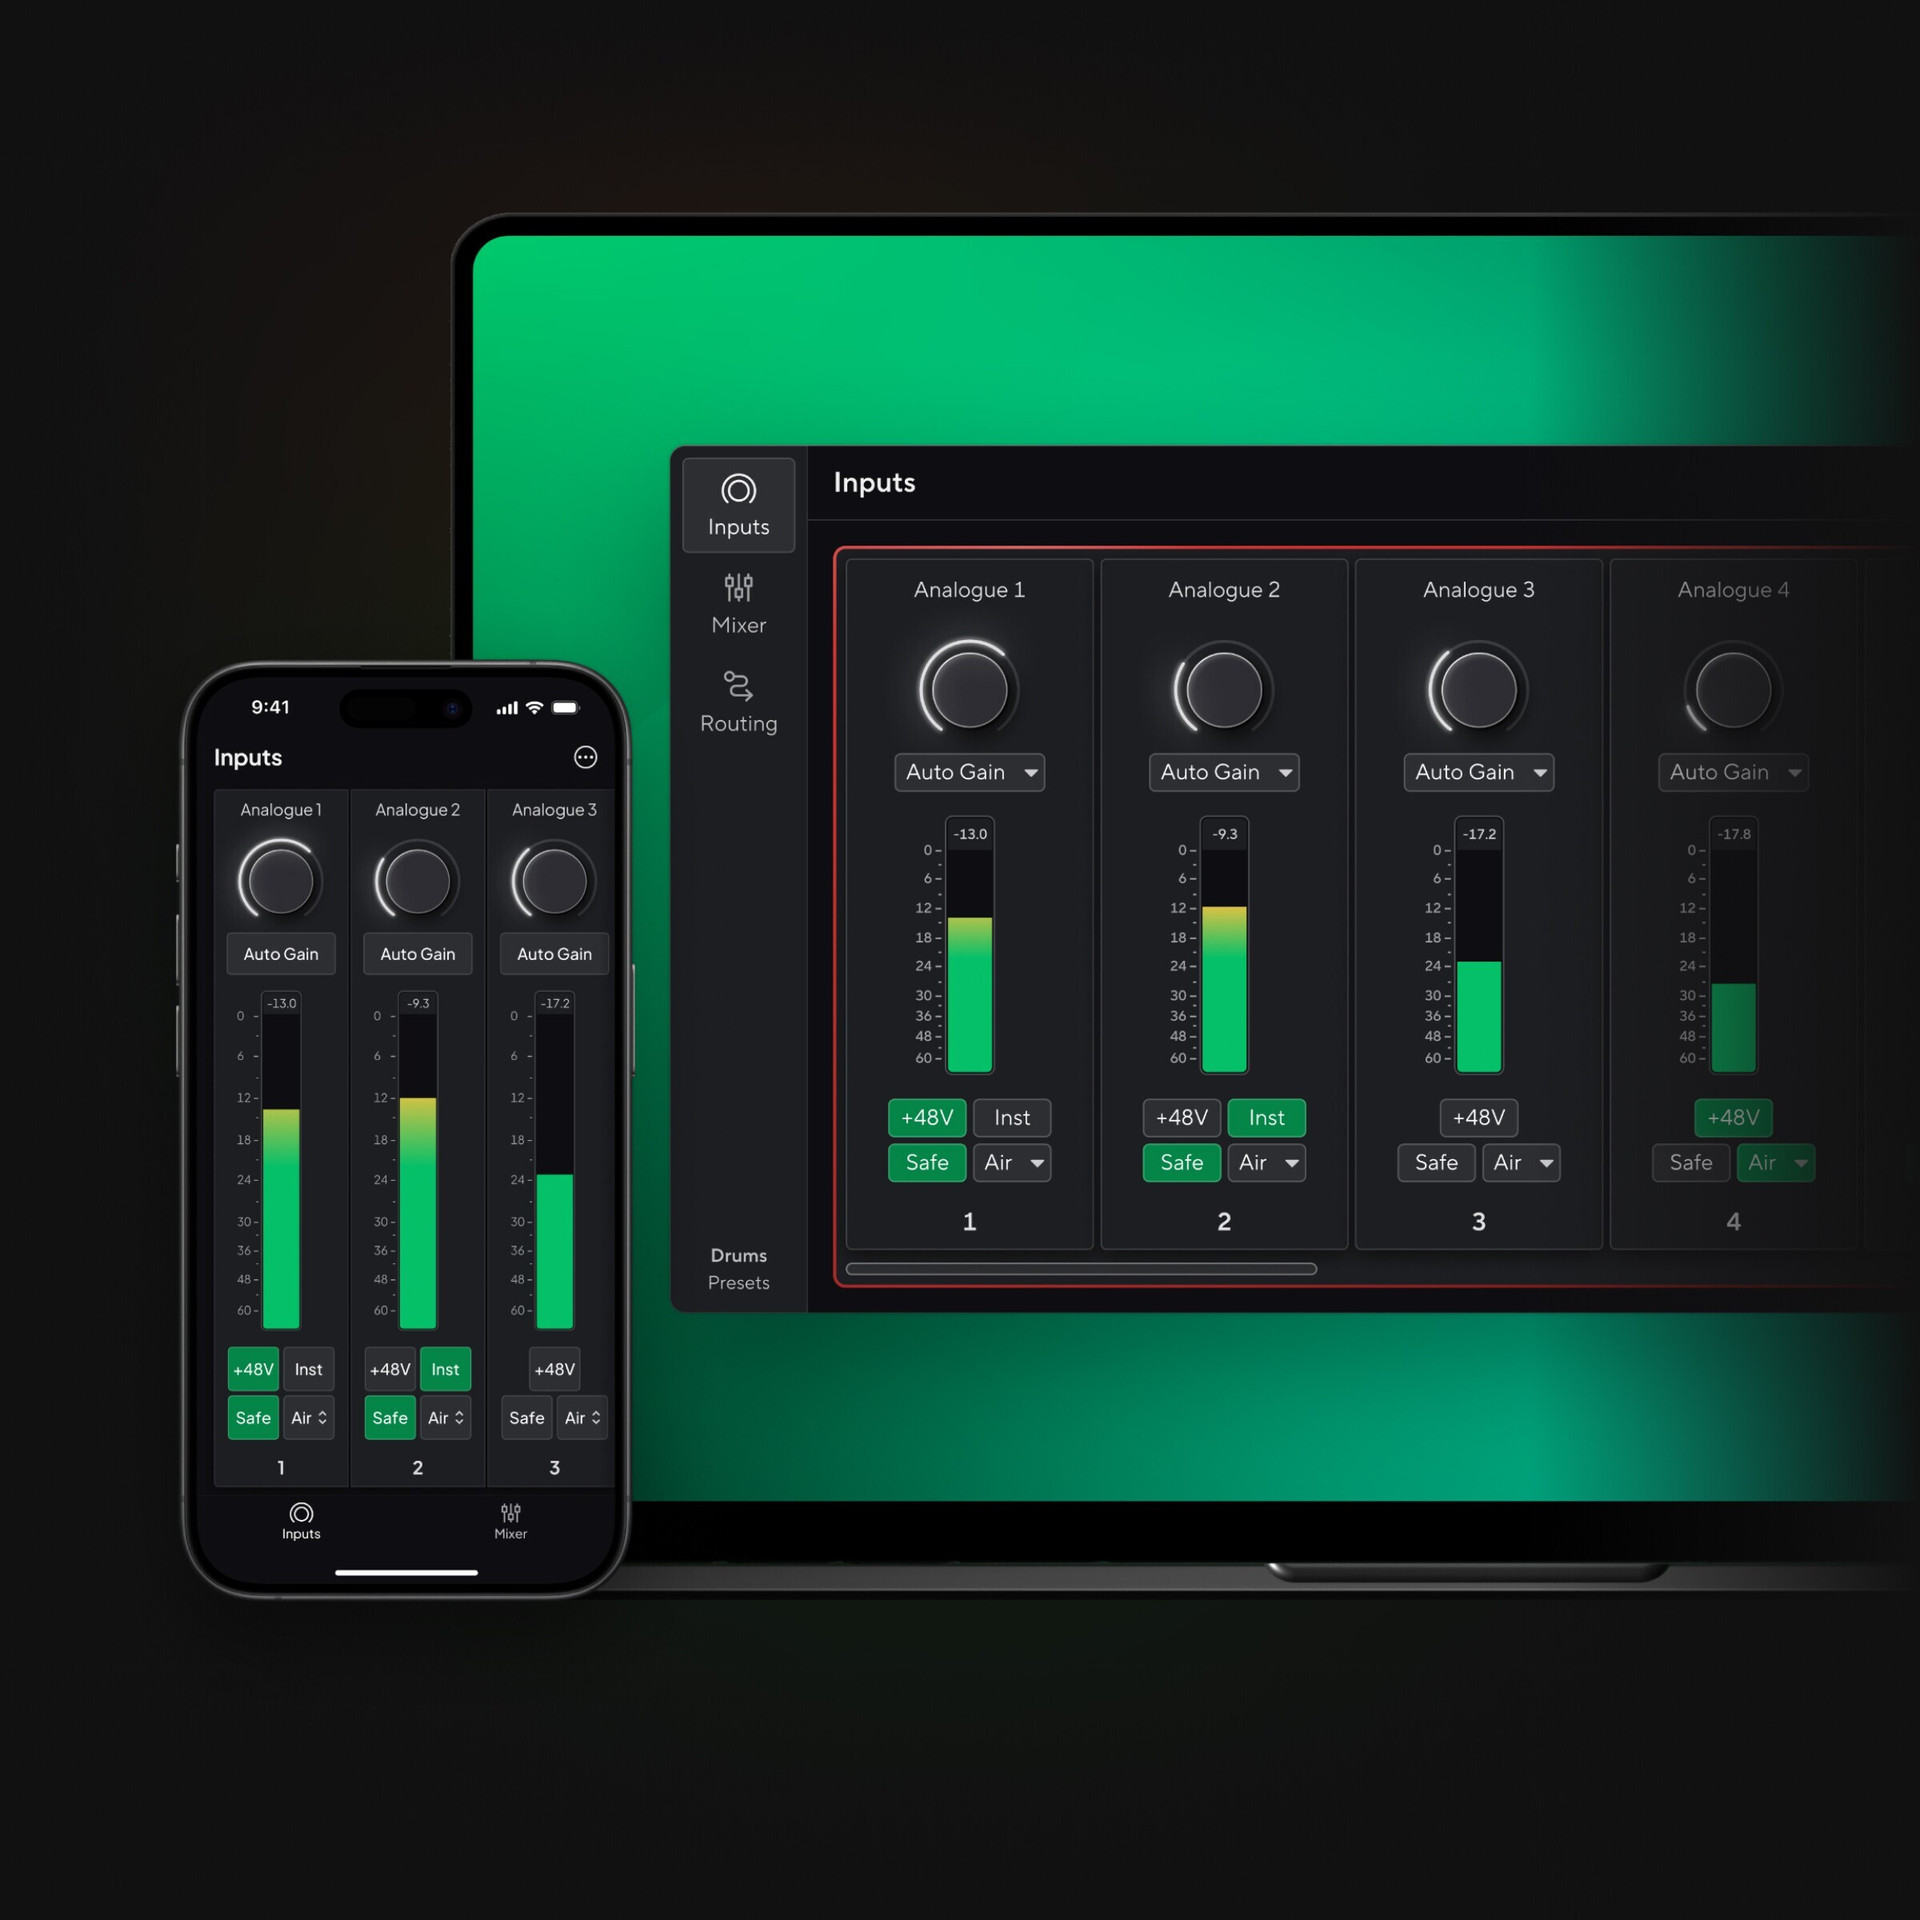
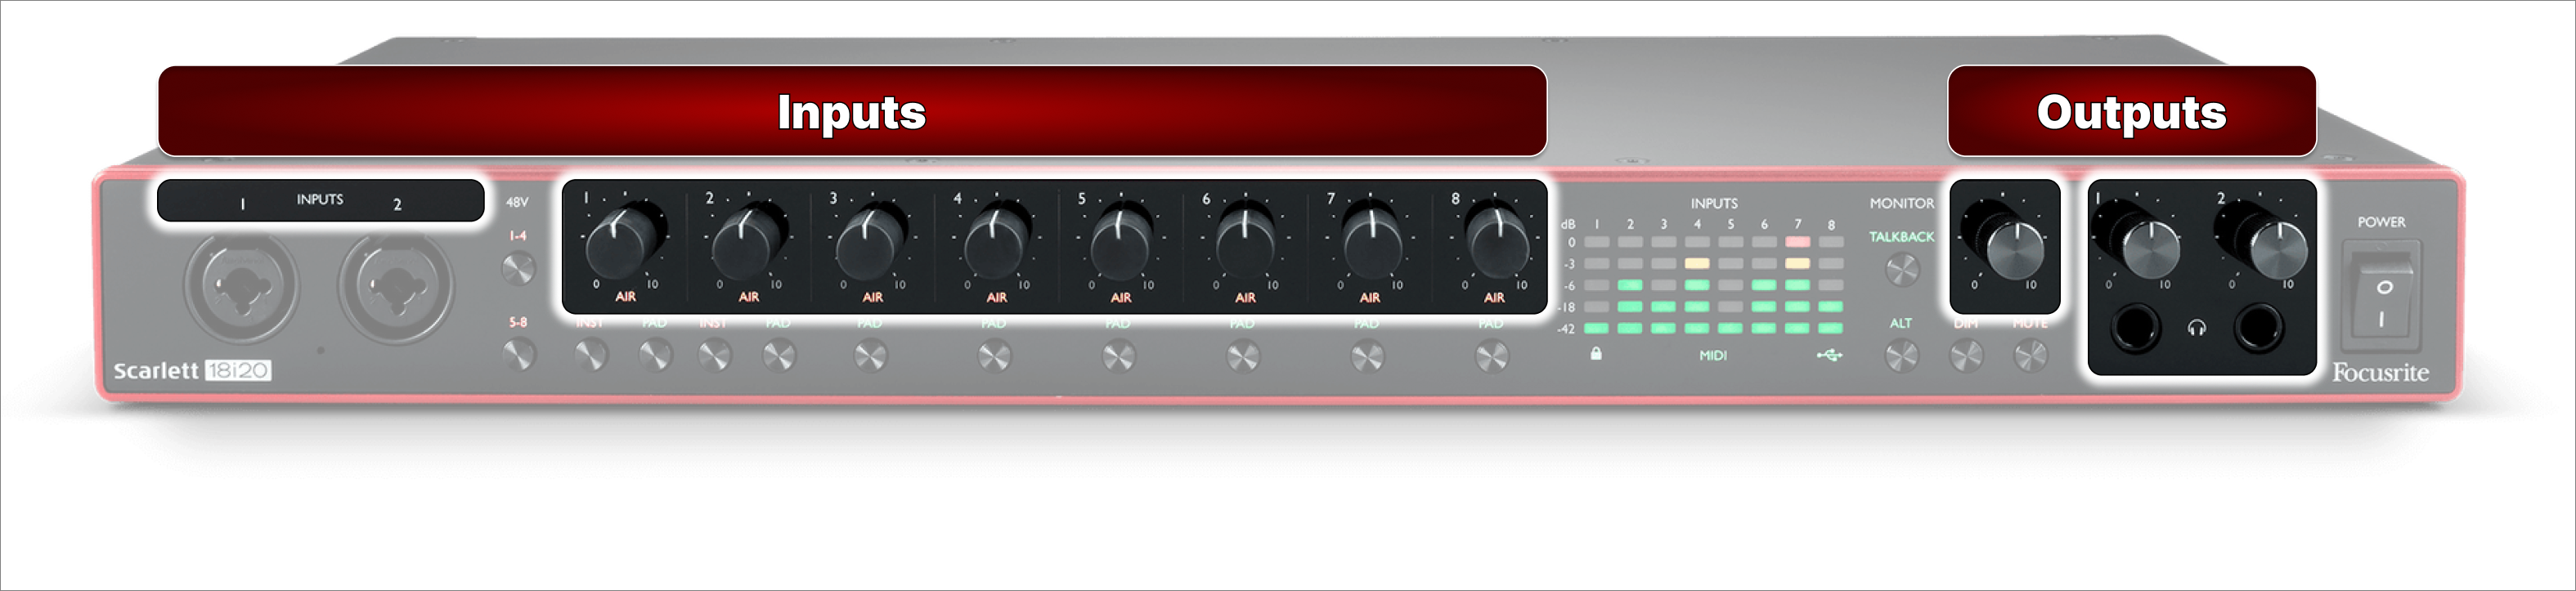
Setup / How to / Info
Some interfaces work the moment you plug them to your computer. Others need you to download drivers or control software to enable certain functions or route signals from inputs to outputs.
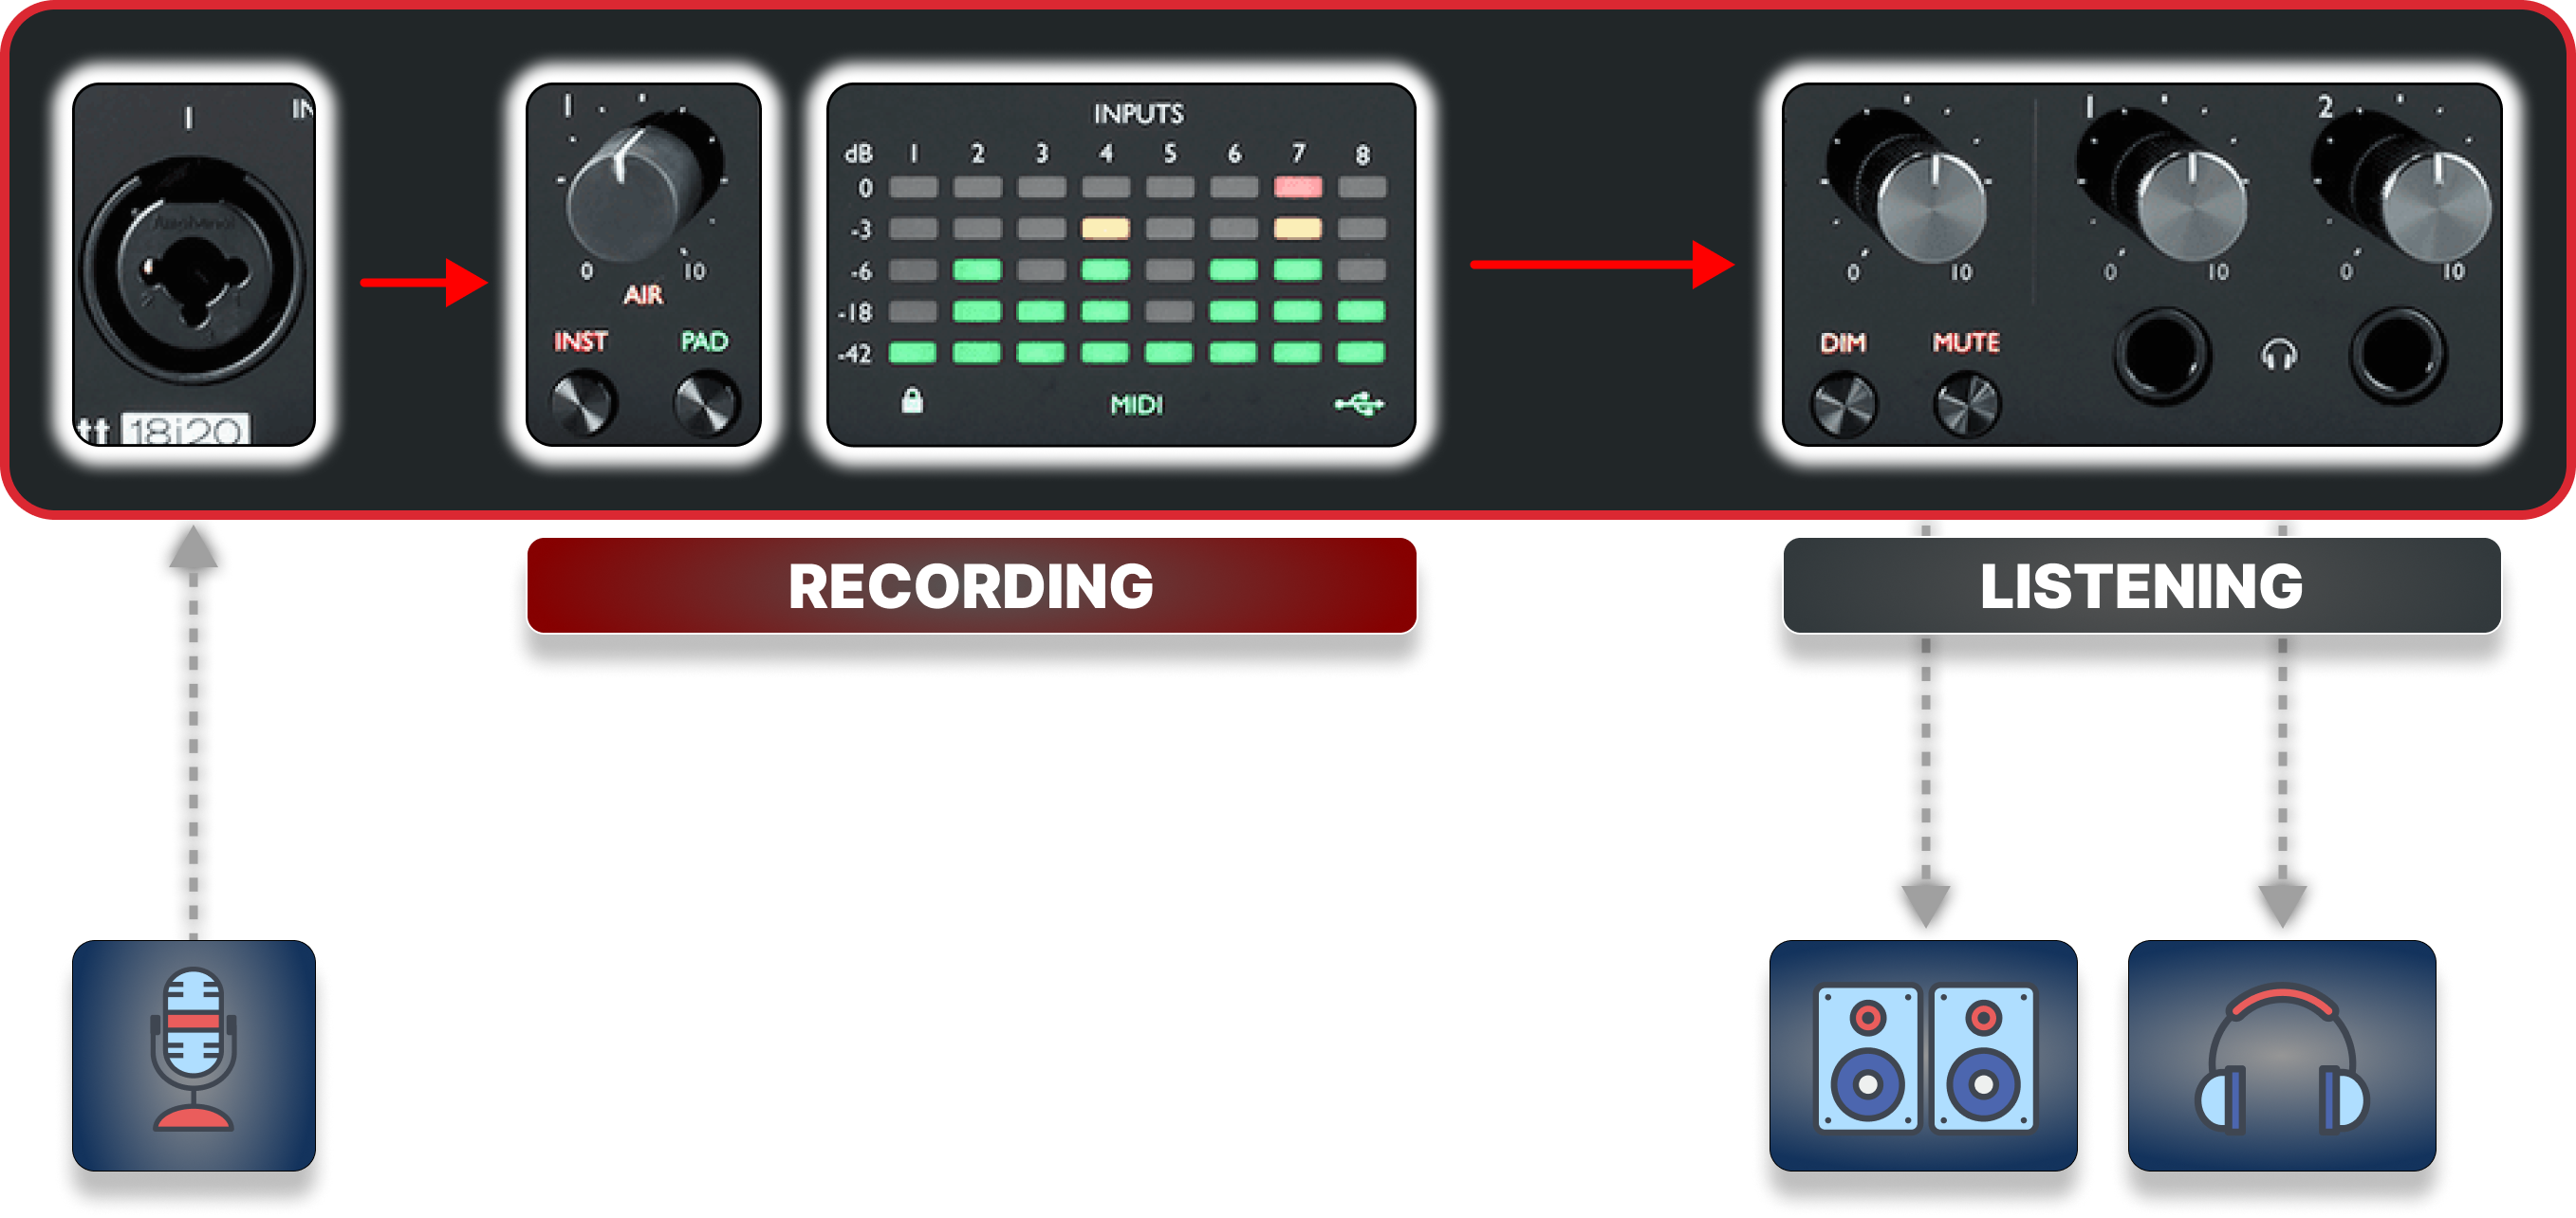
Set a healthy recording signal
RECORDING VOLUME
🟢 Stay in-between green and yellow 🟡
🔴 Avoid going into the red 🔴
LISTENING VOLUME
👍🏻👍🏻 If the recording volume is set correctly and the signal is not distorting, you can send the signal out to
🔊🔊 Speakers
🎧🎧 Headphones
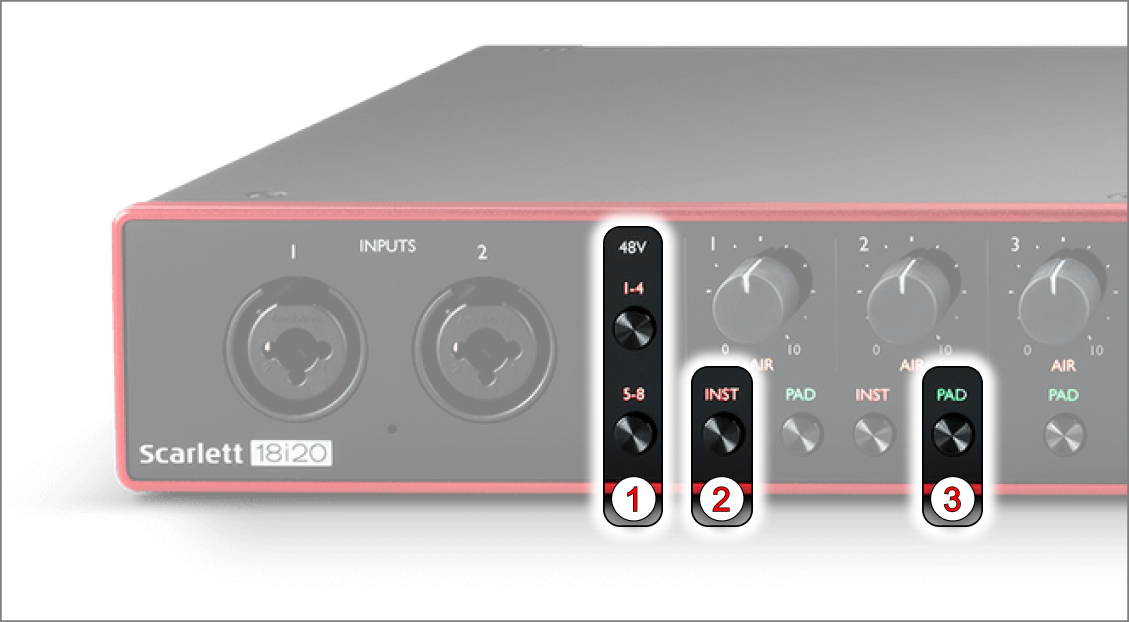
- 48V Phantom Power
- Input Signal Switch (Microphone/Instrument)
- Pad
Audio Mixers
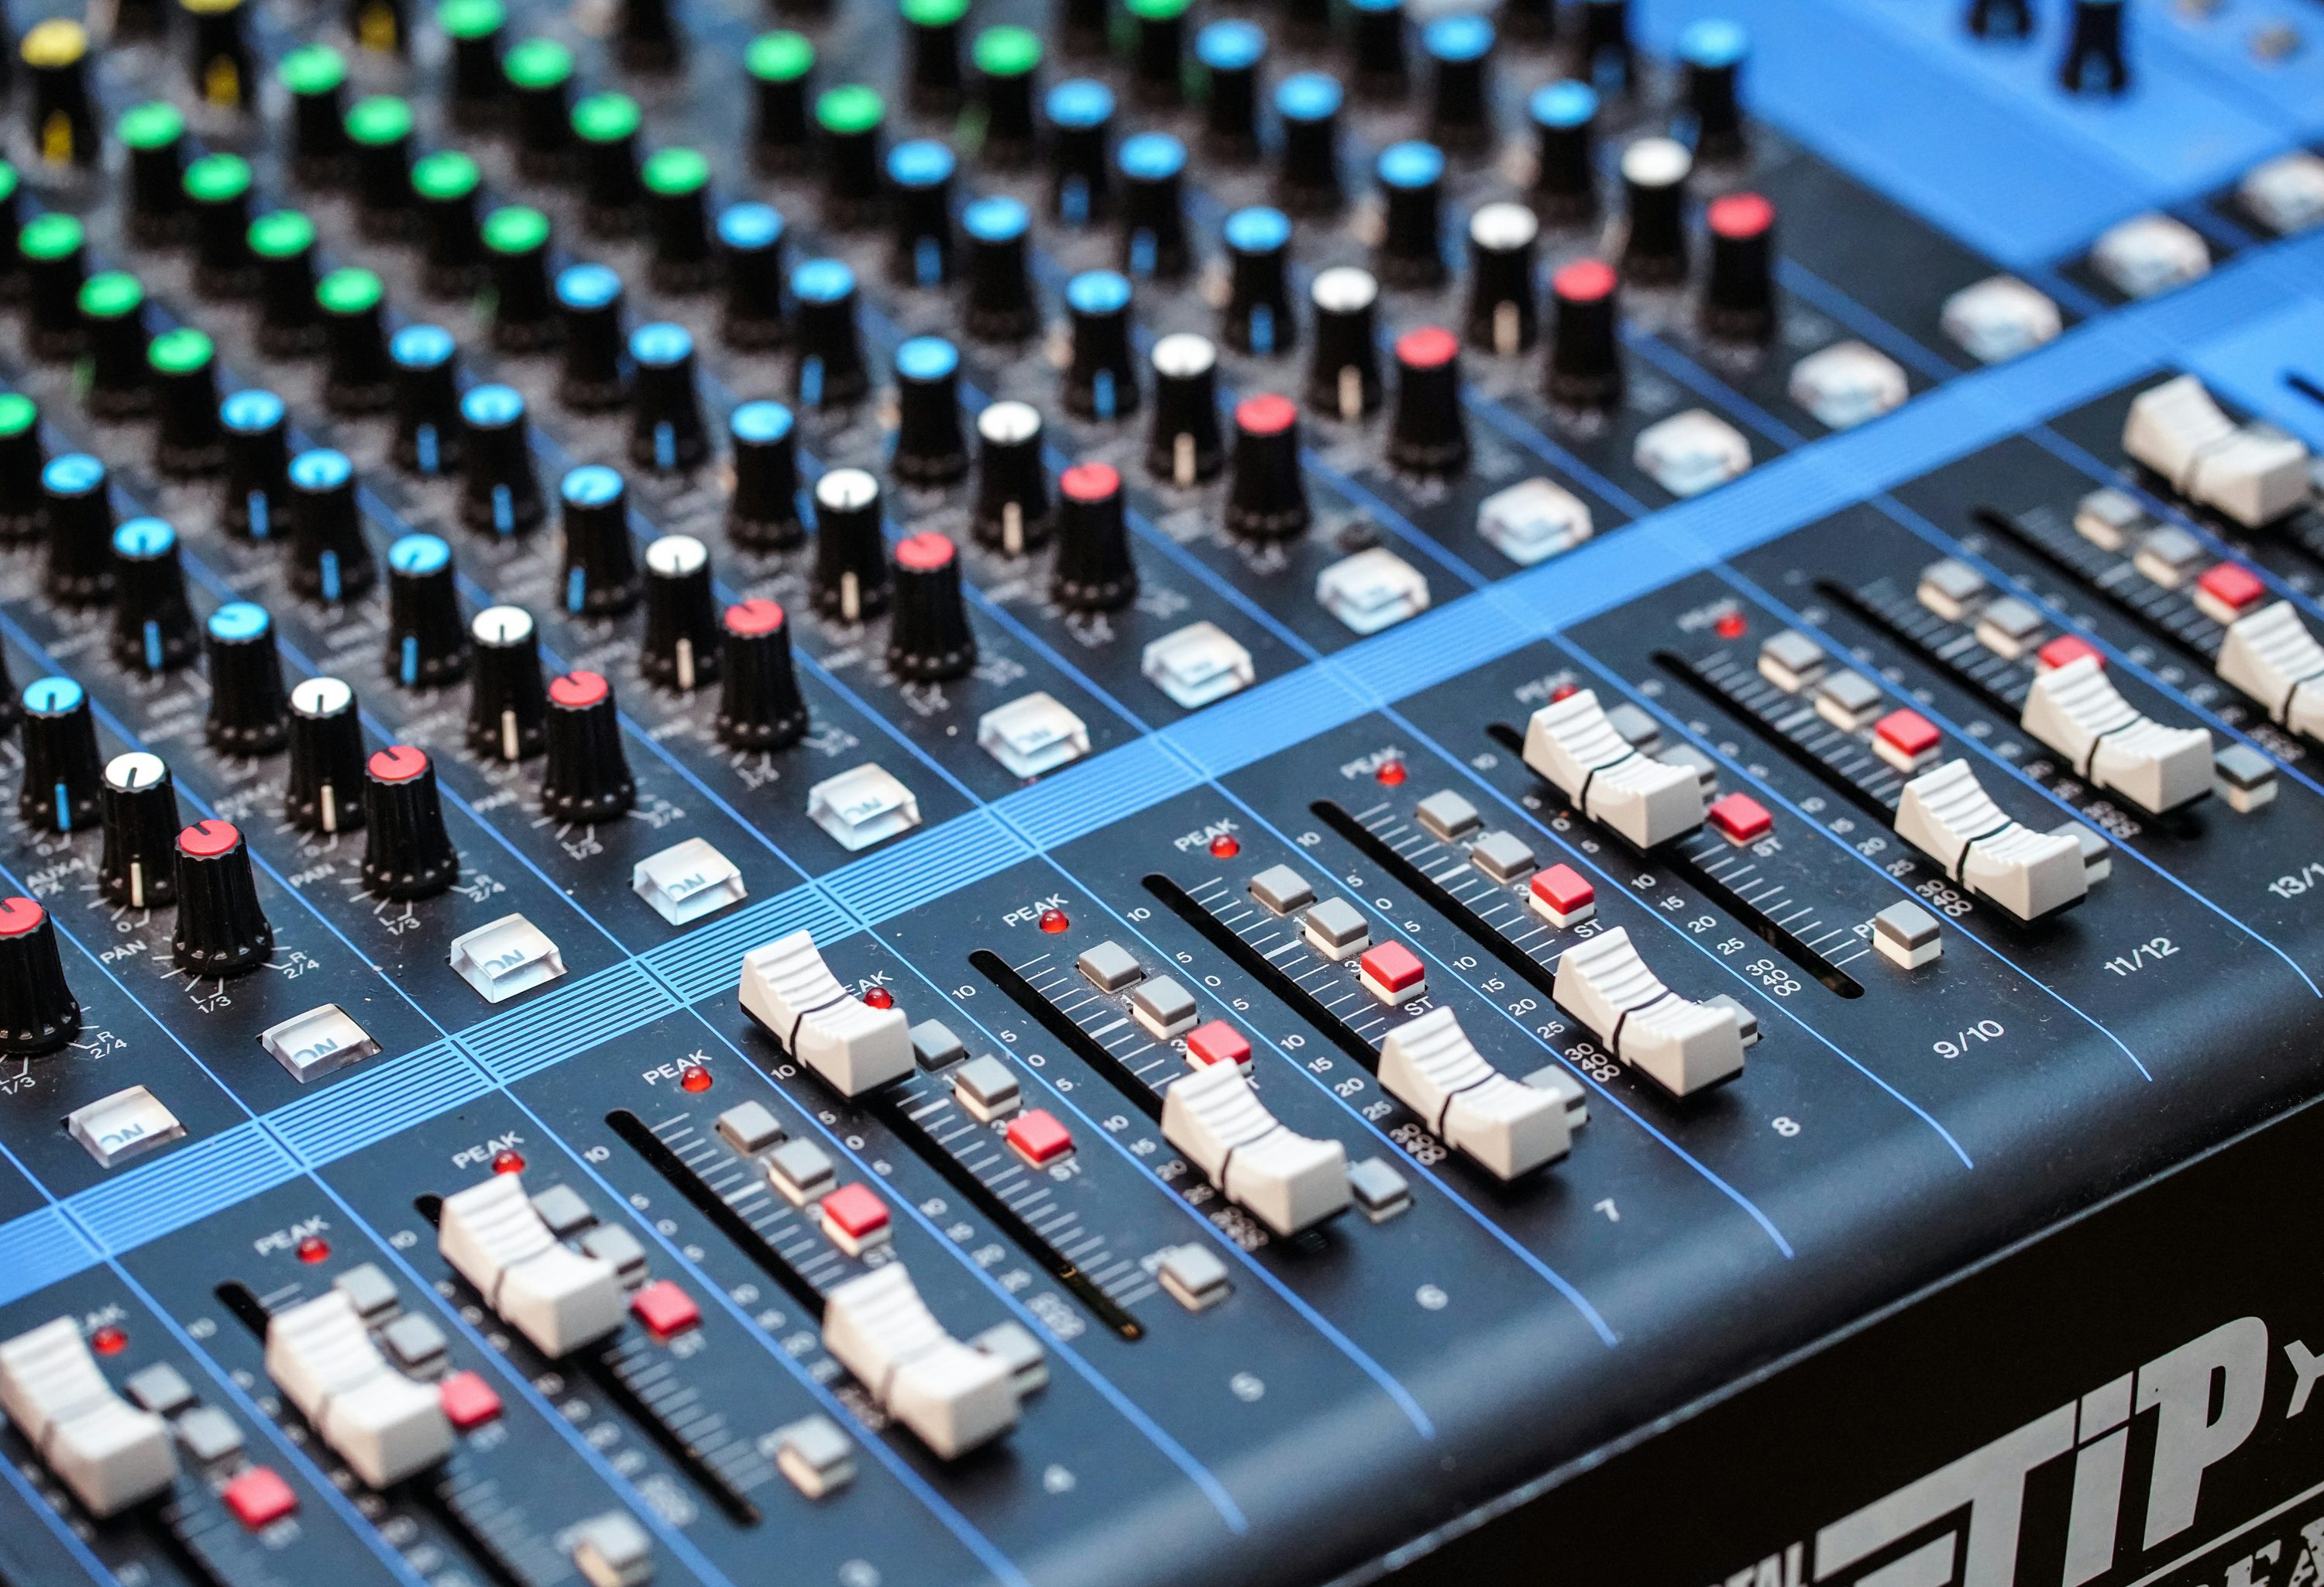
Combine and control the levels of multiple audio sources for a more polished sound in your installations or performances.
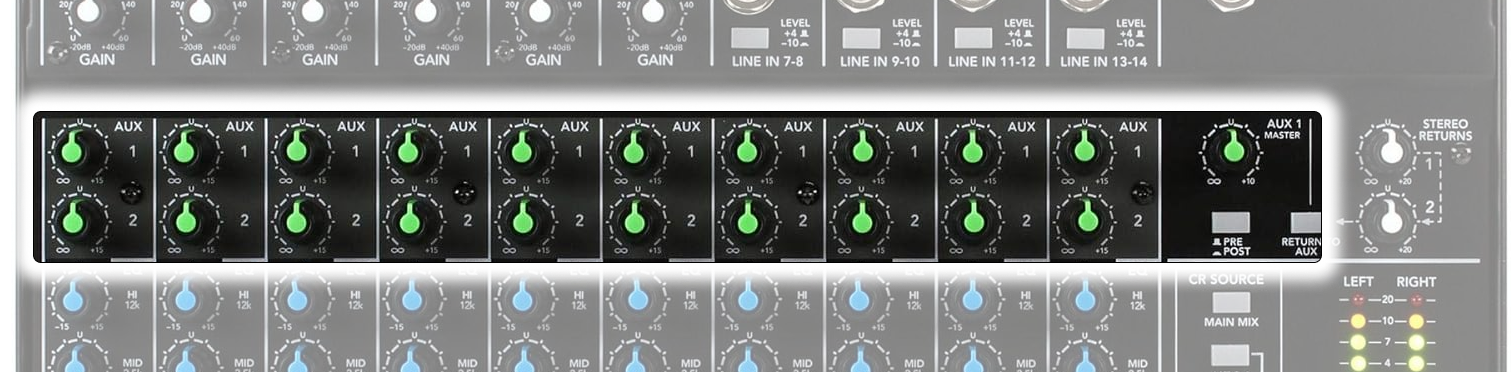
🎛️ Separate Sounds for Multiple Speakers 🔊🔊🔊🔊
On each channel you will find an aux send. These are useful to send the signal from a particular channel to a separate output which is not the main set of speakers, usually connected to the main mixer output.
Aux sends are useful for routing sounds to additional speakers, for example stage monitors. This allows to create personalised mixes different from the one the audience listens to and tailored to the needs of those on stage during the event, like musicians, performers and presenters.
Headphones Amplifiers / Splitters

These little boxes are ideal both for getting a louder sound and for using multiple headphones to hear the same source.
You can feed listeners the same soundtrack and have separate volume control for each headphone.
❓ What if I Want Different Audio on Each Channel ❓
If you want each listener to receive a different soundtrack, you must use different outputs from the audio interface/mixer.
Setup / How to / Info
Connect the headphone output from your computer/audio interface to the input on the splitter.
Make sure you use a TRS cable:
- TRS cables carry a stereo signal and will allow listeners to hear from both left and right ears correctly
- TS cables carry a mono signal and will force all sounds to come from the center

Speakers
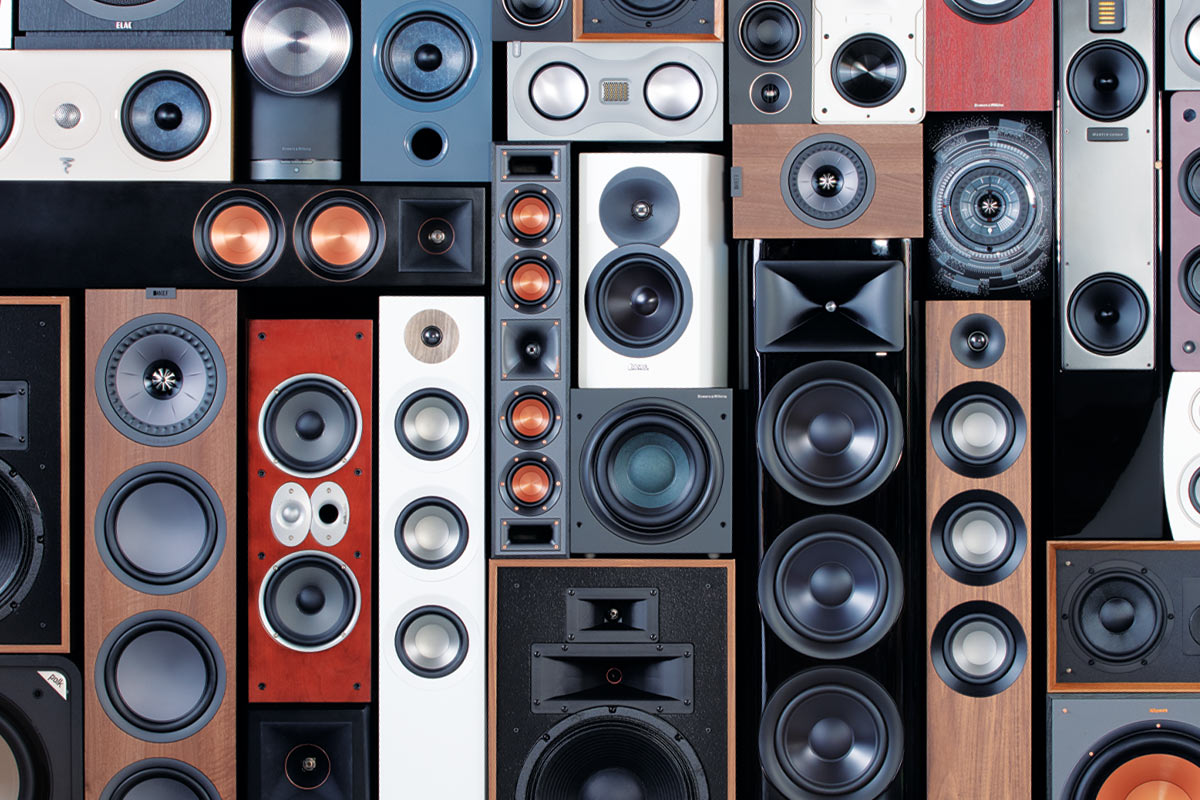
Amplify sound for presentations, installations or performances.
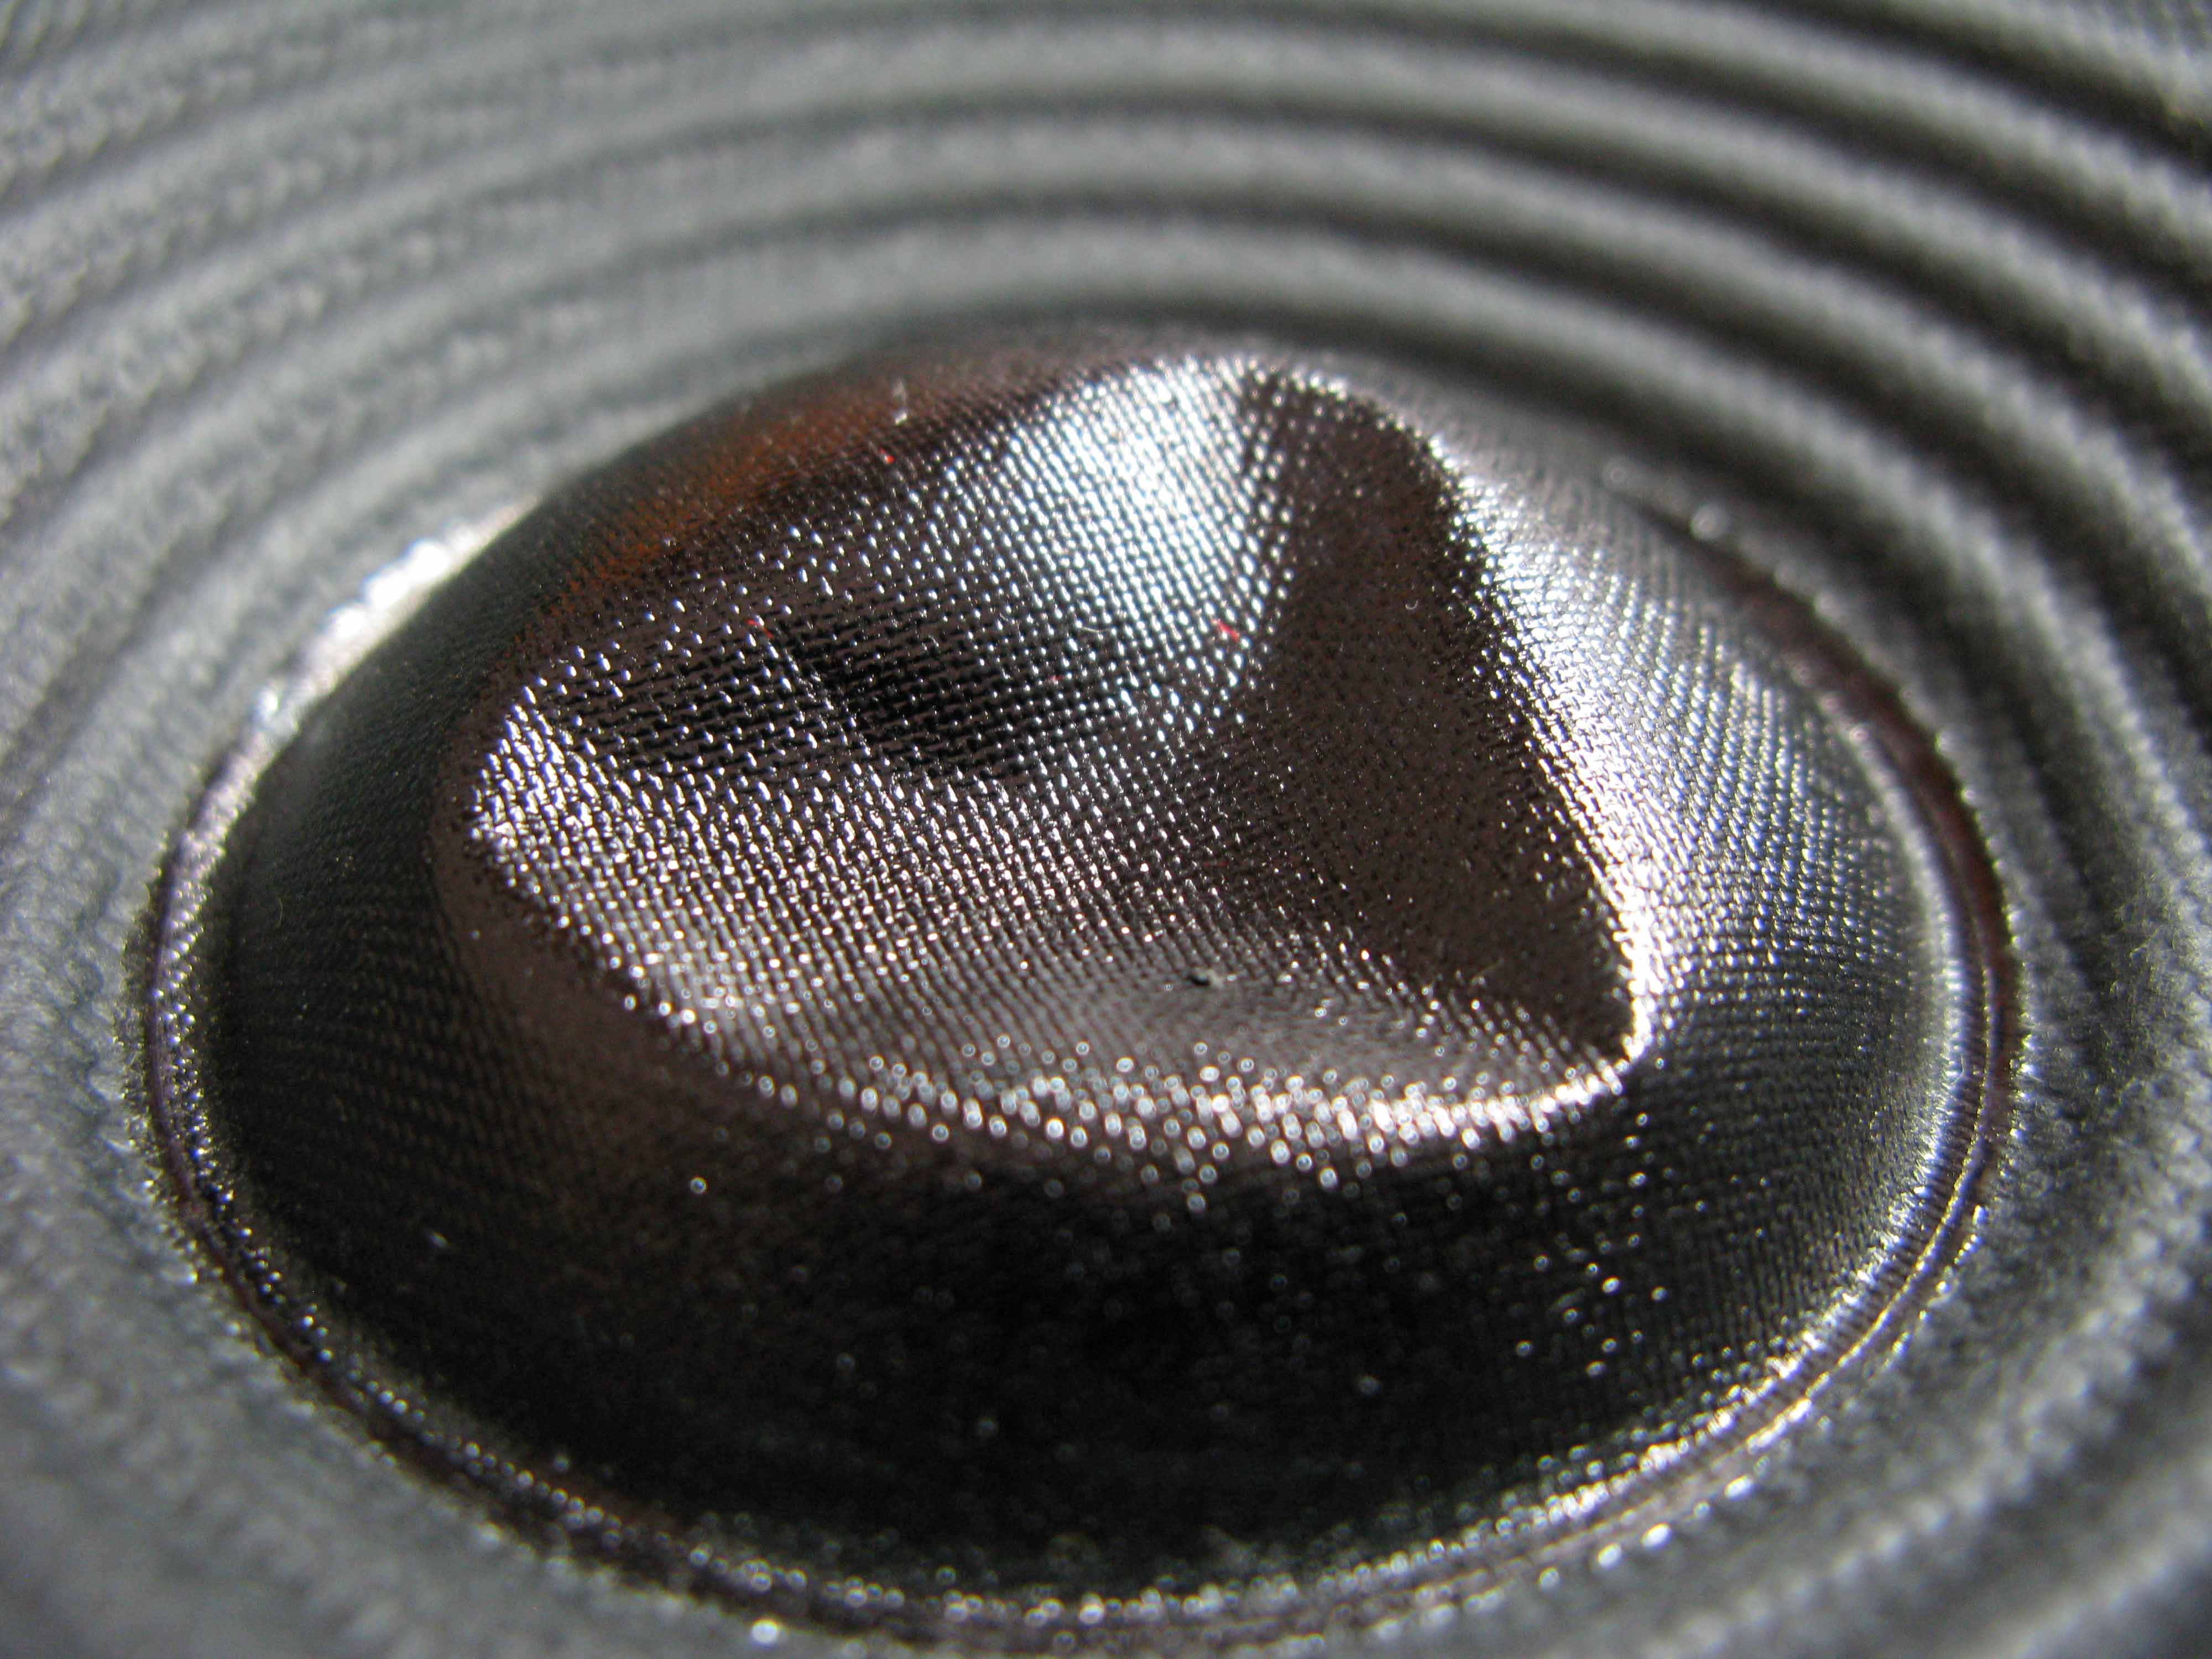
‼️ Maintenance ‼️
Look after woofer and tweeter. These are fragile components, it takes no time to damage them and forever compromise the speaker’s performance.
This is not something we want to see!
Common Connectors
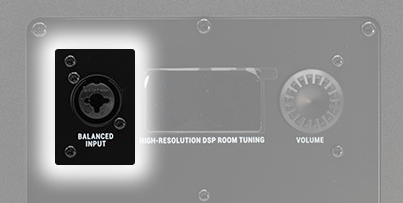
Most professional speakers (like the Genelec 8030 and the KRK Rokit 5) have XLR, Jack or Combo connectors on the back.
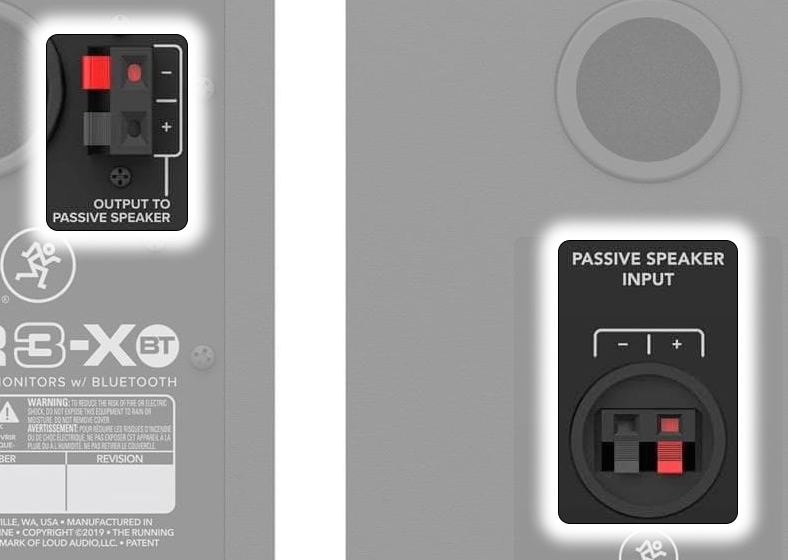
Speaker pairs like the Eris E3.5 and the Mackie CR3-X have RCA or Jack connectors on the active speaker, which is connected to the passive one via an audio wire.
Headphones
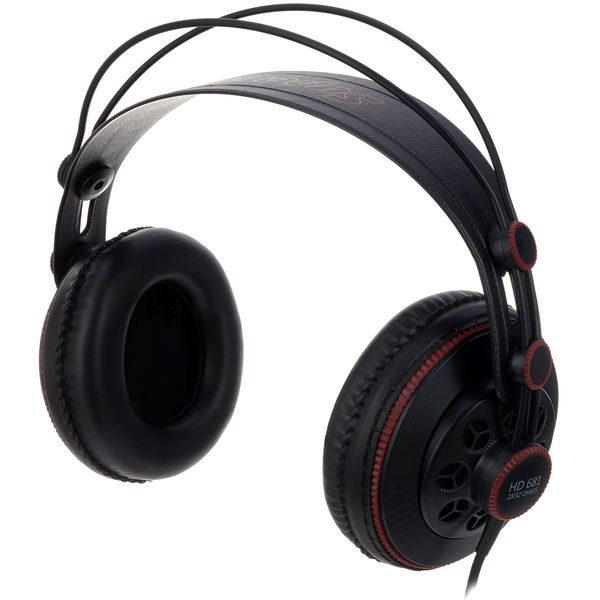
Listen to audio without disturbing others.
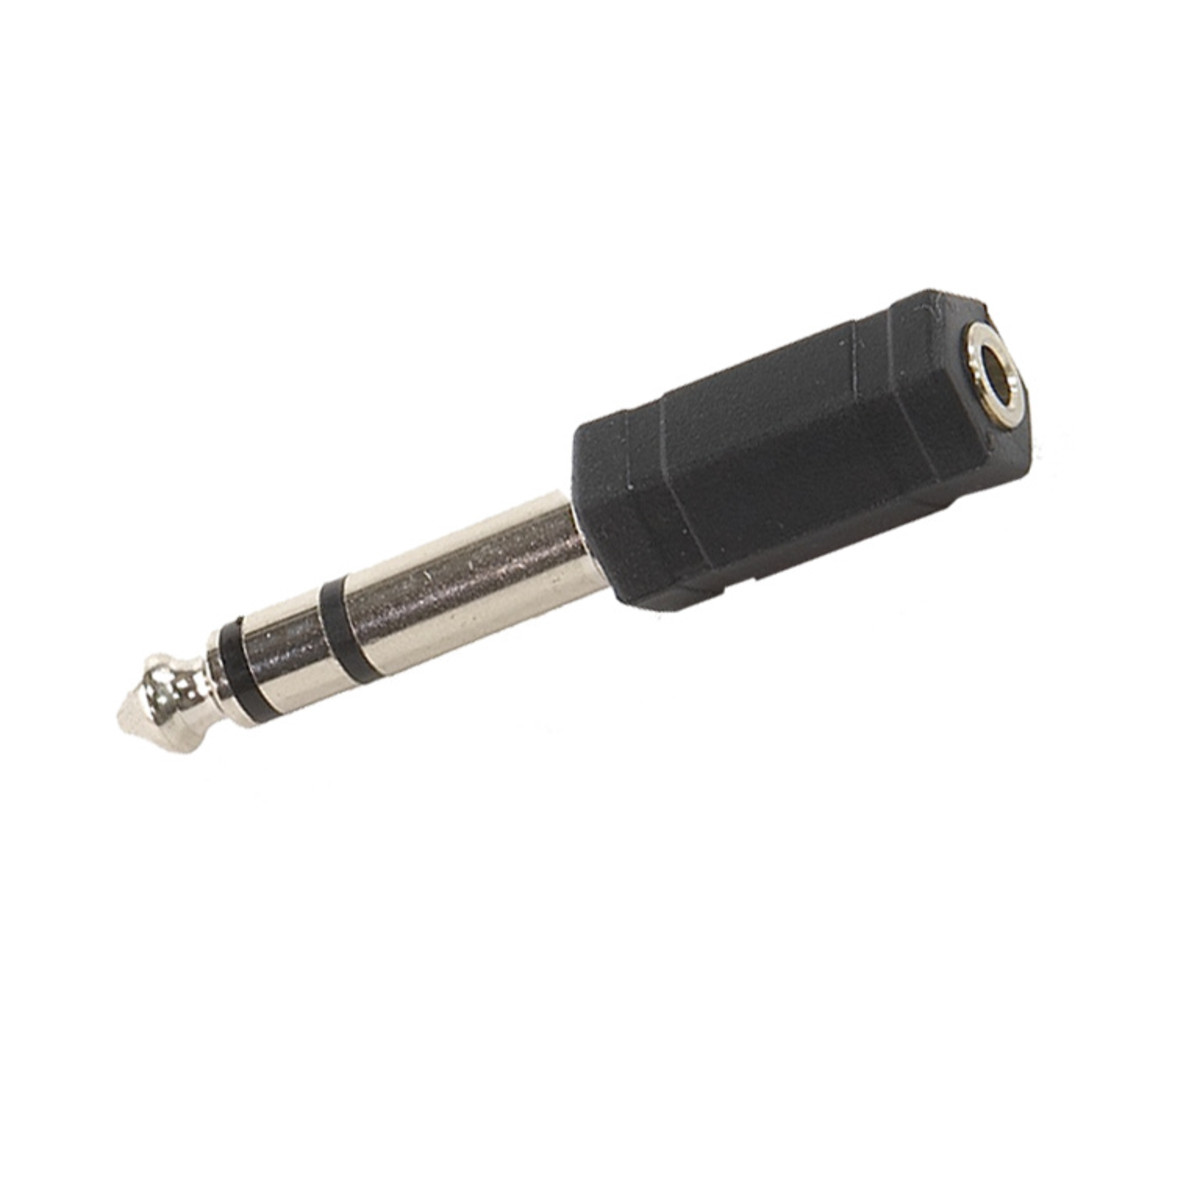
Common Connectors
To connect to audio interfaces/audio mixers you might need an adapter.